Controls & Connections
Press the Home button to leave the Edit page and return to the Home Page. Chapter 5 gives you details on all the Edit pages available.
7Outputs / Hold for System – press to enter the Outputs setup page, where you can set up POD X3 for whatever you’re connecting it to. This is a very important step for getting the best sound out of your POD X3. Press and hold for 2 seconds to enter the System setup page. Full details are in Chapter 6.
8 |
|
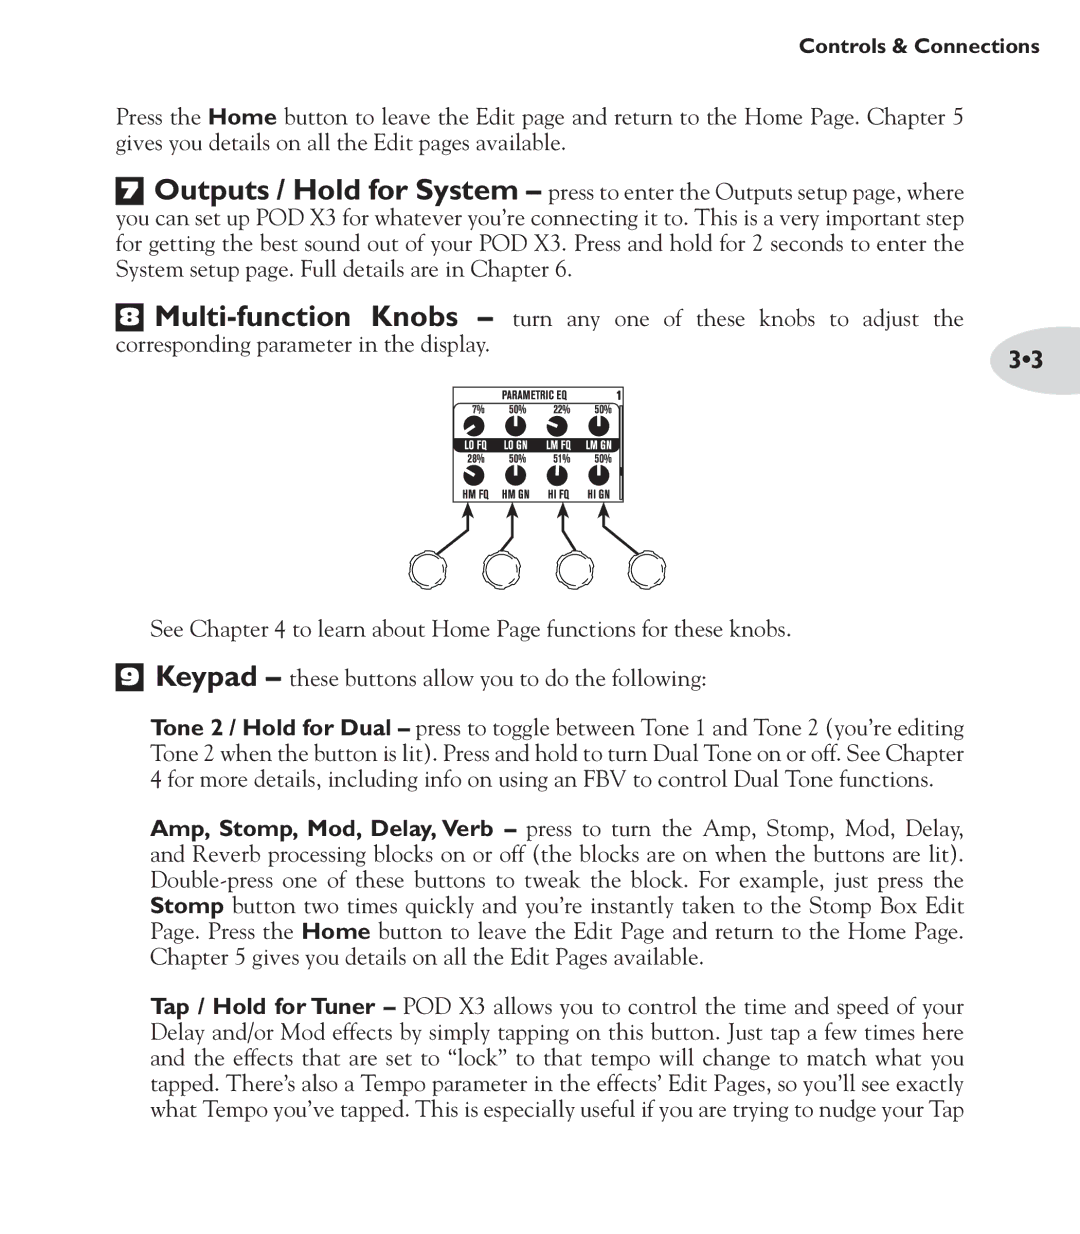
corresponding parameter in the display. | 3•3 |
|
9
See Chapter 4 to learn about Home Page functions for these knobs. Keypad – these buttons allow you to do the following:
Tone 2 / Hold for Dual – press to toggle between Tone 1 and Tone 2 (you’re editing Tone 2 when the button is lit). Press and hold to turn Dual Tone on or off. See Chapter 4 for more details, including info on using an FBV to control Dual Tone functions.
Amp, Stomp, Mod, Delay, Verb – press to turn the Amp, Stomp, Mod, Delay, and Reverb processing blocks on or off (the blocks are on when the buttons are lit).
Tap / Hold for Tuner – POD X3 allows you to control the time and speed of your Delay and/or Mod effects by simply tapping on this button. Just tap a few times here and the effects that are set to “lock” to that tempo will change to match what you tapped. There’s also a Tempo parameter in the effects’ Edit Pages, so you’ll see exactly what Tempo you’ve tapped. This is especially useful if you are trying to nudge your Tap