Chapter 3: CallFinder Server Installation
4. Setting CallFinder IP Addresses
a. In the CallFinder Administration screen, go to the IP Configuration fields.
Administration: IP Configuration
IP Address | 192.168.4.89 | Default Gateway |
| |
192.168.4.1 | ||||
|
| |||
Subnet Mask | 255.255.255.0 | Secondary |
| |
|
|
| ||
Name Server | 192.168.11.251 | Name Server |
|
update
b. Fill in the IP information that applies to your CF220 CallFinder Server unit. The fields for “IP Address,” “Subnet Mask,” “Default Gateway” and “Name Server” are required. A “Secondary Name Server” may be considered optional.
c. Click Update. The CallFinder will adopt the new IP address 5 seconds after the Update command is invoked.
5. Resetting Admin PC to Its Regular IP Address
In step #2 above, you recorded the original IP address of the administrator’s PC and then reset it to the IP address required to allow communication with the CallFinder unit. You must now set the IP address of the administrator’s PC to a value that allows you to reach CallFinder at its new IP address.
6. Logging In (II)
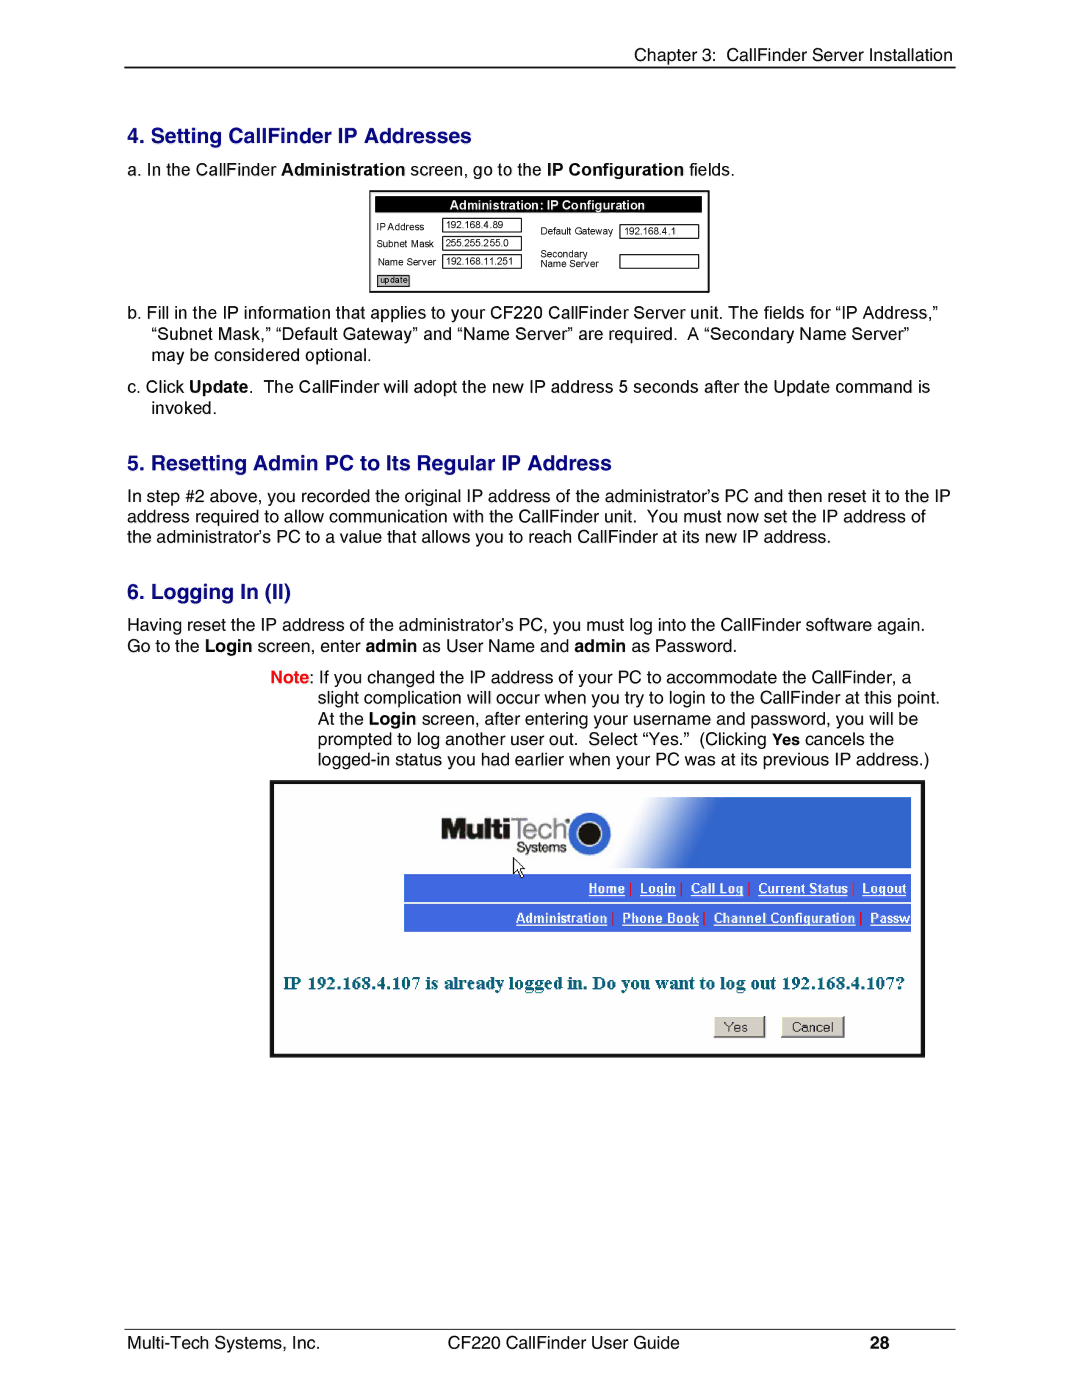
Having reset the IP address of the administrator’s PC, you must log into the CallFinder software again. Go to the Login screen, enter admin as User Name and admin as Password.
Note: If you changed the IP address of your PC to accommodate the CallFinder, a slight complication will occur when you try to login to the CallFinder at this point. At the Login screen, after entering your username and password, you will be prompted to log another user out. Select “Yes.” (Clicking Yes cancels the
CF220 CallFinder User Guide | 28 |