R-4106.A
REASSEMBL Y PROCEDURE | 2. F·tube |
|
|
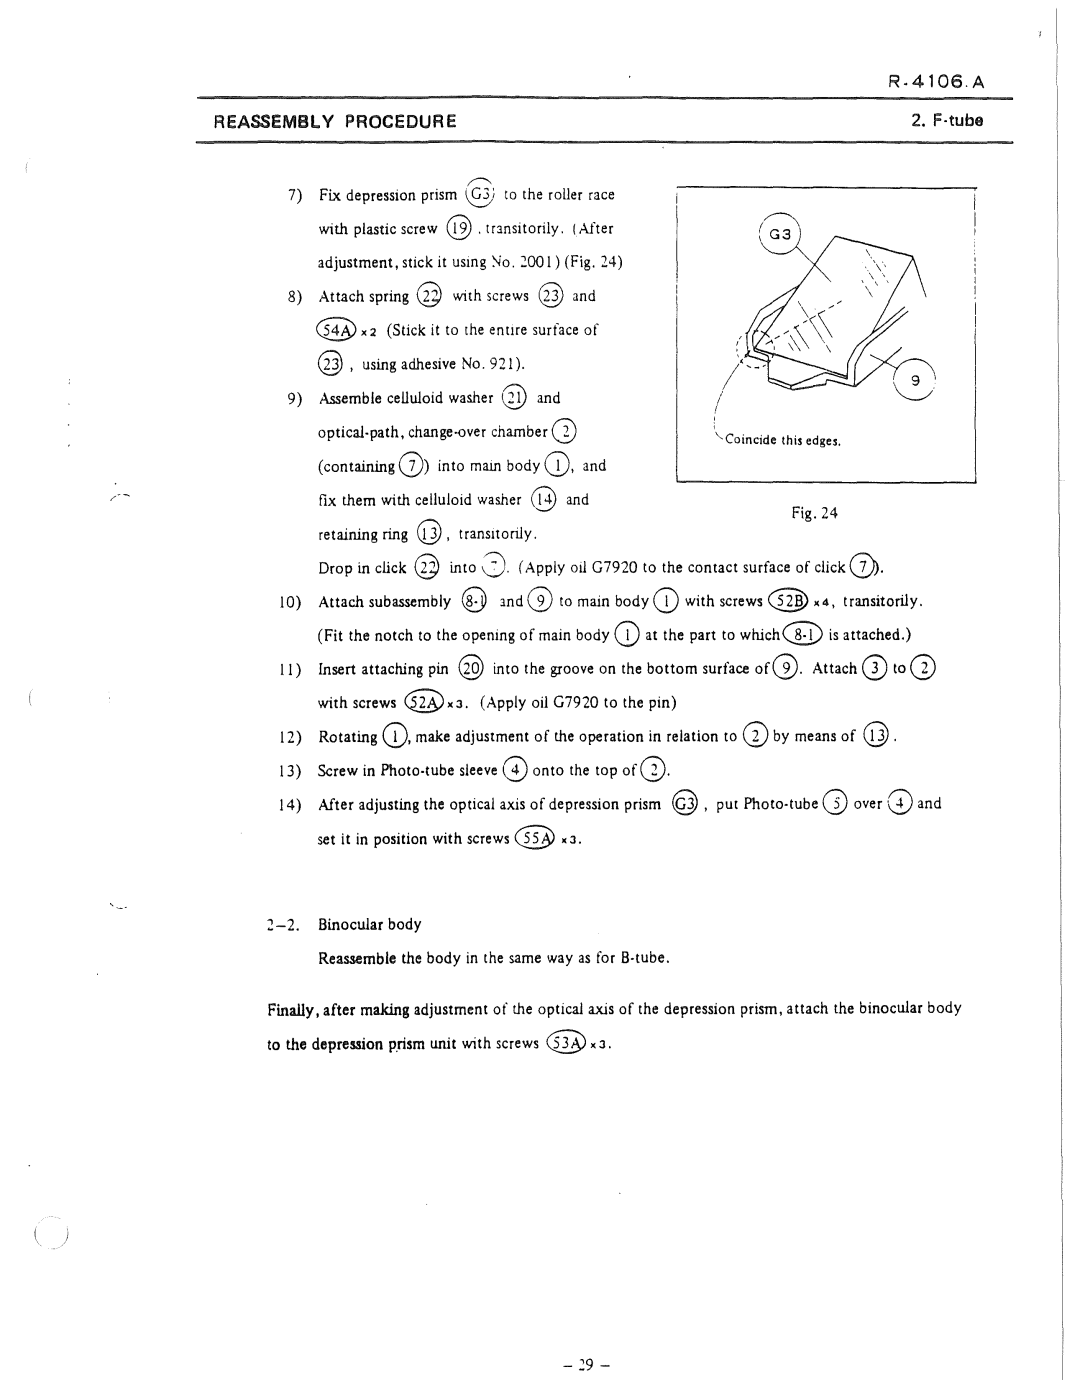
7)Fix depression prism 61 to the roller race with plastic screw @.tr:msitorily. (AJter adjustment, stick it usmg ~o. 2001) (Fig. 24)
8)Attach spring @ with screws @ and~
@x2 (Stick it to the enure surface of |
| |
@, using adhesive No. 921). |
| |
9) Assemble celluloid washer @ and |
| |
1 | ||
i | ||
(containing G)) into main body CD. and | ||
|
fix them with celluloid washer @ and
Fig. 24
retaining ring @, transuorily.
Drop in click @ into 2. (Apply oil G7920 to the contact surface of click @.
10)Attach subassembly V and (V to main body CD with screws QlW x4, transitorily. (Fit the notch to the opening of main body CD at the part to which(!j) is attached.)
11)Insert attaching pin @ into the groove on the bottom surface of@. Attach 0 to@ with screws @xJ. (Apply oil G7920 to the pin)
12)Rotating (!), make adjustment of the operation in relation to G) by means of @.
13)Screw in
I 4) After adjusting the optical axis of depression prism @ , put
Reassemble the body in the sarne way as for
Finally, after making adjustment of the optical axis of the depression prism, attach the binocular body to the depression P.rism unit with screws @x J.
- 29 -