User Guide
Intellectual property notices
Contents
Your email and other messages
Memos Voice Memo
Your memos and documents Documents To Go Professional
Vi C O N T E N T S
Welcome
This chapter
You should have received all the following items in the box
What’s in the box?
Hardware
What do I need to get started?
Rechargeable battery AC charger USB sync cable
Documentation and software
While using your Centro
Where to learn more
For a quick introduction
Select My Centro
If you need more information
Start using your Centro right away
Setting up
This chapter
Centro Overview
Indicator light phone
Front view
Stylus
Lanyard loop Power connector Microphone
Sync connector
Back view
Ringer switch
Inserting the SIM card and battery
Top view
N S E R T I N G T H E S I M C a R D a N D B a T T E R Y
Charging the battery
H a R G I N G T H E B a T T E R Y
Maximizing battery life
Turn down the screen brightness see Adjusting the brightness
Press Phone
Making your first call
Press Left to select the Dial Pad tab Status icons
Adjusting call volume
After you finish the call, press Power/ End to end the call
Volume Side button
What’s my phone number?
Upgrading from another PalmOS by Access device
Setting up your computer for synchronization
System requirements
Select Info on the App menu
User folder
Included with your device. Older versions
May not work correctly
A P T E R
Installing the desktop synchronization software
Palm Desktop software or Microsoft Outlook
Connecting your Centro to your computer
Sync button Sync cable
Synchronizing information-the basics
Computer type Desktop software What syncs and where
Windows XP and earlier Program Files
Where’s my info stored?
Palm HotSyncUsername
Windows Vista Username Documents
Moving around on your Palm Centro smart device
This chapter
5-way includes the following buttons
Moving around the screen
Center Left Right
Way to move the highlight from one item to another
Highlighting and selecting items
Learn to recognize the highlight. It can take two forms
Highlighting text
Accessing command buttons
Selecting menu items
Way Use the 5-way
Selecting options in a pick list
To highlight
Backlight Backspace Option Return Shift/Find Menu Space Alt
Using the keyboard
Entering numbers, punctuation, and symbols
Press Alt
Entering other symbols and accented characters
Press Up , Down , Right , or Left
Symbols and accented characters
Opening applications
Using the quick buttons
Phone Calendar Applications Messaging
Web
Button Primary app
Memos
Assigning an application to the Messaging button
Press Applications
Using Applications View
A P T E R
Your phone
This chapter
Waking up the screen and turning it off
Turning your Centro smart device on and off
Opening the Phone application
Turning your phone on and off
Making calls
Dialing using the onscreen Dial Pad Press Phone
Status icons Dial Pad
Favorites Contacts Main
Dialing by contact name
Dialing using the keyboard Press Phone
Text appears here as you enter it
Voice prompts you to say a command Do one of the following
Voice dialing
Press Applications Select Voice Dial
Dialing from a web page or message
Press Send or Center to make the call
To select from your most recently dialed
To select from your call history list
Receiving calls
Slide the Ringer switch to Sound Off
Setting up voicemail Press Phone
Using voicemail
Voicemail notification
To dismiss the Alert dialog box, select OK
Enter your voicemail password using the keyboard
What can I do when I’m on a call?
Listening to voicemail messages Press Phone
Press and hold 1 to dial the voicemail system
A T C a N I D O W H E N I ’ M O N a C a L L ?
Switching applications during a call
Press Power/End
Ending a call
Press the button on the headset if the headset is attached
Select Add Contact
To decline adding this number, select Cancel
Making a second call
Select Add Call
Receiving a second call call waiting
When the Dial another call prompt appears, select Yes
Forwarding all calls
Making a conference call
Press Menu Select Options, and then select Call Preferences
Forwarding calls under certain conditions
Entering names and phone numbers
How many minutes have I used?
Select the Call Log tab Press Menu
Add a caller ID photo Select
Insert a pause when dialing a
Add a caller ID ringtone Select
Select New Contact from the Record
After you enter all the information, select Done
Display additional fields for this contact Select Plus
Select the Contacts tab
Assigning a caller ID photo Press Phone
Assigning a caller ID ringtone
Deleting a contact
Customizing Contacts Press Phone
Creating a business card for beaming
Viewing your SIM Phonebook Press Phone
Defining favorite buttons
Creating a speed-dial favorite button Press Phone
Enter a label for the favorite
Editing a favorite button Press Phone
Deleting a favorite button
Using a hands-free device
Press Applications and select
Connecting to a Bluetooth hands-free device
Select Setup Devices Select Hands-free Setup
Using a Bluetooth hands-free device
Customizing advanced settings for your hands-free device
Customizing phone settings
Press Applications and select Prefs Select Hands-free
Creating and managing ringtones
Selecting ringtones
You can also record sounds and use them as ringtones
Selecting Phone alert tones
Adjusting the call volume
You can set various tones for various types of alerts
Customizing the Main tab in the Phone application
Adjusting ringer volume
Setting your dialing preferences
Select the Dial Pad tab Enter #*889 TTY Press Send
Using TTY
Icons?
What are all those
O U R P H O N E
You have a pending PTT invitation and have not yet responded
A P T E R
Your email and other messages
This chapter
Which email application should I use?
If you want to…
Push your email and organizer information from your
VersaMail application
Charter
How do I get started?
Cablevision
ESMTP, SSL
Password field, enter your email account password
Enter the names of your incoming and outgoing mail servers
Enter the username you use to access your email
Creating and sending messages
Settings for this account
Adding attachments to your messages
Enter the subject and message text
Attaching photos and videos
Red paper clip icon in the upper-right corner
Attaching ringtones
Receiving and viewing messages
Attaching other types of files
If a large incoming message is Truncated, select More
Replying to or forwarding messages
See Customizing your email settings
Viewing attachments
Deleting selected messages from the Inbox
Customizing your email settings
Switching accounts
Deleting messages by date
Press Menu Select Delete Old on the Message menu
Select Auto Sync
Press Menu Select Options, and then select Preferences
Select OK, and then select Get Mail
Viewing the Activity Log
Do either of the following
Setting preferences for getting messages
Selecting alert tones
Check the Alert me of new mail box
Message Format Sets the format for messages you retrieve
Unread messages Imap accounts
Attaching a signature to a message
Enter your signature information, and then select OK
Select Signature Check the Attach Signature box
Working with Microsoft Exchange ActiveSync
Pushing email, events, and contacts
Turning off push
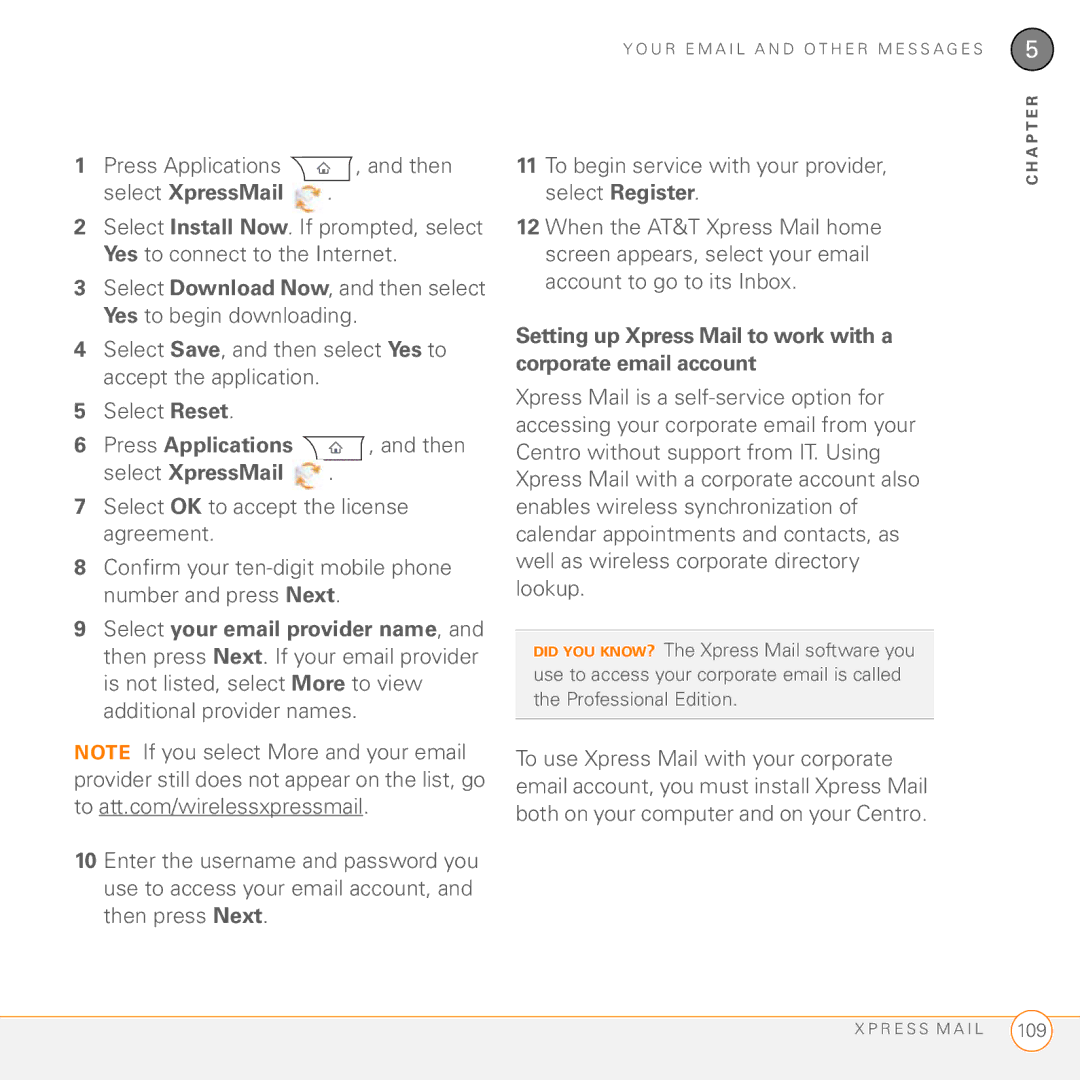
Xpress Mail
Using Remote Address Lookup
Get manually Mail, Calendar, or Contacts
Remote Lookup
109
Before YOU Begin You need the following
Select Professional Edition, and then press Next
Setting up Xpress Mail on your Centro
Press Register
Creating and sending email in Xpress Mail
Messaging
Press Applications and select Messaging
Creating and sending a text message
Select New Select the To field to address the message
Supported File Types
Creating and sending a multimedia message
Select Add Media
Remove, View, or Play
Receiving messages
Applications and selecting
Using links in messages
Sounds or Voice Memo
Arranging your messages
Applications and selecting Pics&Videos
Deleting messages
Message that displays the Chat icon Enter your message
Chatting with Messaging
Select Send
Display my name in chat window as
Show timestamps in chats Indicate
Automatically collect MMS
Selecting Messaging alert tones
What are all those icons?
Instant Messaging IM
Accessing IM
Instant Messaging
Sending a Message
Signing on
Receiving a Message
Applications and select Instant Messaging
Leaving IM
O U R E M a I L a N D O T H E R M E S S a G E S
Your Push to Talk application
This chapter
How PTT works
What is Push to Talk?
What can I do with PTT?
Sign up for PTT service
Here are a couple of examples of what you can do with PTT
Also subscribe to the AT&T Push to Talk service
Setting up PTT
Setting your availability
Log Out You cannot make or receive PTT calls
Adding a contact
Creating a PTT contact list
Select View Contact
Changing a contact’s name
Enter a new name for the contact Select OK
Creating a group
Editing a group
Responding to invitations
Select Edit Group
A P T E R
Leaving a group
Viewing availability
Deleting a group
Select Delete Group
Receiving availability alerts
K I N G C a L L S
Making a PTT call
Select Dynamic Call
Making a PTT call to a dynamic group
Making a phone call
Responding to a Call-Me alert
What can I do when I’m on a PTT call?
Select Convert to cellular call
Converting a PTT call into a phone call
Making a second PTT call
Using the Call Log
Sending a voice message
Sending messages
Select Voice Message
Viewing messages
Invitations, make calls, and send messages
Customizing your PTT settings
O U R P U S H T O T a L K a P P L I C a T I O N
Your connections to the web and wireless devices
This chapter
Web browser
Optimized Mode
Viewing a web
View a page in wide layout format as
Creating a bookmark
Viewing bookmarks or saved pages
Saving a
Select the Bookmarks View icon in the web page toolbar
Editing or deleting a bookmark or saved
Press Applications and select ATT Mall
Shopping at ATT Mall
Exploring AT&T Music
AT&T Music
Videos MP4, 3G2, ASF, WMV Ringtones
Downloading files from a web
Music
Play
Streaming files from a web
Copying text from a web
Returning to recently viewed pages
Customizing your web browser settings
Finding text on a web
Select Find Text on Page from the Page menu
Select General and set any of the following preferences
Set memory limit for storing pages
Select Advanced and set any of the following preferences
On your Centro, press
Applications and select Bluetooth
Accessing the Internet using a Bluetooth DUN connection
Setting up your computer for a Bluetooth DUN connection
Dial *99***1#
Terminating a Bluetooth DUN Internet session
Connecting with Bluetooth devices
Click Disconnect
Select Setup Devices Select Trusted Devices
Accepting a connection from another Bluetooth device
Bluetooth
Select After you’ve finished using this setting
Remember to change it back to Hidden
Predefined passkey. If your device has a
Device list box if you want to form a
A P T E R
Your photos, videos, and music
Camera and Camcorder Pictures & Videos Pocket Tunes Deluxe
Taking a picture
Camera Camcorder
Press Applications and select Camera
You can store videos on your Centro or on an expansion card
Recording a video
Camcorder
Camera Or Camcorder
Customizing your Camera settings
Viewing a picture
Pictures & Videos
Select the album that contains the picture you want to see
Press Applications and select Pics&Videos
Viewing a video
Select the album that contains the video you want to see
Sending pictures or videos
Copying a picture or video
Saving a picture as wallpaper
Organizing pictures and videos
Adding a picture to a contact entry
Rotating a picture
Deleting a picture or video
Pocket Tunes Deluxe
Viewing pictures and videos on your computer
Applications and select pTunes
Transferring music files from your computer
Select Rip Music
Transferring music from a CD to your Centro
Press Applications and select pTunes
Listening to music on your Centro
Previous song Plays the previous song
Select Save List
Creating a playlist
Editing a playlist Press Applications and select pTunes
A P T E R
O U R P H O T O S , V I D E O S , a N D M U S I C
Your personal information organizer
Calendar World Clock Tasks
Displaying your calendar
Calendar
Creating an event
Select OK Type of time units Number of time units
Adding an alarm to an event
Creating an untimed event
Create an event, and then select it Select Details
Scheduling a repeating event
Changing or deleting an event
Color-coding your schedule
Select the event you want to edit or delete Select Details
Delete Removes the event from your calendar Select OK
Select Day and set any of the following options
Customizing display options for your calendar
Indicate under which category the event is filed
Selecting alarm tones
Select OK Select Month and set any of the following options
Press Menu Select Options, and then select Sound
To delete a sound, select it and press Backspace
World Clock
Press Applications and select World Clock
Selecting cities
Adding cities
Setting task priority, due date, and other details
Setting an alarm
Tasks
Adding a task Press Applications and select Tasks
Category Assign the task to a specific category
Alarm Set an alarm for this task
Checking off a task
Options Due Today, Last 7 Days, Next 7 Days, or Past Due
Organizing your tasks
Customizing Tasks
Deleting a task
A P T E R
Your memos and documents
Documents To Go Professional Memos Voice Memo
Documents To Go Professional
Opening a document
Memos
Documents
Select the document you want from the list
Creating a memo Press Applications and select Memos
Voice Memo
Deleting a memo
Creating a voice memo
O I C E M E M O
Your application and info management tools
This chapter
Viewing and using the alerts
Using Find
Calculator
Length Length conversions for metric and English values
Selecting functions in Advanced Calculator Mode
Installing bonus software from My Centro on your device
Installing applications
Installing applications from the Internet
My Centro
Installing other third-party applications from a computer
Installing bonus software from My Palm on your computer
Removing applications
Windows Select Start Programs Palm Install Tool
Select Change Destination and select the expansion card
Mac
Mac Mac HD\Applications\Palm\Users\device name
Manually deleting applications
Viewing application info
Sending information with Bluetooth wireless technology
Press Menu Select Info on the App menu
Version The version numbers
Press Applications and select Bluetooth Select Bluetooth On
Sending info over a Bluetooth wireless connection
Select Yes to receive the information or No to refuse it
Beaming an entry
Beaming information
To applications that cannot be beamed
Beaming an application
Press Menu Select Beam from the App menu
Receiving beamed information
Synchronization, you can turn off synchronization for Memos
Synchronizing information- advanced
Changing which applications sync
MAC only
Setting up a Bluetooth connection for synchronization
Select Setup Devices Select HotSync Setup
Press Applications and select HotSync
Synchronizing over a Bluetooth connection
Applications and select HotSync
Synchronizing over an infrared connection
Select Local
Click the HotSync Controls tab, and then select Enabled
Using expansion cards
Remove the battery door Open the expansion slot door
Double-click the HotSync manager icon in the Palm folder
Removing an expansion card
Close the expansion slot door Replace the battery door
Opening applications on an expansion card
Accessing items stored on an expansion card
Viewing expansion card information
Highlight the application you want to copy Select Copy
Select Card Info
Formatting an expansion card
A P T E R
Your personal settings
This chapter
Setting system volume levels
System sound settings
Silencing sounds
Press Applications and select Sounds
Adjusting the brightness
Display and appearance settings
Changing the screen font
Small bold font Large font Select OK
Setting display formats
Press Applications and select Prefs
Press Applications and select Prefs Select Touchscreen
Aligning the screen to correct tapping problems
Select a color scheme from the list Select Done
Arranging applications by category
Applications settings
Press Menu Select Category on the App menu
Displaying applications by category
Reassigning buttons
Default
Press Applications and select Prefs Select Default Apps
Changing default applications
Locking your Centro and info
To turn off Keyguard, do the following
Locking your keyboard Keyguard
Screen when the phone rings. You must
Incoming calls received Disables
Locking your screen
Select Keyguard Check any of the following boxes
Locking your Centro
To disable the current Phone Lock settings
Press Applications and select Security
Select the Password box
Select the Auto Lock Device box
Select OK Do one of the following
Hiding or masking all private entries
Working with private entries
Viewing all private records
You can reveal all the entries you’ve hidden or masked
Follow these steps to recover from a lost password
Security Password and Palm Desktop software Windows
Select Lost Password
Viewing private entries in a specific application
Setting the date and time
System settings
Press Applications and select Prefs Select Date & Time
Select Power
Optimizing power settings
Select Done
Prefs
Connecting to a VPN
TIP For information about third-party VPN
O U R P E R S O N a L S E T T I N G S
Common questions
This chapter
Programs Palm Safe HotSync
Upgrading
P G R a D I N G
Resetting your Centro
Desktop software installation
Performing a soft reset
Performing a hard reset
Performing a system reset
Replacing the battery
E P L a C I N G T H E B a T T E R Y
Screen appears blank
Screen
There’s a blinking bell in the upper-left corner
Synchronization
Can’t find my user folder
What is the backup folder?
Palm Desktop does not respond to a sync attempt
Make sure that the HotSync manager is running
Windows only Uninstall
Mac Mac hard drive Applications Palm Users device name
Synchronization starts but stops without finishing
Palm Desktop software. Click Start
Open Microsoft Outlook and delete the duplicate entries
Have duplicate entries in Microsoft Outlook after I sync
Select Desktop overwrites handheld, and then click OK
My appointments show up in the wrong time slot after I sync
If you’re using Palm Desktop software
Click HotSync manager in the taskbar and select Custom
Uncheck the New events use time zones box if it’s checked
Phone
Signal strength is weak
Select Calendar Click Change
Text of my memos is truncated after I sync
Other person hears an echo
My Centro won’t connect to the mobile network
Hear my own voice echo
My voice is too quiet on the other end
My phone seems to turn off by itself
Hands-free devices
Confirm all the following
Can’t send or receive multimedia messages
Can’t send or receive text messages
Web
Can’t tell if data services are available
My Centro won’t connect to the Internet
It takes a long time for a web page to load
Can’t access a web
Try opening the web page again to see if it loads faster
My Bluetooth DUN connection isn’t working
An image or map is too small on my screen
Secure site refuses to permit a transaction
Camera
Making room on your Centro
Third-party applications
Error messages
M M O N Q U E S T I O N S Error M E S S a G E S
O M M O N Q U E S T I O N S
Terms
Edge Enhanced Data rates for GSM Evolution
Gprs General Packet Radio Service
Favorite
HotSync
Palm OS by Access
Palm Install Tool
Partnership
Phone
SIM Subscriber Identity Module card
Call her, press and hold M. Your Centro dials the number
Slide
Streaming
FCC Notice
Important safety and legal information
Bluetooth Qualification Program
Battery safety information
Page
Specifications
Specification S
MobiTV download required Instant messaging IM
Included software Phone including Favorites and Dial Pad
Specification S
Tasks list
Index
Customer support for 12 email and. See email Accounts
179
196
Installing 214-216
Album list 98, 176
285
Inserting 18
167
273
221
Brightness duration
Caps Lock mode
Browsing
192
159
225
200
Charging 19, 20
278
Sorting 66, 69
108
238 271
Cookies 151, 159
Screen 191
Delays 247
226
Albums 179
Events 81, 194 Files 156, 175
194
Discovery 164, 165
116
Setting up 92, 93, 94
Errors 267, 273
155
Sending 97, 107, 117
189
Favorites tab 54 FDN list 246 features 9 feedback 272 files
Storing information on 209
232
239
249
Freezes
286
215, 259 SIM cards
Cards 27, 280 troubleshooting
Internet 149, 175, 214, 276 See also web browsing
147
List view applications 241 listening to
181, 182 uninstalling desktop
Software and 267 upgrading and 27
267
106, 108
Masks 244
Freeing 160, 216
160
Deleting 116, 118
To 172, 174
Music files 156, 181
132
269
Outbox 97, 122, 123 Outlook
265
268
143
243, 246
248
For 73
Making 51-55, 59, 61
Deleting 172, 179 PINs 245
Selecting 54, 55
178
295
181
245
Making 139-141
201
141, 144 creating 132, 134, 140 deleting
131
208
Saving
Rotating photos
263
182
161, 164
237
Email 97, 107, 117
272
Symbols 40, 42, 66
114
Static 272
See also messages
Tabs 51, 60
195
122, 189
180
190 164, 166
Recording 115
Playing 157, 174
100 Saving 174
237 Viewing 175, 176
158-160
Accessing 151, 153 152
158
Web links 36, 72, 151
109