Emergency Eject
Procedure for removing the tape manually in an emergency
Use the procedure below to remove the cassette tape if it can not be removed even when the EJECT button is pressed.
OBefore proceeding to eject the tape manually, you must first turn off the power to the unit.
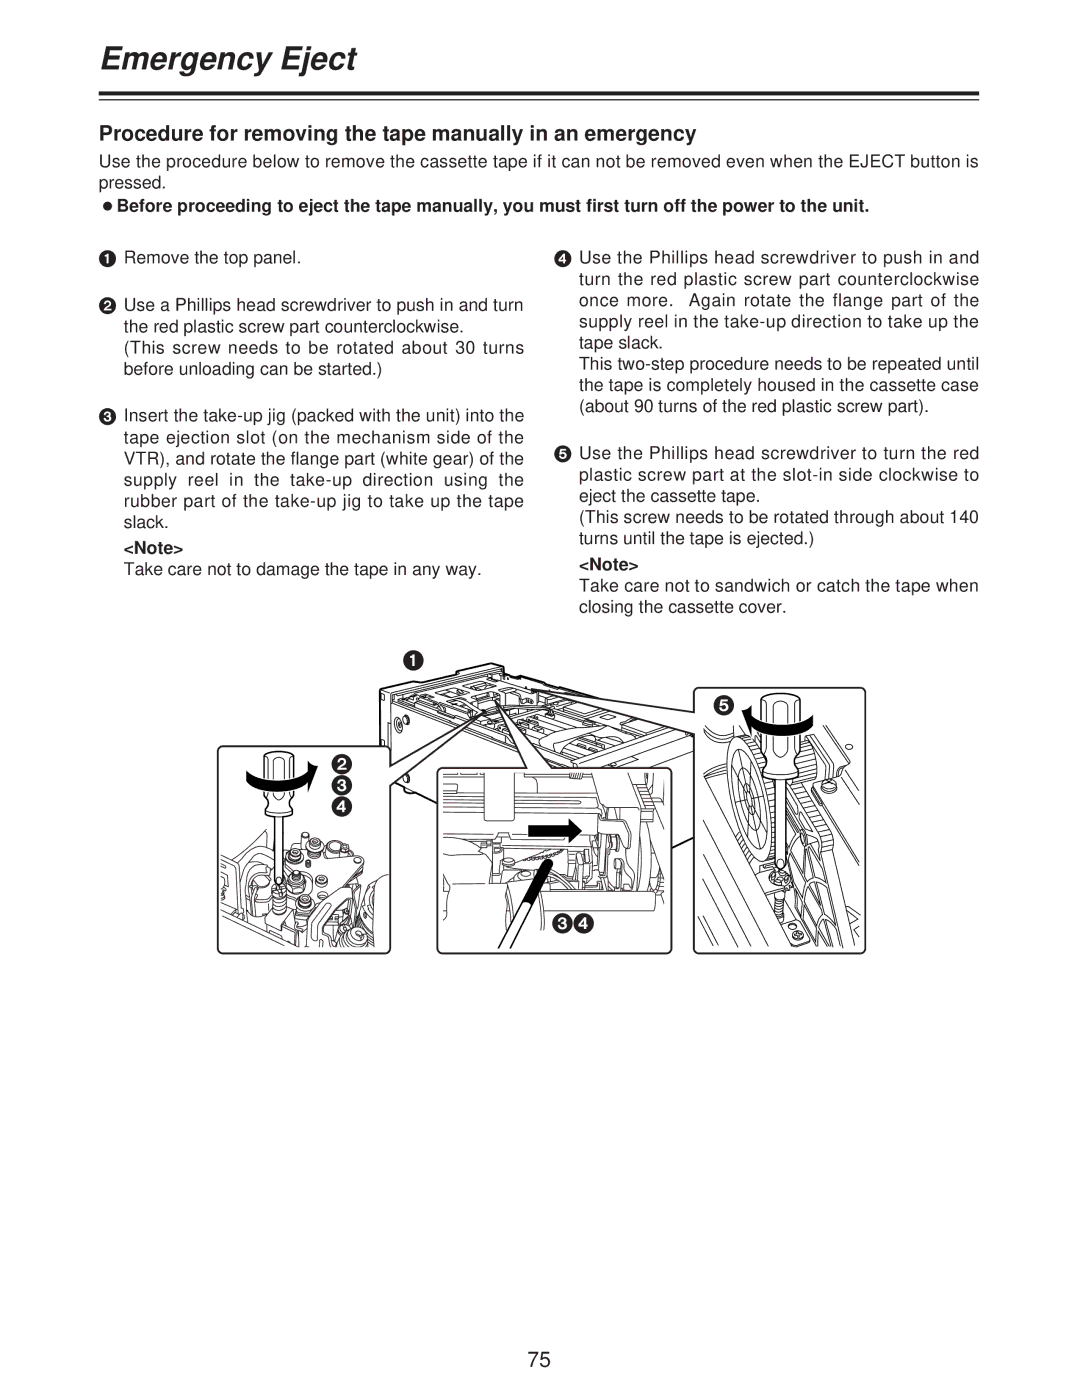
1Remove the top panel.
2Use a Phillips head screwdriver to push in and turn the red plastic screw part counterclockwise.
(This screw needs to be rotated about 30 turns before unloading can be started.)
3Insert the
<Note>
Take care not to damage the tape in any way.
4Use the Phillips head screwdriver to push in and turn the red plastic screw part counterclockwise once more. Again rotate the flange part of the supply reel in the
This
5Use the Phillips head screwdriver to turn the red plastic screw part at the
(This screw needs to be rotated through about 140 turns until the tape is ejected.)
<Note>
Take care not to sandwich or catch the tape when closing the cassette cover.
1
5 ![]()
2
3
4
34
75