|
| Projector Mode |
|
|
|
REC Stop: | Stop recording and store the recording data. |
|
Page No.: | Display the page number which is being recorded. |
|
| Before recording, it is (0). When the Recording start button is depressed, it | |
| displays as (1), and following pages will be numbered accordingly. | |
New Page: | Saves current page recordings and starts the process to record the next page. | |
| Selecting this icon will stop the recording of the current page. The recording | |
| process will be paused while the current page is saved and the background for | |
| the next page is changed and confirmed. |
|
| To start the recording process of the next page, select the | (REC Start) |
| icon. |
|
Minimum: | Shrink the size of the Desktop Drawing Tool. |
|
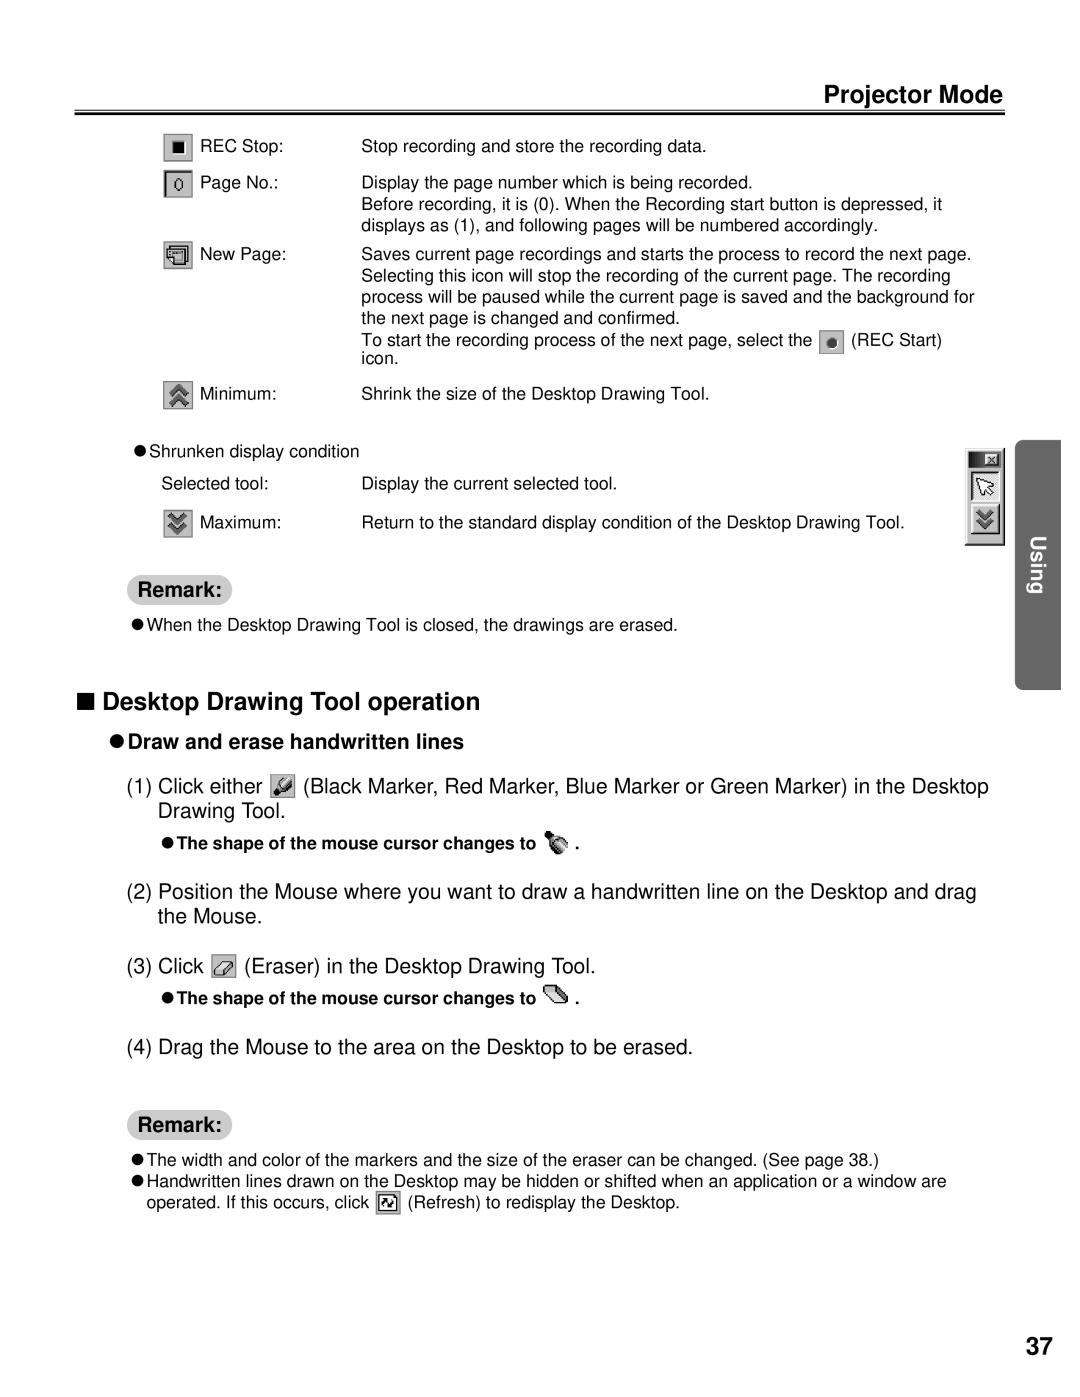
CShrunken display condition |
|
|
Selected tool: | Display the current selected tool. |
|
Maximum: | Return to the standard display condition of the Desktop Drawing Tool. | |
Remark:
CWhen the Desktop Drawing Tool is closed, the drawings are erased.
Using
■Desktop Drawing Tool operation
CDraw and erase handwritten lines
(1)Click either ![]() (Black Marker, Red Marker, Blue Marker or Green Marker) in the Desktop Drawing Tool.
(Black Marker, Red Marker, Blue Marker or Green Marker) in the Desktop Drawing Tool.
CThe shape of the mouse cursor changes to ![]() .
.
(2)Position the Mouse where you want to draw a handwritten line on the Desktop and drag the Mouse.
(3)Click ![]() (Eraser) in the Desktop Drawing Tool.
(Eraser) in the Desktop Drawing Tool.
CThe shape of the mouse cursor changes to ![]() .
.
(4) Drag the Mouse to the area on the Desktop to be erased.
Remark:
CThe width and color of the markers and the size of the eraser can be changed. (See page 38.)
CHandwritten lines drawn on the Desktop may be hidden or shifted when an application or a window are
operated. If this occurs, click ![]() (Refresh) to redisplay the Desktop.
(Refresh) to redisplay the Desktop.
37
