To cancel DPOF settings, set the number of copies to [00] in Step 6 and press the 4 button.
Printing All Images
DPOF settings are applied to all the images stored in the camera.
1 Select [All Images] in Step 3 on p.121.
2 Press the 4 button.
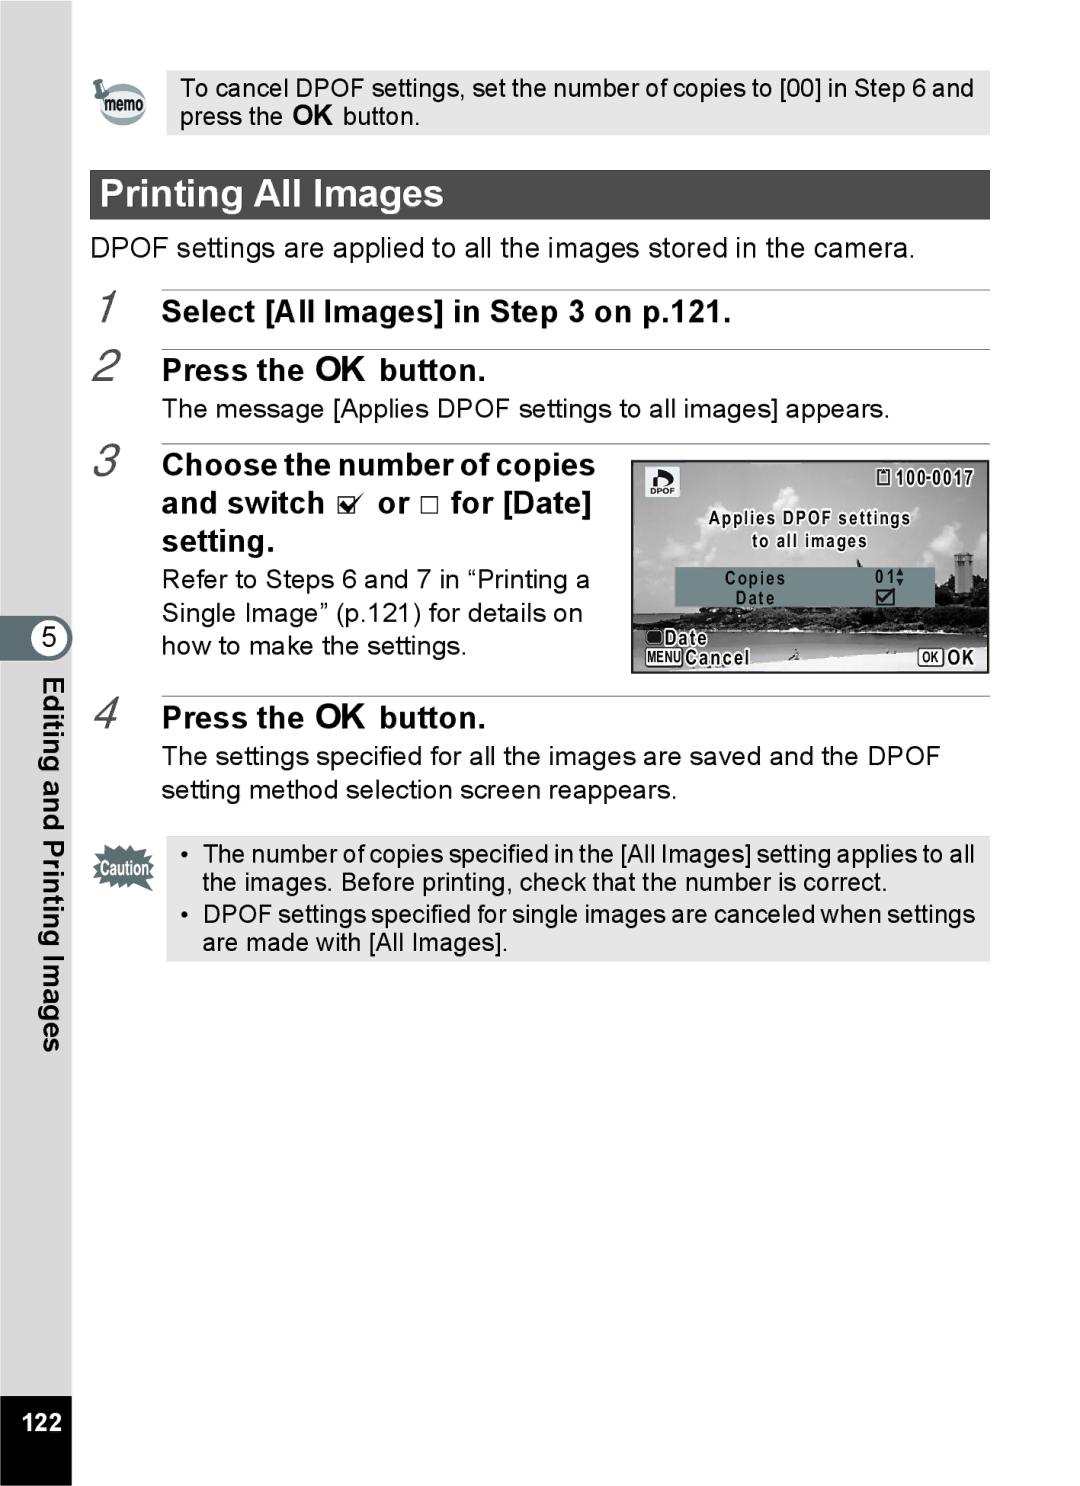
The message [Applies DPOF settings to all images] appears.
5
3 Choose the number of copies and switch O or P for [Date] setting.
Refer to Steps 6 and 7 in “Printing a Single Image” (p.121) for details on how to make the settings.
![]() 100-0017
100-0017
Applies DPOF settings
to all images
Copies | 01 |
Date |
|
Date | OK OK |
MENU Cancel |
Editing and Printing Images
4 Press the 4 button.
The settings specified for all the images are saved and the DPOF setting method selection screen reappears.
• The number of copies specified in the [All Images] setting applies to all the images. Before printing, check that the number is correct.
•DPOF settings specified for single images are canceled when settings are made with [All Images].
122