About the red-eye phenomenon
Taking pictures using the flash may cause the subject’s eyes to appear red in the resulting picture. This phenomenon occurs when the light from the flash is reflected in the subject’s eyes. It can be reduced by illuminating the area around the subject or moving closer to the subject and zooming out to a wider angle. Setting the flash mode to d is also an effective way of reducing red eyes.
If the subject’s eyes appear red despite such precautions, they can be corrected by the
Saving the Flash Mode setting 1p.87
Selecting the Drive Mode
| Use this mode when you want to be included in a group | |
g | picture. The picture is taken approximately ten seconds | |
| after the shutter release button is pressed. | |
| Use this mode to avoid camera shake. The picture is taken | |
Z 2 sec. | approximately two seconds after the shutter release button | |
| is pressed. | |
| Each time an image is taken, it is saved in the memory | |
j ShootingContinuous | before the next image is taken. The higher the image | |
quality, the longer the interval between shots. | ||
| You can continue shooting until the capacity of the SD | |
| Memory Card or the | |
q Burst Shooting | The number of recorded pixels is fixed at ffor the 4:3 | |
aspect ratio and 1for the 16:9 aspect ratio. | ||
|
1 Press the four-way controller (2) in A mode.
The [Drive Mode] screen appears.
The drive mode changes each time the button is pressed. You can also change the mode using the
To select Z, press the
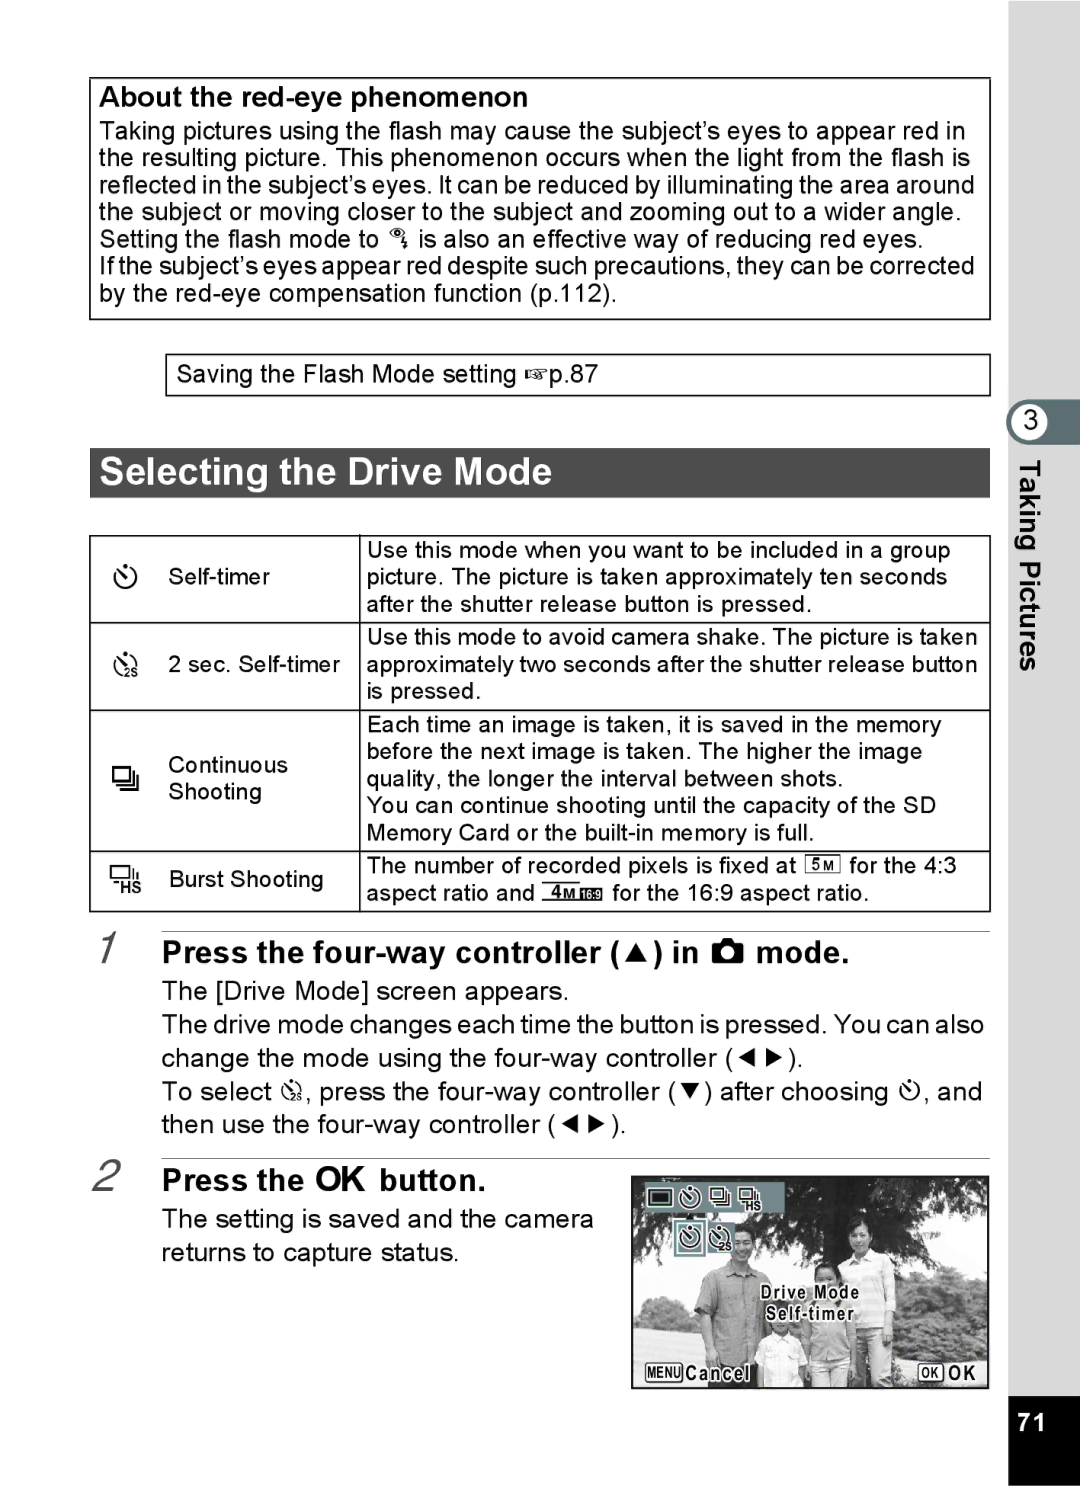
2 Press the 4 button.
The setting is saved and the camera returns to capture status.
Drive Mode
MENU Cancel | OK OK |
3 TakingPictures
71