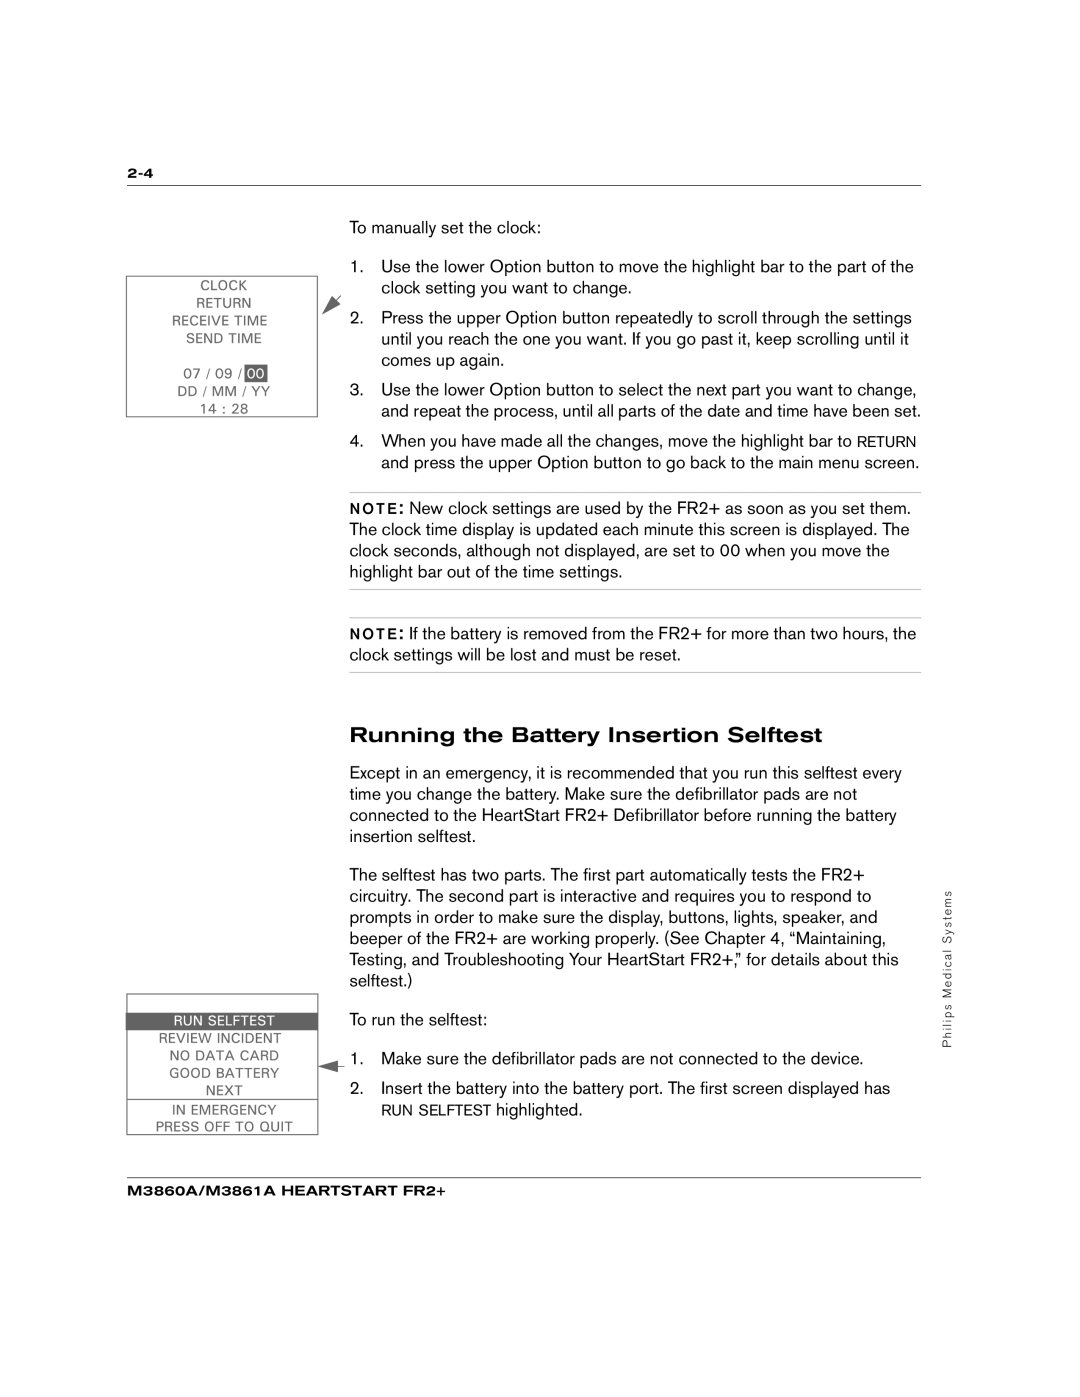
To manually set the clock:
1.Use the lower Option button to move the highlight bar to the part of the
clock setting you want to change.
2. Press the upper Option button repeatedly to scroll through the settings until you reach the one you want. If you go past it, keep scrolling until it comes up again.
3. Use the lower Option button to select the next part you want to change, and repeat the process, until all parts of the date and time have been set.
4.When you have made all the changes, move the highlight bar to RETURN and press the upper Option button to go back to the main menu screen.
N O T E : New clock settings are used by the FR2+ as soon as you set them. The clock time display is updated each minute this screen is displayed. The clock seconds, although not displayed, are set to 00 when you move the highlight bar out of the time settings.
N O T E : If the battery is removed from the FR2+ for more than two hours, the clock settings will be lost and must be reset.
Running the Battery Insertion Selftest
Except in an emergency, it is recommended that you run this selftest every time you change the battery. Make sure the defibrillator pads are not connected to the HeartStart FR2+ Defibrillator before running the battery insertion selftest.
The selftest has two parts. The first part automatically tests the FR2+ circuitry. The second part is interactive and requires you to respond to prompts in order to make sure the display, buttons, lights, speaker, and beeper of the FR2+ are working properly. (See Chapter 4, “Maintaining, Testing, and Troubleshooting Your HeartStart FR2+,” for details about this selftest.)
To run the selftest:
1. Make sure the defibrillator pads are not connected to the device.
2.Insert the battery into the battery port. The first screen displayed has RUN SELFTEST highlighted.
P hili ps Me dical Sy stems