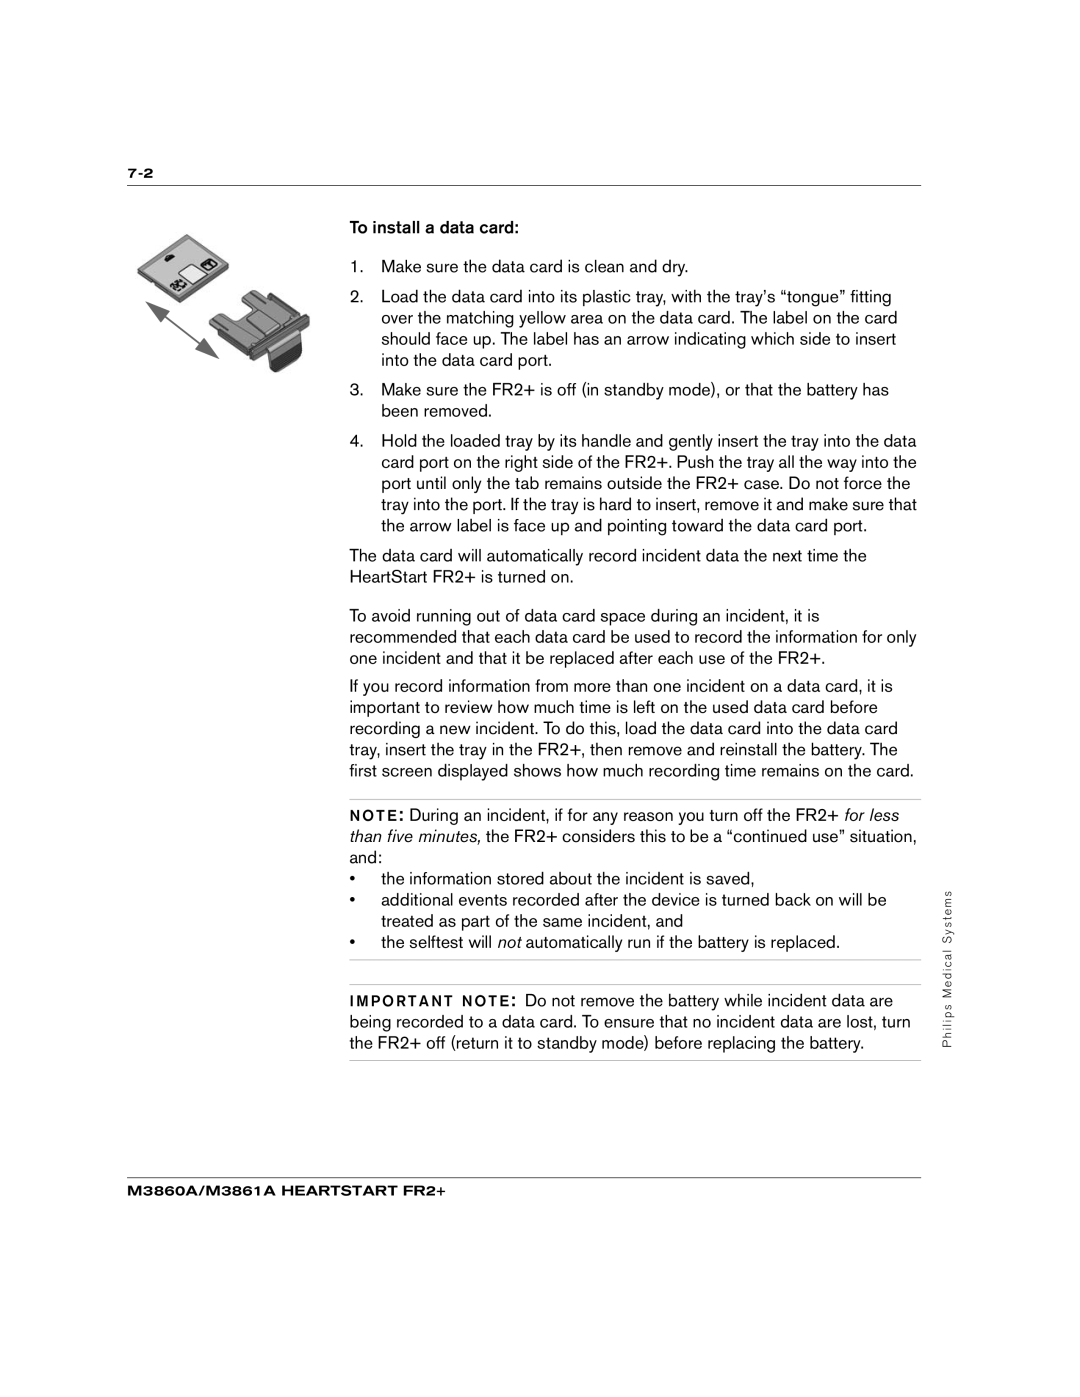
To install a data card:
1.Make sure the data card is clean and dry.
2.Load the data card into its plastic tray, with the tray’s “tongue” fitting
over the matching yellow area on the data card. The label on the card should face up. The label has an arrow indicating which side to insert into the data card port.
3.Make sure the FR2+ is off (in standby mode), or that the battery has been removed.
4.Hold the loaded tray by its handle and gently insert the tray into the data card port on the right side of the FR2+. Push the tray all the way into the port until only the tab remains outside the FR2+ case. Do not force the tray into the port. If the tray is hard to insert, remove it and make sure that the arrow label is face up and pointing toward the data card port.
The data card will automatically record incident data the next time the
HeartStart FR2+ is turned on.
To avoid running out of data card space during an incident, it is recommended that each data card be used to record the information for only one incident and that it be replaced after each use of the FR2+.
If you record information from more than one incident on a data card, it is important to review how much time is left on the used data card before recording a new incident. To do this, load the data card into the data card tray, insert the tray in the FR2+, then remove and reinstall the battery. The first screen displayed shows how much recording time remains on the card.
N O T E : During an incident, if for any reason you turn off the FR2+ for less than five minutes, the FR2+ considers this to be a “continued use” situation, and:
•the information stored about the incident is saved,
•additional events recorded after the device is turned back on will be treated as part of the same incident, and
•the selftest will not automatically run if the battery is replaced.
I M P O R T A N T N O T E : Do not remove the battery while incident data are being recorded to a data card. To ensure that no incident data are lost, turn the FR2+ off (return it to standby mode) before replacing the battery.
