Basic Delivery Procedure
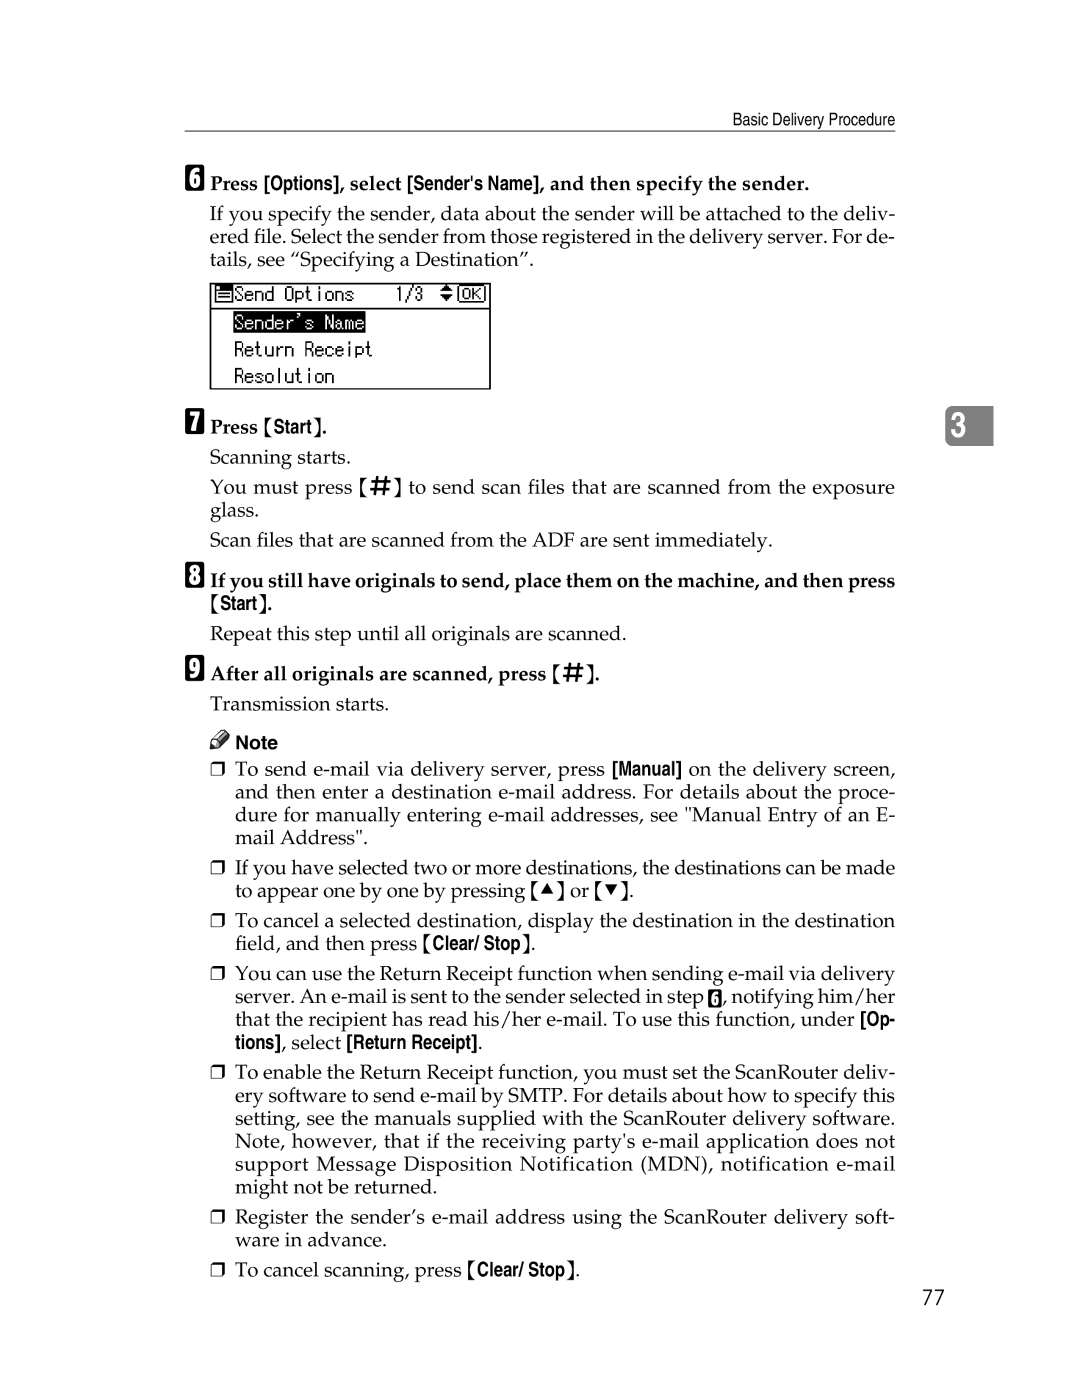
F Press [Options], select [Sender's Name], and then specify the sender.
If you specify the sender, data about the sender will be attached to the deliv- ered file. Select the sender from those registered in the delivery server. For de- tails, see “Specifying a Destination”.
G Press {Start}. |
|
3 |
Scanning starts.
You must press {q} to send scan files that are scanned from the exposure glass.
Scan files that are scanned from the ADF are sent immediately.
H
I
If you still have originals to send, place them on the machine, and then press
{Start}.
Repeat this step until all originals are scanned.
After all originals are scanned, press {q}.
Transmission starts.
![]()
![]() Note
Note
❒To send
❒If you have selected two or more destinations, the destinations can be made to appear one by one by pressing {U} or {T}.
❒To cancel a selected destination, display the destination in the destination field, and then press {Clear/ Stop}.
❒You can use the Return Receipt function when sending
server. An
❒To enable the Return Receipt function, you must set the ScanRouter deliv- ery software to send
❒Register the sender’s
❒To cancel scanning, press {Clear/ Stop}.
77
