Operation
DVI SETUP
PLUG/PLAY | : | VIDEO | |
BLACK LEVEL | : | LOW | |
|
|
| |
|
|
| |
SET ENTER | MENU | EXIT | |
|
|
|
Use the left- or
MPEG Filter: Use the MPEG Filter to reduce or eliminate
Chroma EE: Use the Chroma EE control to correct chroma delay in a Composite,
Film Mode: When you enable Film Mode, the CinemaWall automatically detects and optimizes the display of interlaced video signals that originated from film. To disable Film Mode, set it to OFF.
Film Mode can only be used on input signals with a
Note rate.
Color Space: To ensure proper color reproduction, select Color Space from the
•Select RGB for RGB input signals from a computer or video deck.
•Select COMP. 1 for component input signals less than 720p, such as from a DVD player.
•Select COMP. 2 for
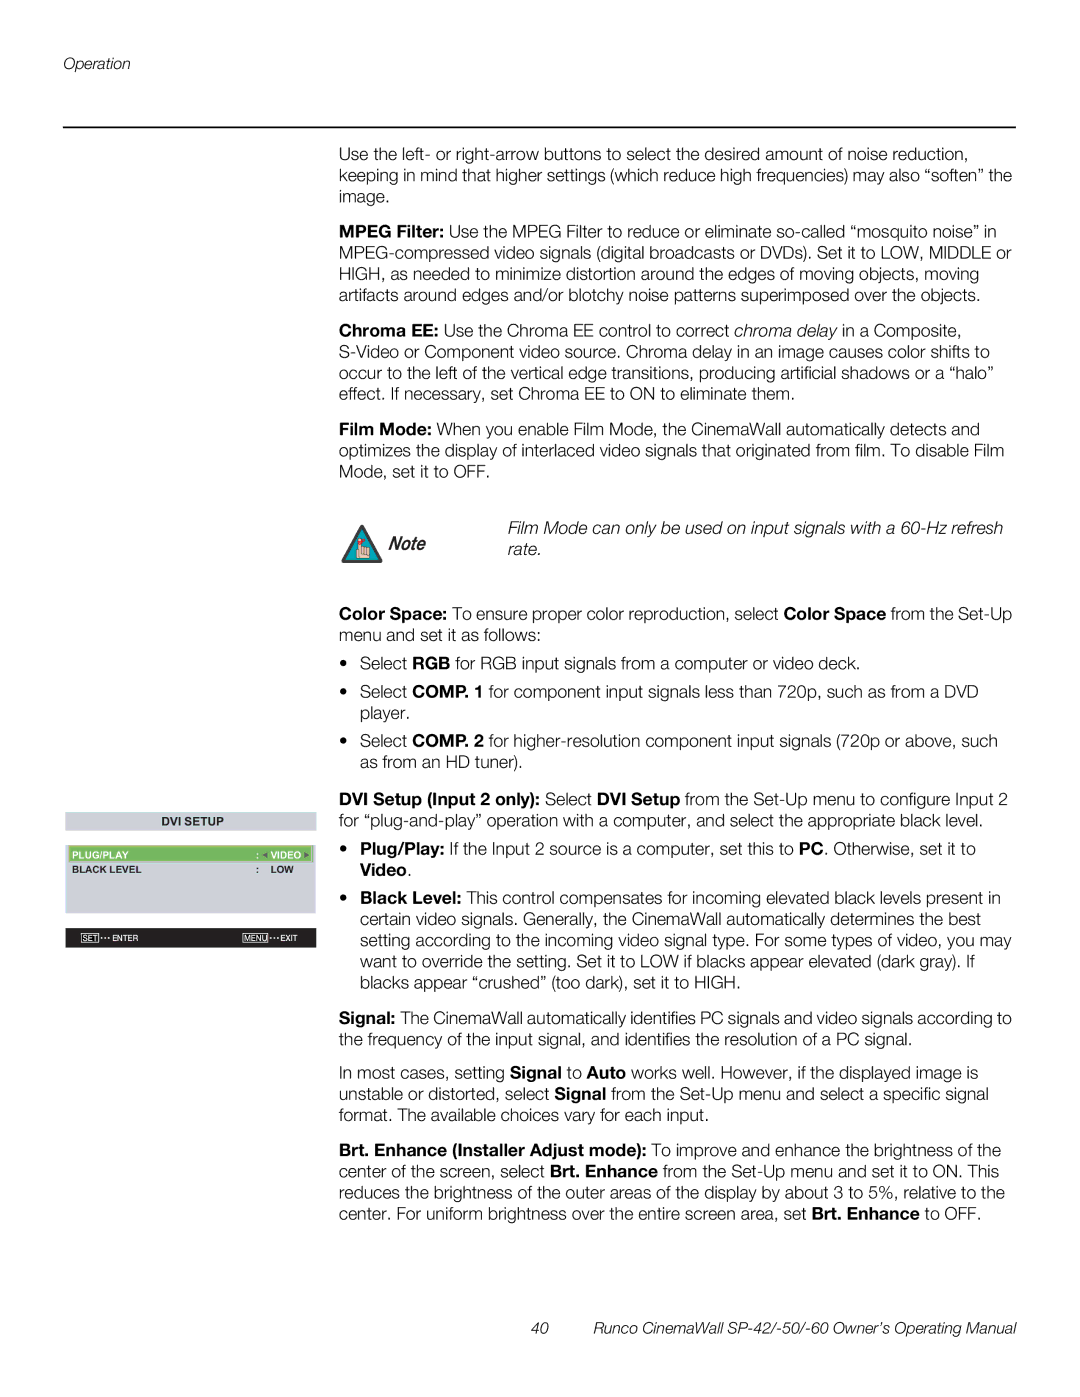
DVI Setup (Input 2 only): Select DVI Setup from the
•Plug/Play: If the Input 2 source is a computer, set this to PC. Otherwise, set it to Video.
•Black Level: This control compensates for incoming elevated black levels present in certain video signals. Generally, the CinemaWall automatically determines the best setting according to the incoming video signal type. For some types of video, you may want to override the setting. Set it to LOW if blacks appear elevated (dark gray). If blacks appear “crushed” (too dark), set it to HIGH.
Signal: The CinemaWall automatically identifies PC signals and video signals according to the frequency of the input signal, and identifies the resolution of a PC signal.
In most cases, setting Signal to Auto works well. However, if the displayed image is unstable or distorted, select Signal from the
Brt. Enhance (Installer Adjust mode): To improve and enhance the brightness of the center of the screen, select Brt. Enhance from the