11Labels inside the machine identify each imaging unit’s position. Holding the handles on the new imaging unit, push the imaging unit until it locks in place.
12Turn the imaging unit locking levers inwards until it locks in place and close the inner cover.
13Insert the waste toner container into position and then push it to make sure that it is firmly seated in place.
14Close the front cover, then the side cover.
15Make sure that the cover is securely latched and then turn the machine on.
Caution
If the cover is not completely closed, the machine will not operate.
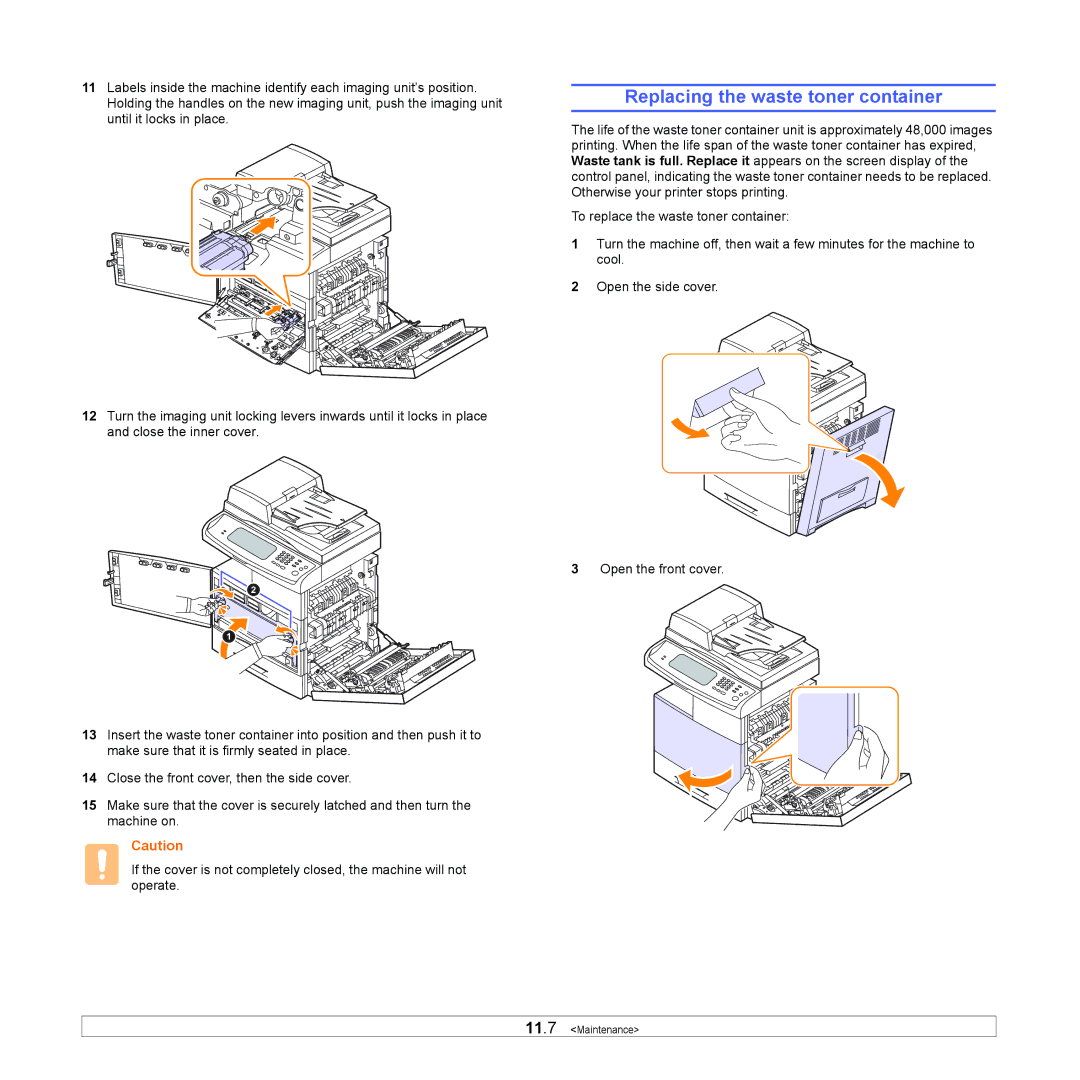
Replacing the waste toner container
The life of the waste toner container unit is approximately 48,000 images printing. When the life span of the waste toner container has expired, Waste tank is full. Replace it appears on the screen display of the control panel, indicating the waste toner container needs to be replaced. Otherwise your printer stops printing.
To replace the waste toner container:
1Turn the machine off, then wait a few minutes for the machine to cool.
2Open the side cover.
3Open the front cover.