3-3 Setting the DIP Switches
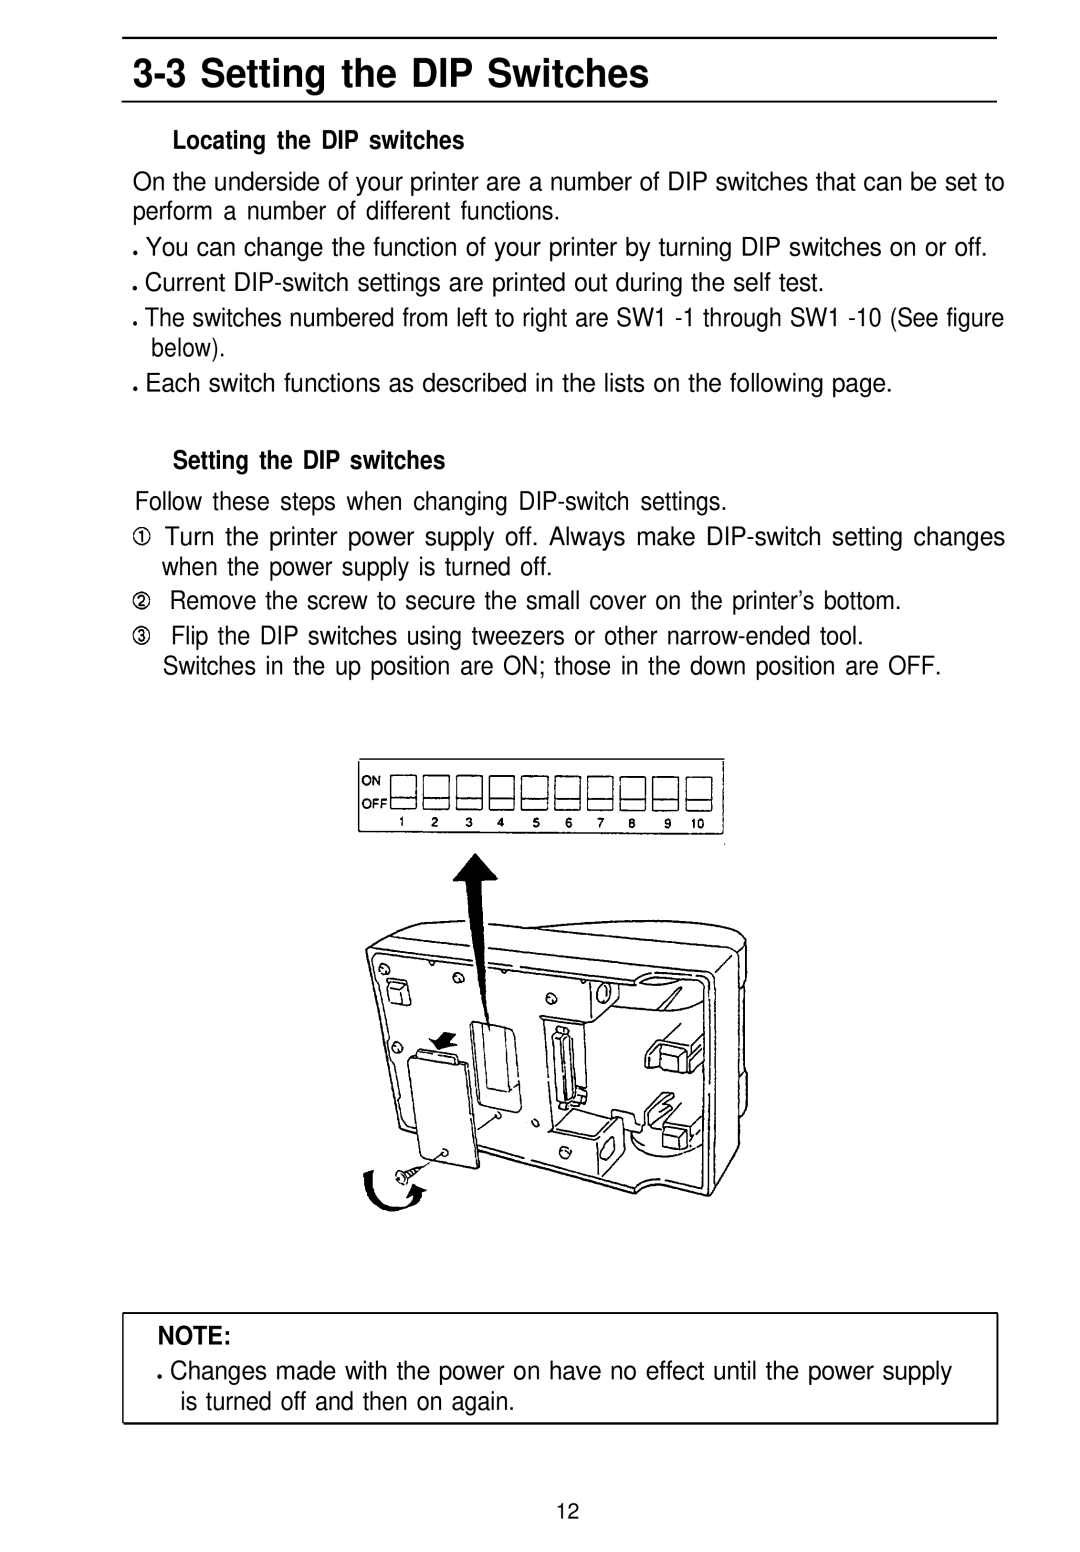
nLocating the DIP switches
On the underside of your printer are a number of DIP switches that can be set to perform a number of different functions.
•You can change the function of your printer by turning DIP switches on or off.
•Current
•The switches numbered from left to right are SW1
•Each switch functions as described in the lists on the following page.
nSetting the DIP switches
Follow these steps when changing
Turn the printer power supply off. Always make
Remove the screw to secure the small cover on the printer’s bottom. Flip the DIP switches using tweezers or other
NOTE:
•Changes made with the power on have no effect until the power supply is turned off and then on again.
12