Seiko Group TM-L60 manual Program Descriptions, Introduction, Before printing

Models: TM-L60

1 79
Download 79 pages 57.83 Kb
Page 60
Image 60
6-4 Program Descriptions

6-4 Program Descriptions

1. Introduction

The TM-L60 is connected to the host computer by an RS-232C Interface.

The TM-L60 is easily controlled by sending data and commands from the host computer. The following examples use the main commands from MS-DOS BASIC.

2.Before printing

ÀConnect TM-L60 to the host computer, power supply, and the drawer while referring to Chapter 2.

ÁCheck that the RS-232C cable is connected properly, and the host computer DIP-switches are set properly.

ÂCheck the TM-L60 DIP-switches using the self test. To print on roll paper, set the DIP SW-10 to the OFF position. To label paper, set the DIP SW-10 to ON position.

ÃConnect the RS-232C cable to the host computer while referring to the computer’s manual.

3.How to write program

3-1. Printing on the roll paper

NOTE: Omit step 1. Introductionand 2.Before printingif the drawer kick-out connector is covered (the drawer kick-out function is not available).

ÀFor all programs, always first open device RS-232C.

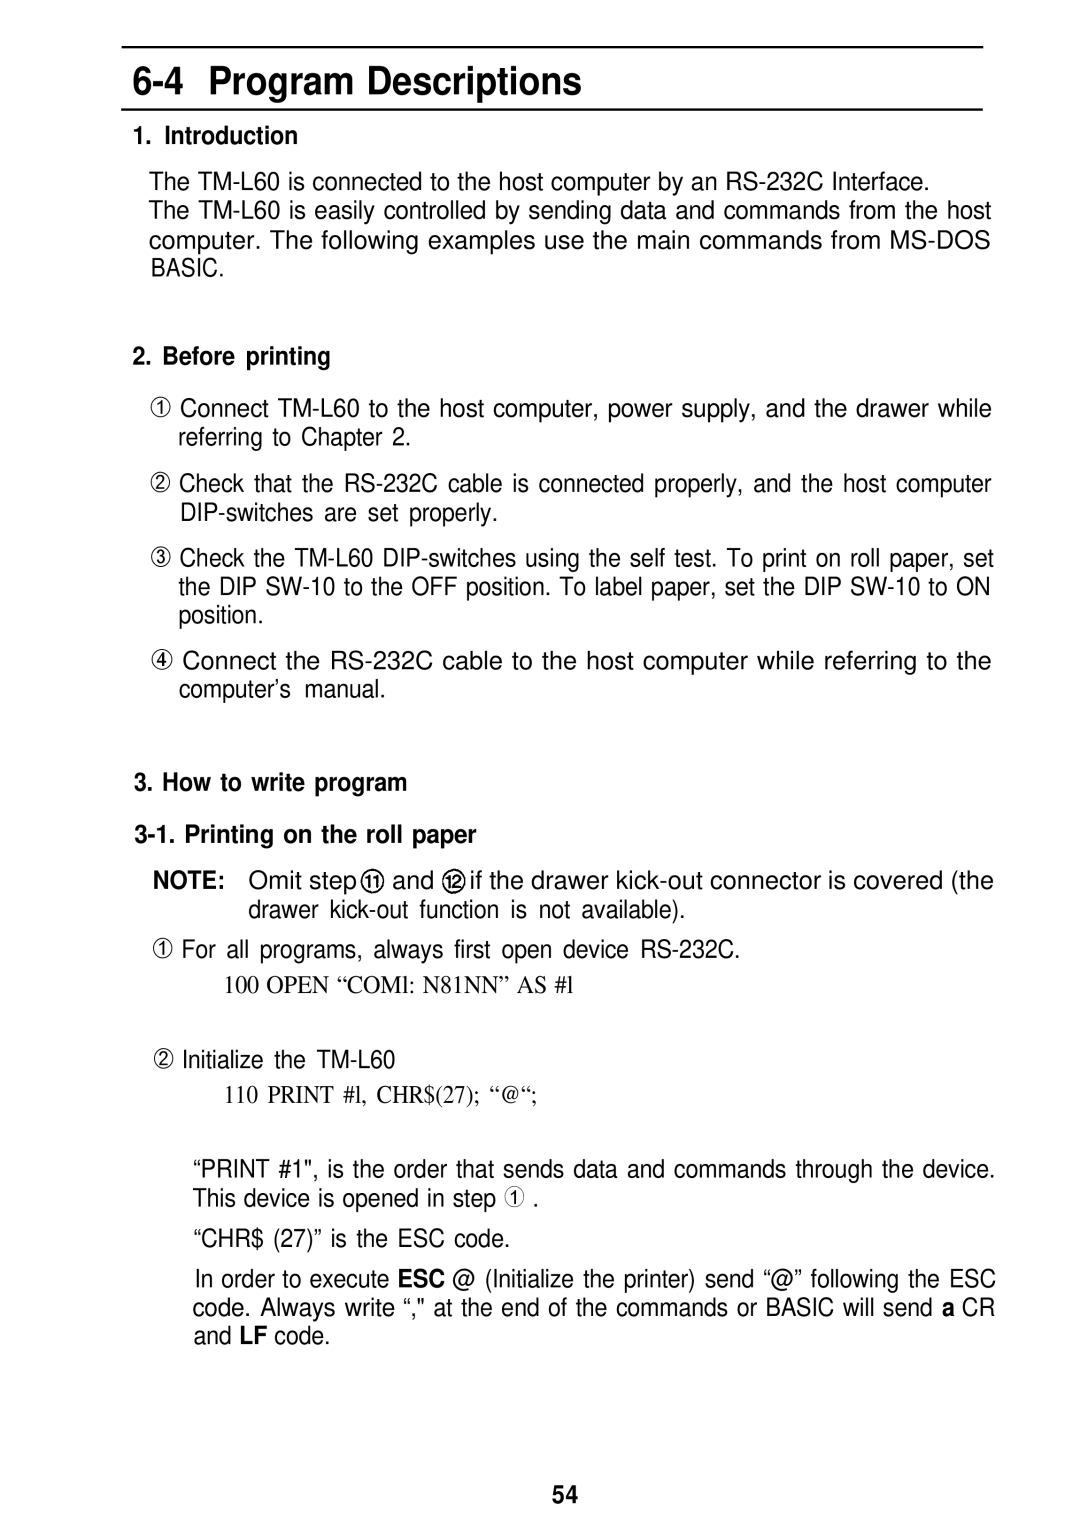
100 OPEN “COMl: N81NN” AS #l

ÁInitialize the TM-L60

110 PRINT #l, CHR$(27); “@“;

“PRINT #1", is the order that sends data and commands through the device. This device is opened in step À .

“CHR$ (27)” is the ESC code.

In order to execute ESC @ (Initialize the printer) send “@” following the ESC code. Always write “," at the end of the commands or BASIC will senda CR and LF code.

54
Page 60
Image 60
Seiko Group TM-L60 manual Program Descriptions, Introduction, Before printing