Compact Flash (CF) Card
Accessories
9.Connect the power cord to the wall outlet.Turn the printer power switch to the ON <I> position. When ready the printer may advise to press the select key to format the hard drive. This has to be done so that the hard drive can be used.
The installation of your Hard Disk option in your printer is now complete.
Compact Flash (CF) Card
1.Carefully review the safety precautions in the front of this guide before starting this installation procedure.
2.Ensure that the printer power switch is set to the OFF <O> position.
3.Disconnect the power cord from the wall outlet.
4.Remove the inside panel (see “Memory Expansion Module” on page
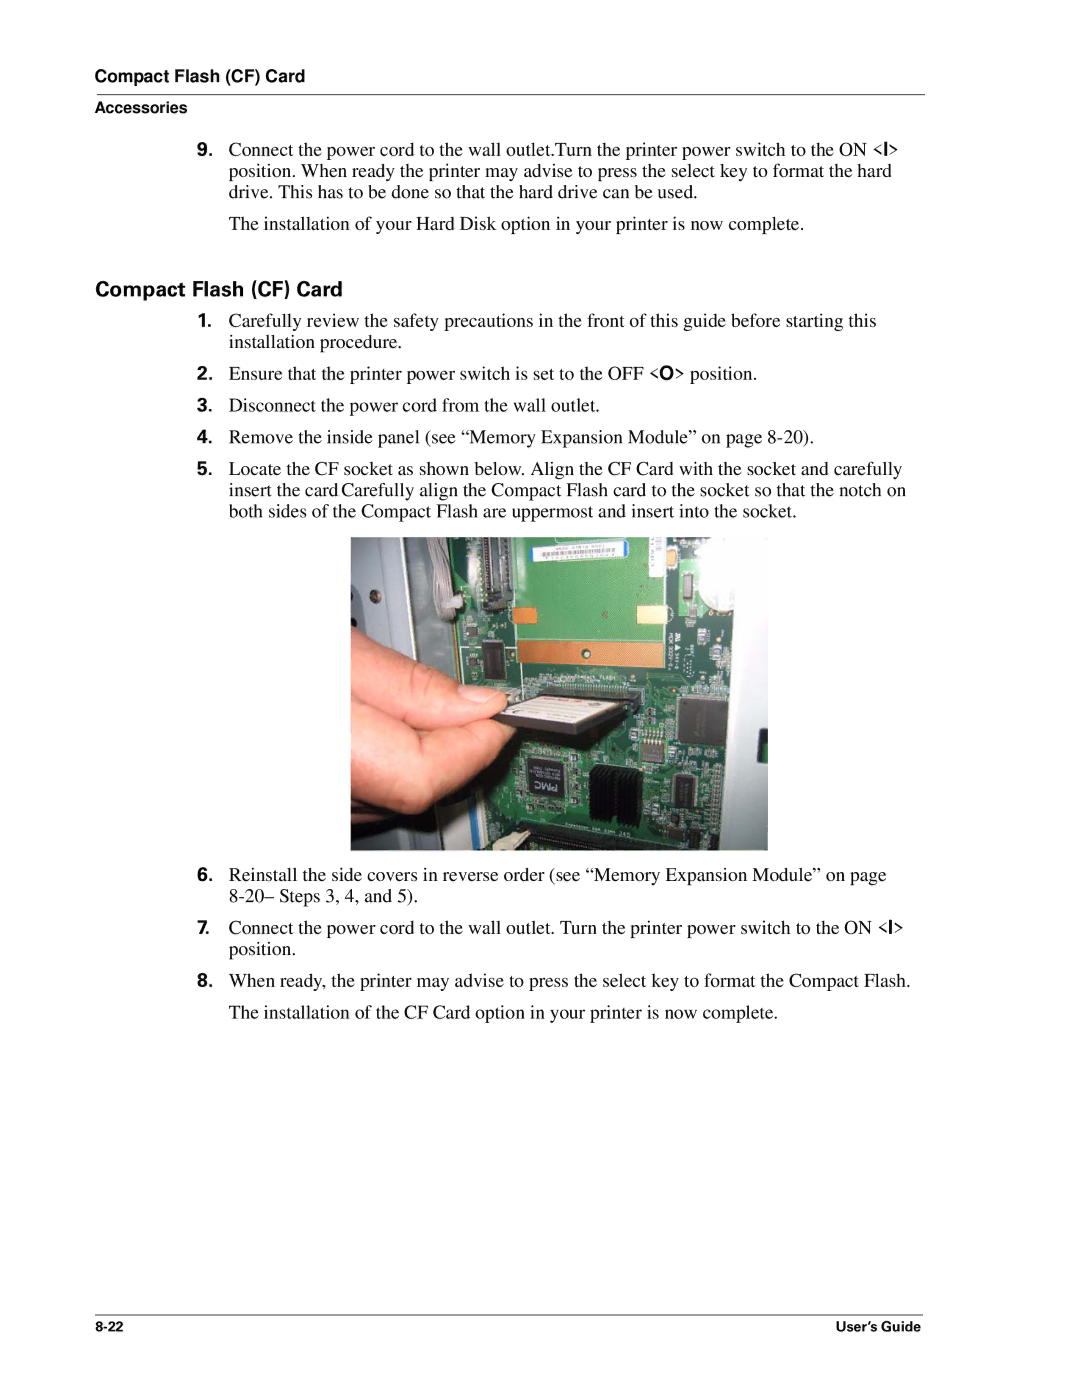
5.Locate the CF socket as shown below. Align the CF Card with the socket and carefully insert the card. Carefully align the Compact Flash card to the socket so that the notch on both sides of the Compact Flash are uppermost and insert into the socket.
6.Reinstall the side covers in reverse order (see “Memory Expansion Module” on page
7.Connect the power cord to the wall outlet. Turn the printer power switch to the ON <I> position.
8.When ready, the printer may advise to press the select key to format the Compact Flash. The installation of the CF Card option in your printer is now complete.
User’s Guide |