NETWORKING GUIDE | SVAT ELECTRONICS |
| now you can see |
Method 2:
1.Open Internet Explorer. Go to the drop down menu in the Tools area and select Internet Options.
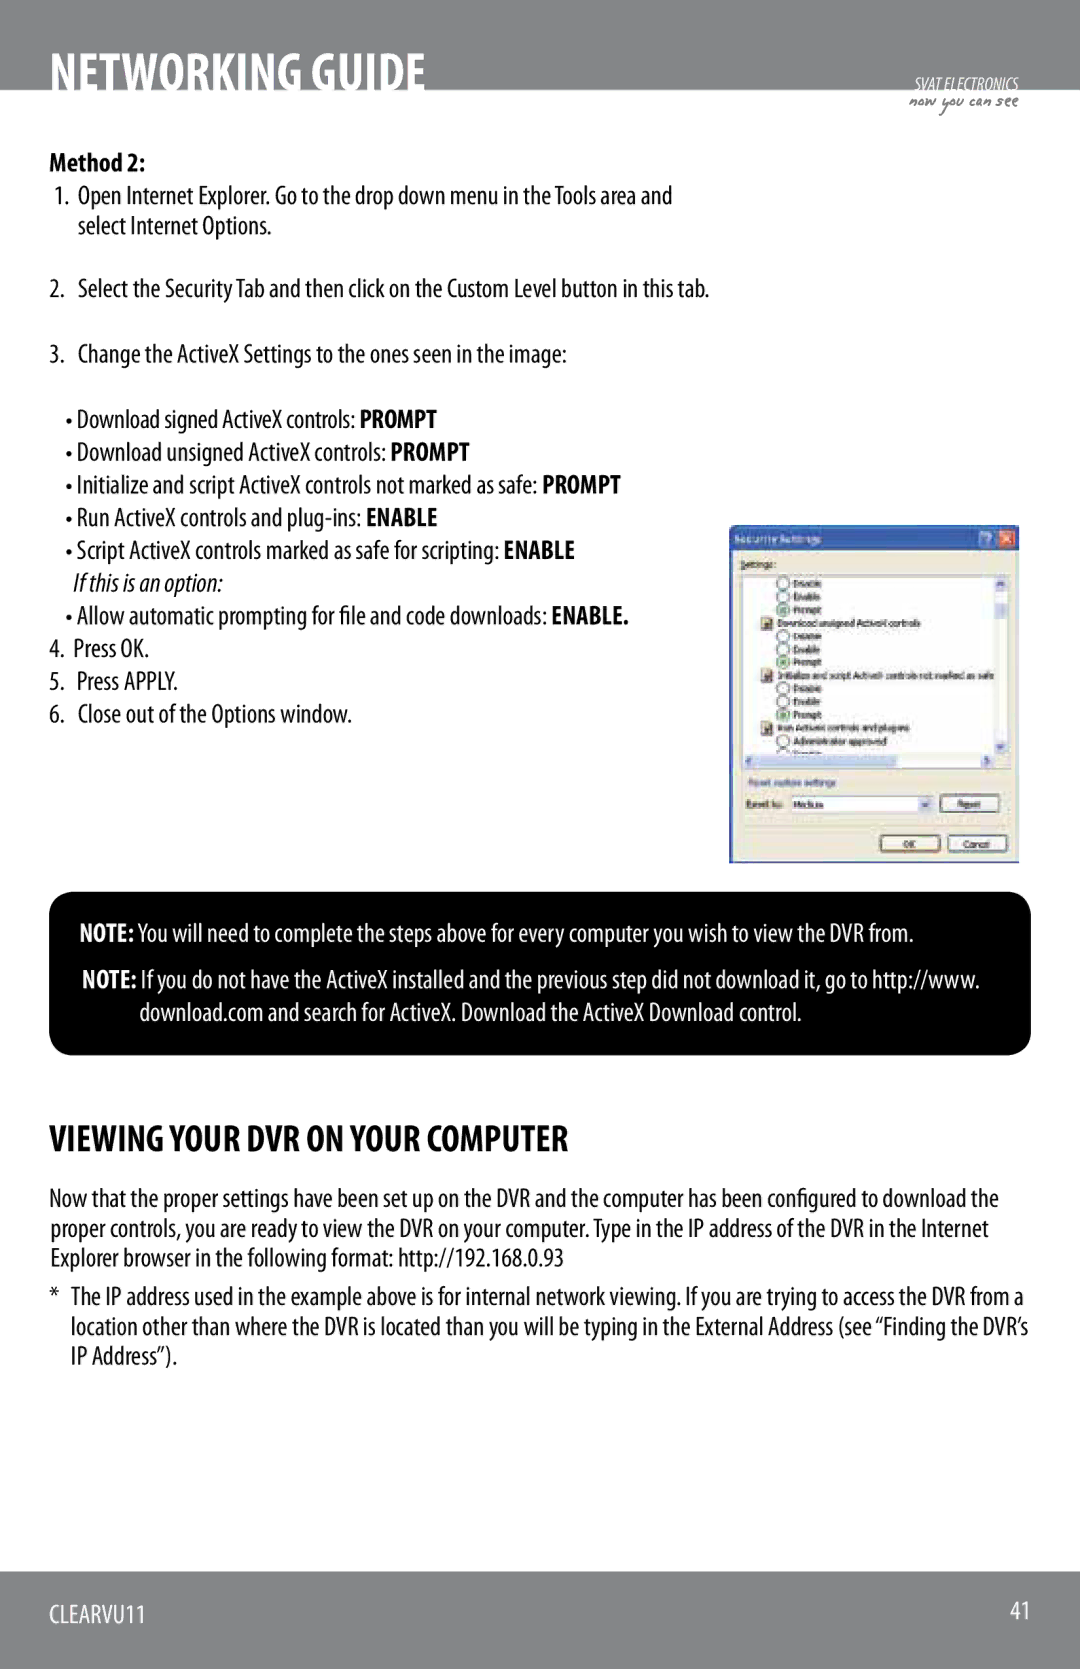
2.Select the Security Tab and then click on the Custom Level button in this tab.
3.Change the ActiveX Settings to the ones seen in the image:
•Download signed ActiveX controls: PROMPT
•Download unsigned ActiveX controls: PROMPT
•Initialize and script ActiveX controls not marked as safe: PROMPT
•Run ActiveX controls and
•Script ActiveX controls marked as safe for scripting: ENABLE
If this is an option:
•Allow automatic prompting for file and code downloads: ENABLE.
4.Press OK.
5.Press APPLY.
6.Close out of the Options window.
NOTE: You will need to complete the steps above for every computer you wish to view the DVR from.
NOTE: If you do not have the ActiveX installed and the previous step did not download it, go to http://www. download.com and search for ActiveX. Download the ActiveX Download control.
VIEWING YOUR DVR ON YOUR COMPUTER
Now that the proper settings have been set up on the DVR and the computer has been configured to download the proper controls, you are ready to view the DVR on your computer. Type in the IP address of the DVR in the Internet Explorer browser in the following format: http://192.168.0.93
*The IP address used in the example above is for internal network viewing. If you are trying to access the DVR from a location other than where the DVR is located than you will be typing in the External Address (see “Finding the DVR’s IP Address”).
CLEARVU11 | 41 |
|
|
