MAIN MENU
SVAT ELECTRONICS
now you can see
•Normal – normal record mode, including, A/V (Audio/Video), V (Video only), or No (No Video). Press +/- buttons to change the value.
The general operations are as below:
•▲▼◄►- Press these buttons to select the items. The display will scroll left/right if the selected item is not shown on the screen.
• COPY ( ) - Press this button to copy the settings of the focus weekday to all the following weekdays. (E.g. focus weekday is TUE, its settings will be copied to those of weekdays
•ESC (MENU/ESC) - Press this button to escape from this screen, and return to Setup Menu display. If the Save dialog is shown, press ENTER to exit and save, ESC (MENU/ESC) to exit without saving.
HDD SETUP
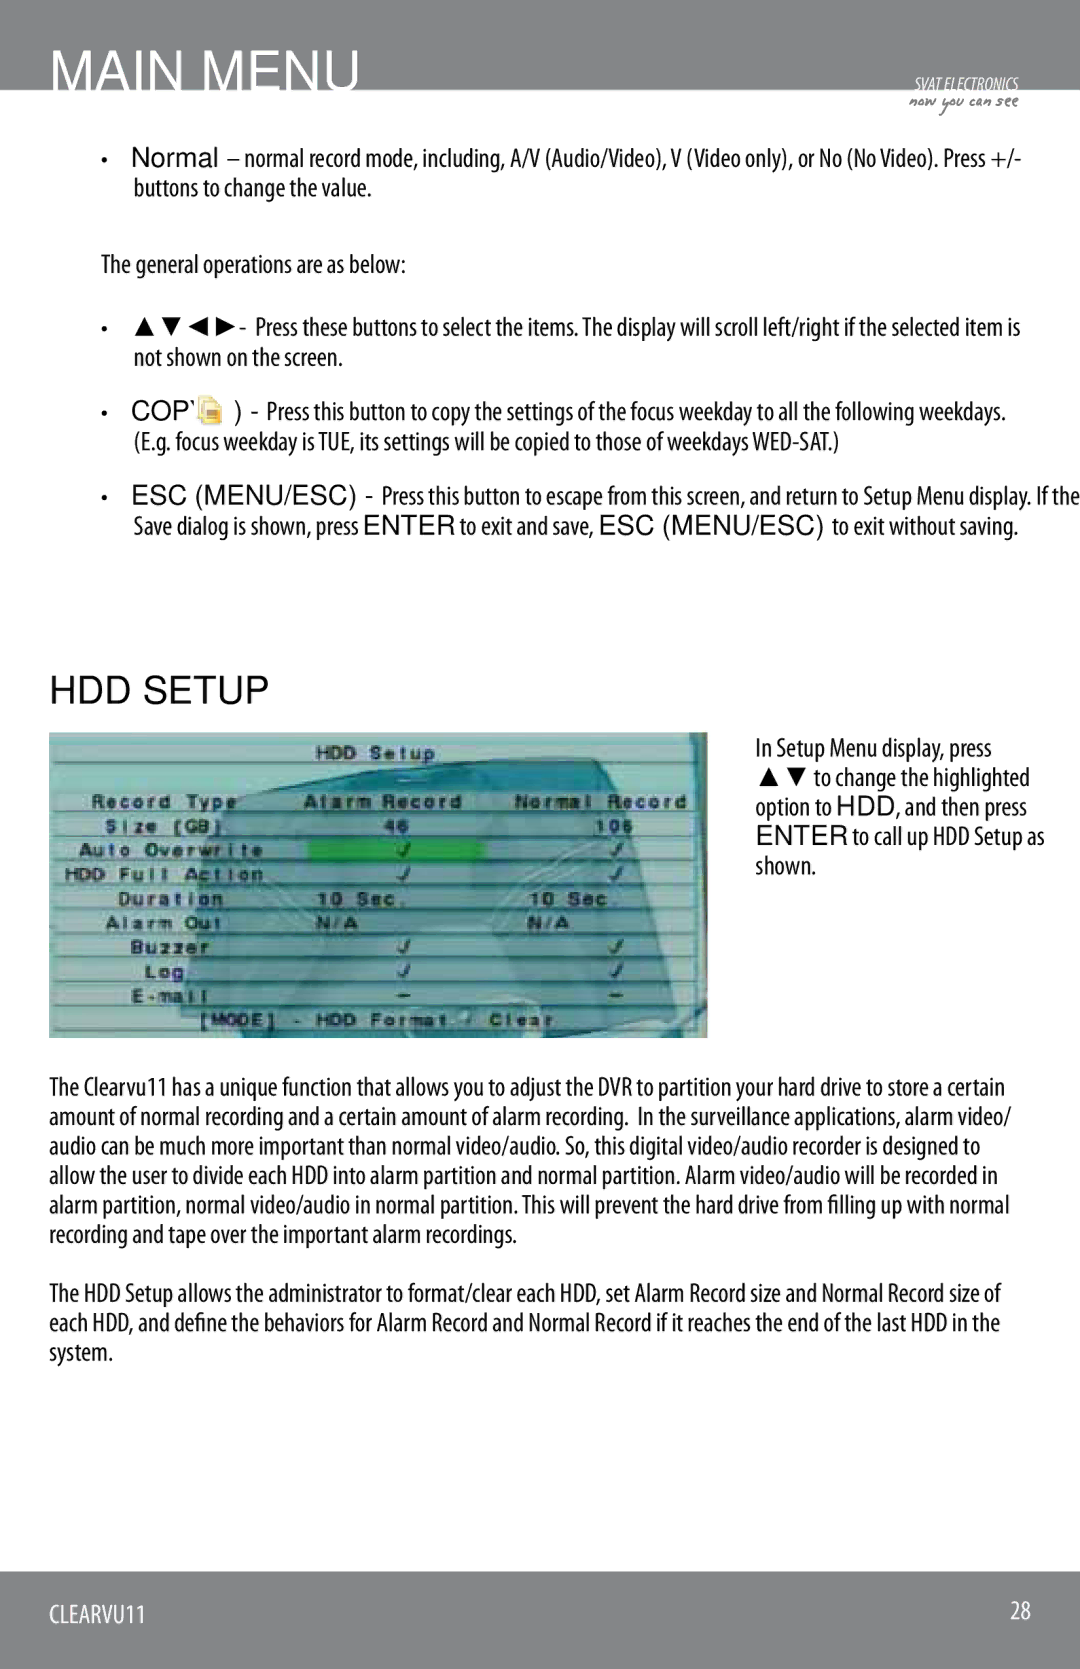
In Setup Menu display, press ▲▼ to change the highlighted option to HDD, and then press ENTER to call up HDD Setup as shown.
The Clearvu11 has a unique function that allows you to adjust the DVR to partition your hard drive to store a certain amount of normal recording and a certain amount of alarm recording. In the surveillance applications, alarm video/ audio can be much more important than normal video/audio. So, this digital video/audio recorder is designed to allow the user to divide each HDD into alarm partition and normal partition. Alarm video/audio will be recorded in alarm partition, normal video/audio in normal partition. This will prevent the hard drive from filling up with normal recording and tape over the important alarm recordings.
The HDD Setup allows the administrator to format/clear each HDD, set Alarm Record size and Normal Record size of each HDD, and define the behaviors for Alarm Record and Normal Record if it reaches the end of the last HDD in the system.
CLEARVU11 | 28 |
|
|
