MAIN MENU
SCHEDULED RECORD SETUP
SVAT ELECTRONICS
now you can see
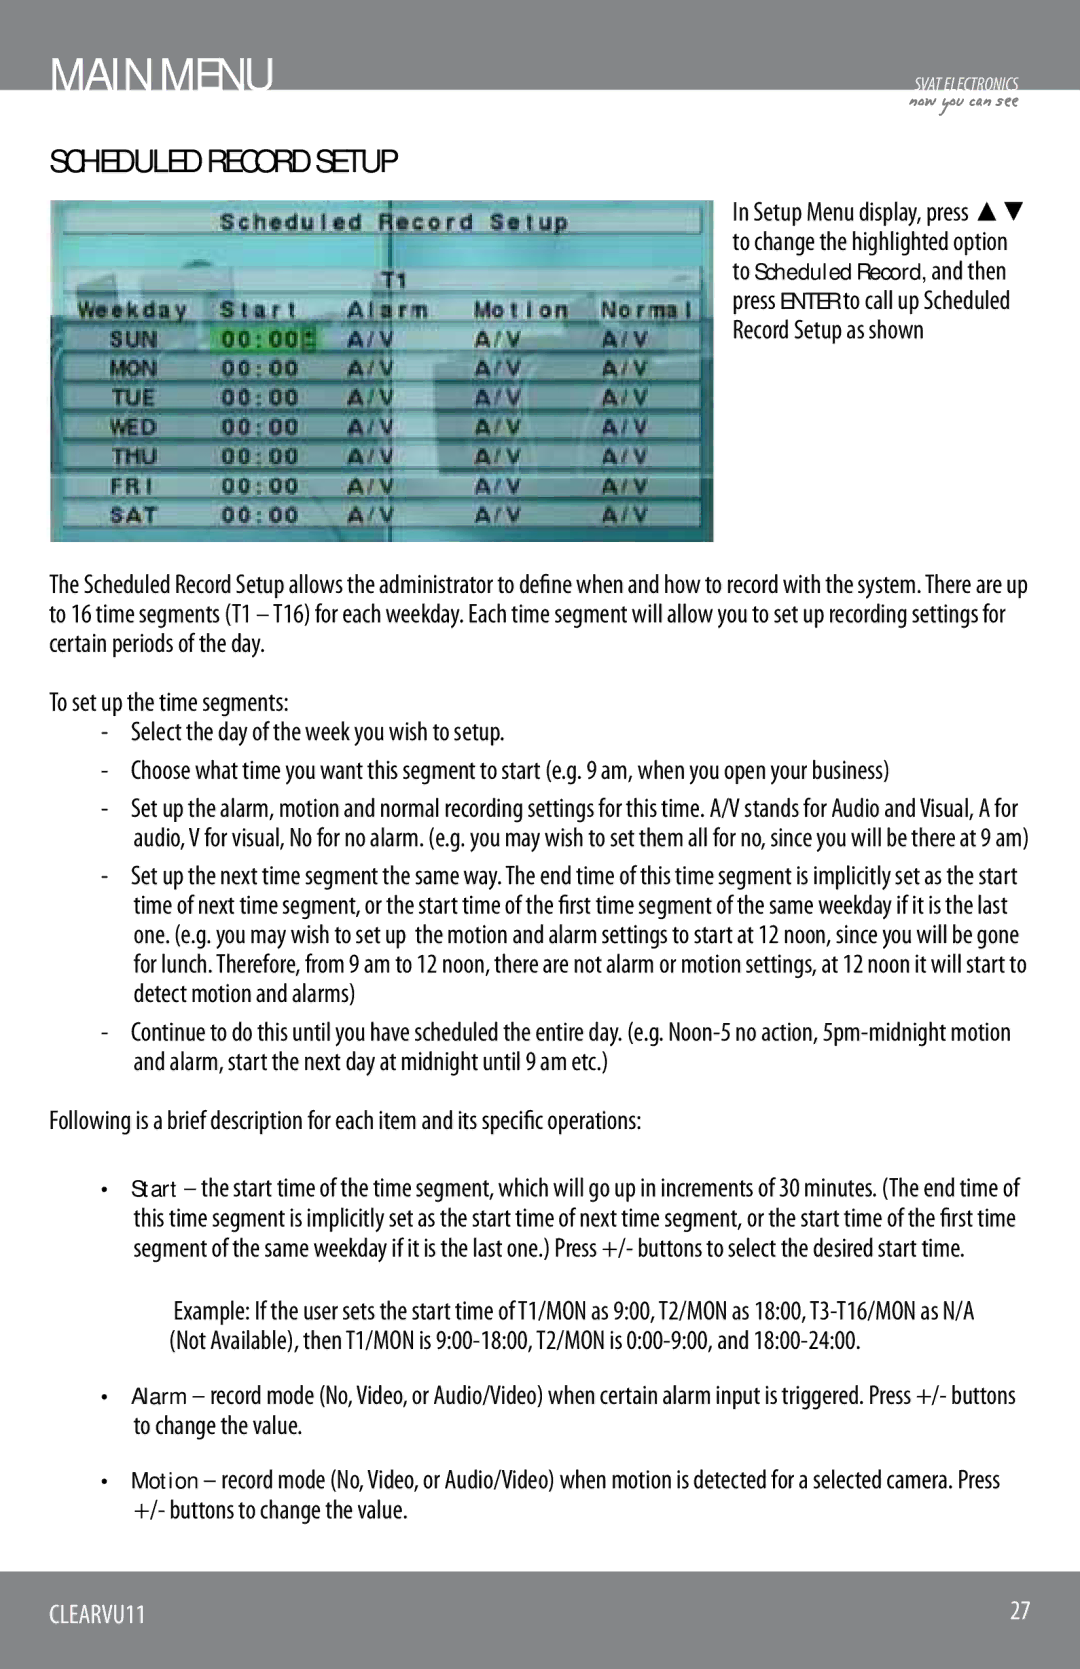
In Setup Menu display, press ▲▼ to change the highlighted option to Scheduled Record, and then press ENTER to call up Scheduled Record Setup as shown
The Scheduled Record Setup allows the administrator to define when and how to record with the system. There are up to 16 time segments (T1 – T16) for each weekday. Each time segment will allow you to set up recording settings for certain periods of the day.
To set up the time segments:
-Select the day of the week you wish to setup.
-Choose what time you want this segment to start (e.g. 9 am, when you open your business)
-Set up the alarm, motion and normal recording settings for this time. A/V stands for Audio and Visual, A for audio, V for visual, No for no alarm. (e.g. you may wish to set them all for no, since you will be there at 9 am)
-Set up the next time segment the same way. The end time of this time segment is implicitly set as the start time of next time segment, or the start time of the first time segment of the same weekday if it is the last one. (e.g. you may wish to set up the motion and alarm settings to start at 12 noon, since you will be gone for lunch. Therefore, from 9 am to 12 noon, there are not alarm or motion settings, at 12 noon it will start to detect motion and alarms)
-Continue to do this until you have scheduled the entire day. (e.g.
Following is a brief description for each item and its specific operations:
•Start – the start time of the time segment, which will go up in increments of 30 minutes. (The end time of this time segment is implicitly set as the start time of next time segment, or the start time of the first time segment of the same weekday if it is the last one.) Press +/- buttons to select the desired start time.
Example: If the user sets the start time of T1/MON as 9:00, T2/MON as 18:00,
•Alarm – record mode (No, Video, or Audio/Video) when certain alarm input is triggered. Press +/- buttons to change the value.
•Motion – record mode (No, Video, or Audio/Video) when motion is detected for a selected camera. Press +/- buttons to change the value.
CLEARVU11 | 27 |
|
|