Installing Ribbon Cartridge
Installing the Ribbon Cartridge
Step 1.
Make sure the printer is Offline or power is off. Open the printer lid and remove the old ribbon by lifting it straight up off of the Ribbon Platform.
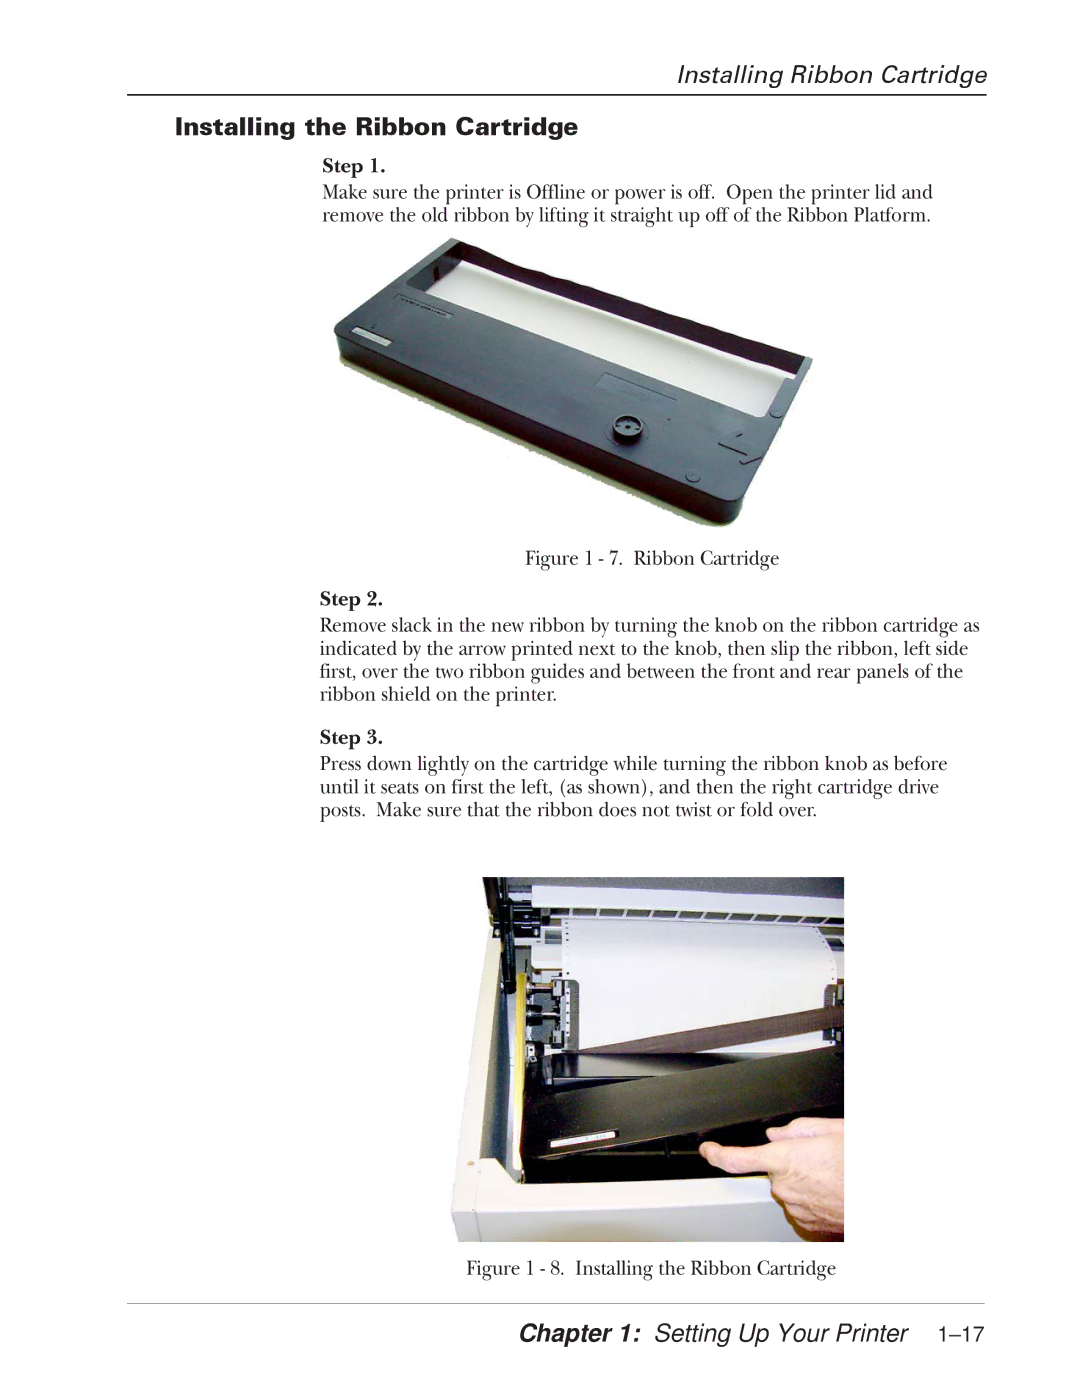
Figure 1 - 7. Ribbon Cartridge
Step 2.
Remove slack in the new ribbon by turning the knob on the ribbon cartridge as indicated by the arrow printed next to the knob, then slip the ribbon, left side first, over the two ribbon guides and between the front and rear panels of the ribbon shield on the printer.
Step 3.