Print Gap
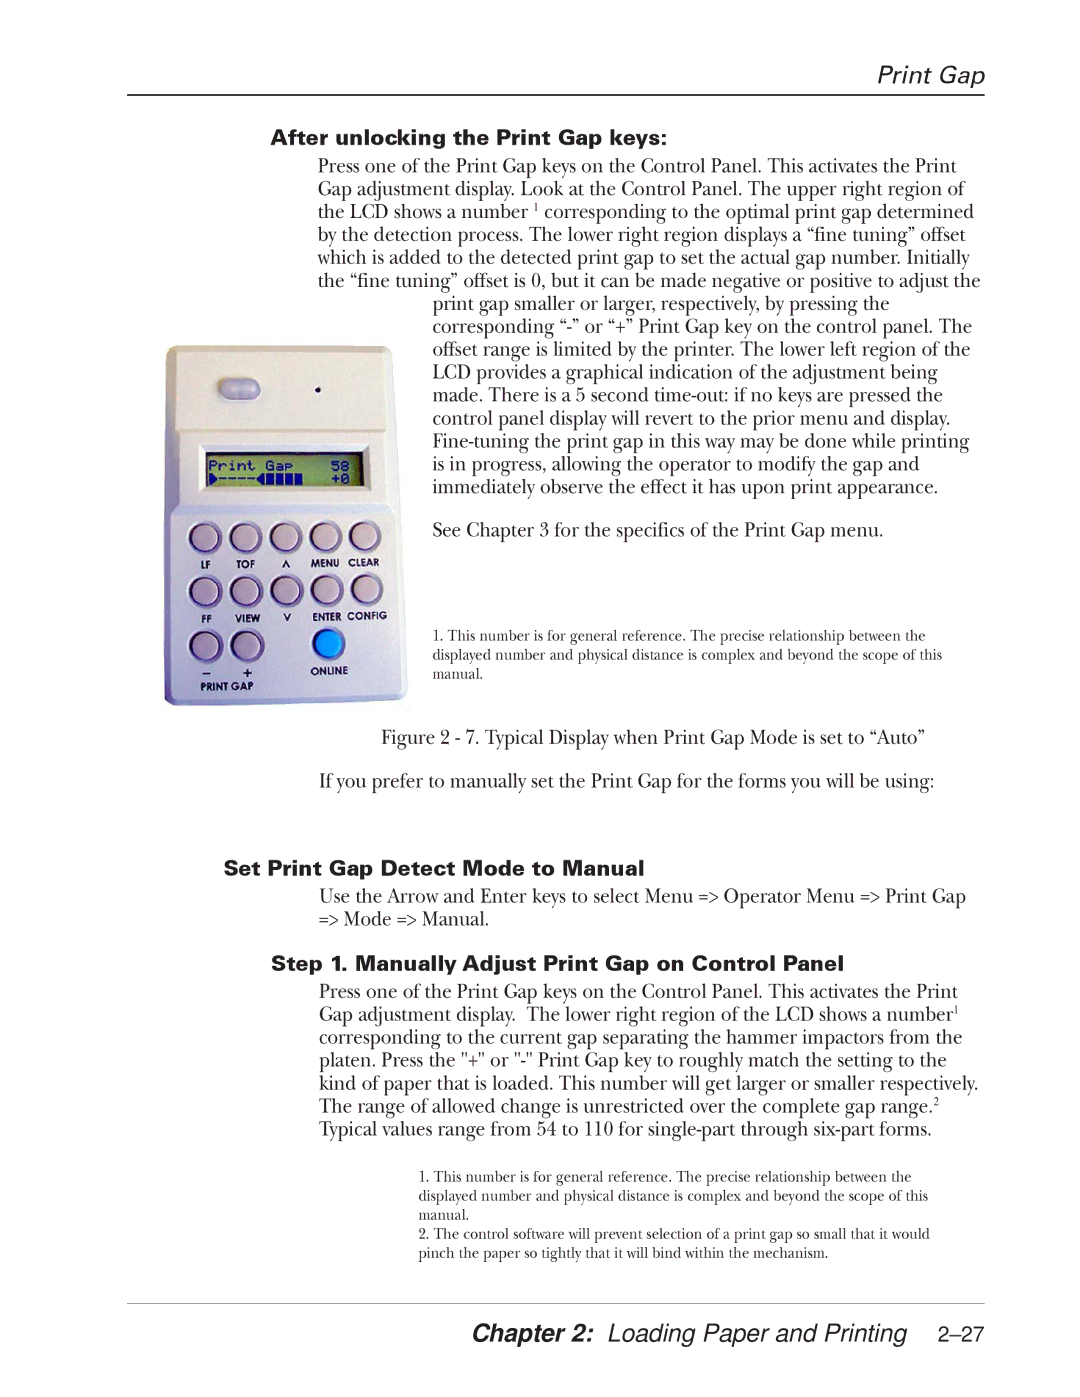
After unlocking the Print Gap keys:
Press one of the Print Gap keys on the Control Panel. This activates the Print Gap adjustment display. Look at the Control Panel. The upper right region of the LCD shows a number 1 corresponding to the optimal print gap determined by the detection process. The lower right region displays a “fine tuning” offset which is added to the detected print gap to set the actual gap number. Initially the “fine tuning” offset is 0, but it can be made negative or positive to adjust the
print gap smaller or larger, respectively, by pressing the corresponding
See Chapter 3 for the specifics of the Print Gap menu.
1.This number is for general reference. The precise relationship between the
displayed number and physical distance is complex and beyond the scope of this manual.
Figure 2 - 7. Typical Display when Print Gap Mode is set to “Auto”
If you prefer to manually set the Print Gap for the forms you will be using:
Set Print Gap Detect Mode to Manual
Use the Arrow and Enter keys to select Menu => Operator Menu => Print Gap => Mode => Manual.
Step 1. Manually Adjust Print Gap on Control Panel
Press one of the Print Gap keys on the Control Panel. This activates the Print Gap adjustment display. The lower right region of the LCD shows a number1 corresponding to the current gap separating the hammer impactors from the platen. Press the "+" or
1.This number is for general reference. The precise relationship between the
displayed number and physical distance is complex and beyond the scope of this manual.
2.The control software will prevent selection of a print gap so small that it would pinch the paper so tightly that it will bind within the mechanism.