Operator Menu ⇒ Print Gap
Fine-Tuning the Print Gap Manually
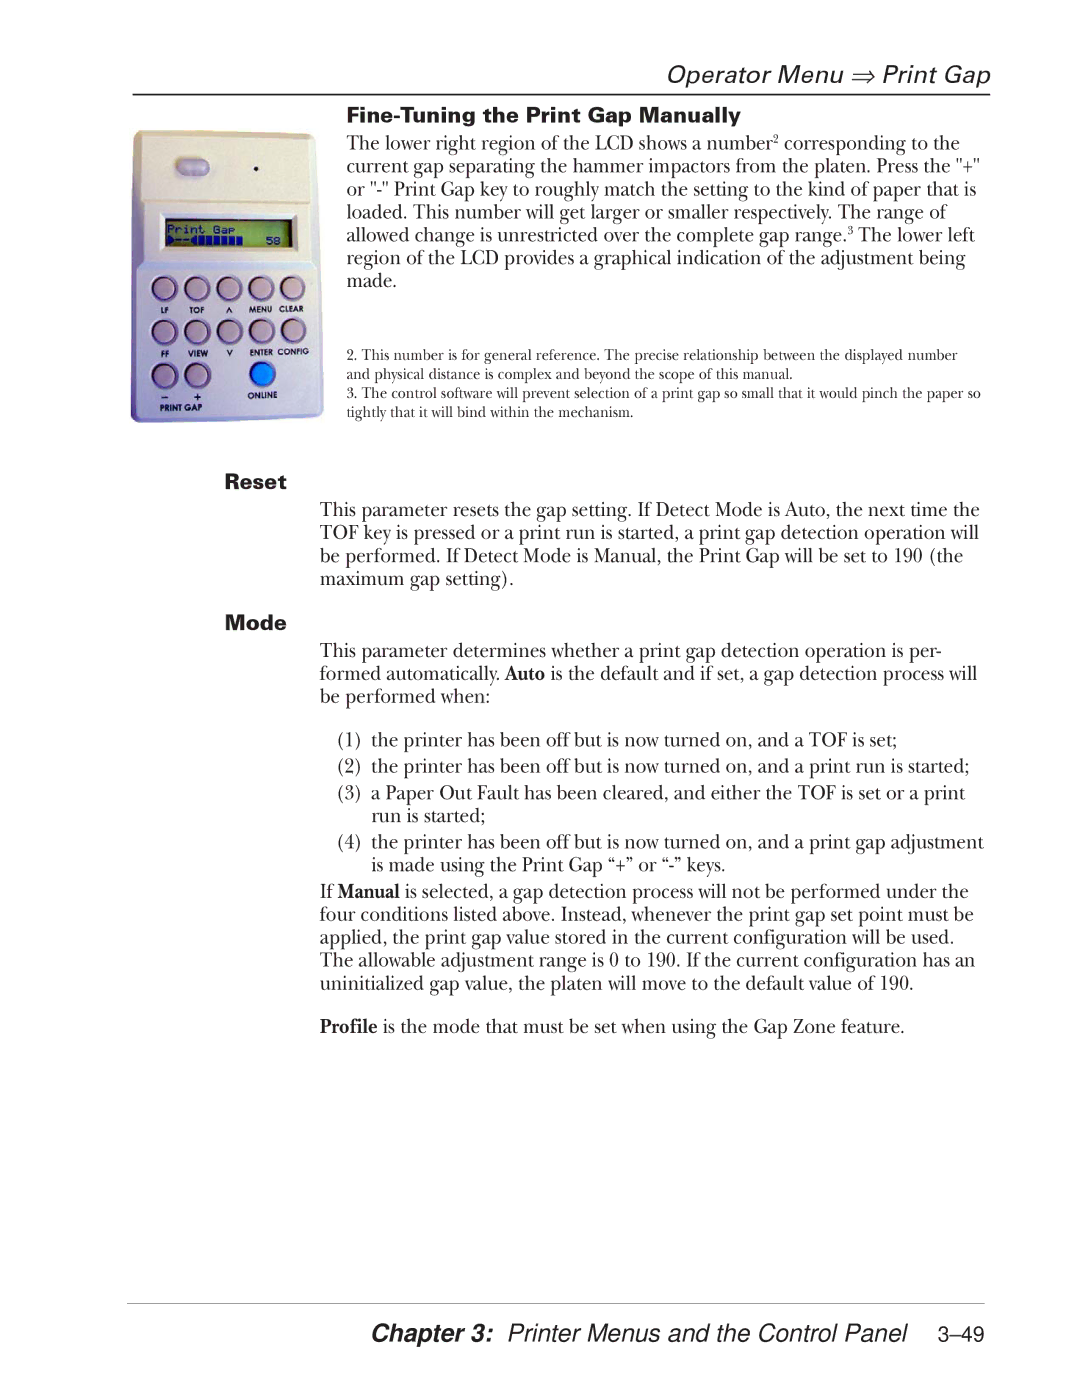
The lower right region of the LCD shows a number2 corresponding to the current gap separating the hammer impactors from the platen. Press the "+" or
2.This number is for general reference. The precise relationship between the displayed number and physical distance is complex and beyond the scope of this manual.
3.The control software will prevent selection of a print gap so small that it would pinch the paper so tightly that it will bind within the mechanism.
Reset
This parameter resets the gap setting. If Detect Mode is Auto, the next time the TOF key is pressed or a print run is started, a print gap detection operation will be performed. If Detect Mode is Manual, the Print Gap will be set to 190 (the maximum gap setting).
Mode
This parameter determines whether a print gap detection operation is per- formed automatically. Auto is the default and if set, a gap detection process will be performed when:
(1)the printer has been off but is now turned on, and a TOF is set;
(2)the printer has been off but is now turned on, and a print run is started;
(3)a Paper Out Fault has been cleared, and either the TOF is set or a print run is started;
(4)the printer has been off but is now turned on, and a print gap adjustment is made using the Print Gap “+” or
If Manual is selected, a gap detection process will not be performed under the four conditions listed above. Instead, whenever the print gap set point must be applied, the print gap value stored in the current configuration will be used.
The allowable adjustment range is 0 to 190. If the current configuration has an uninitialized gap value, the platen will move to the default value of 190.
Profile is the mode that must be set when using the Gap Zone feature.
