Manually Setting Print Gap
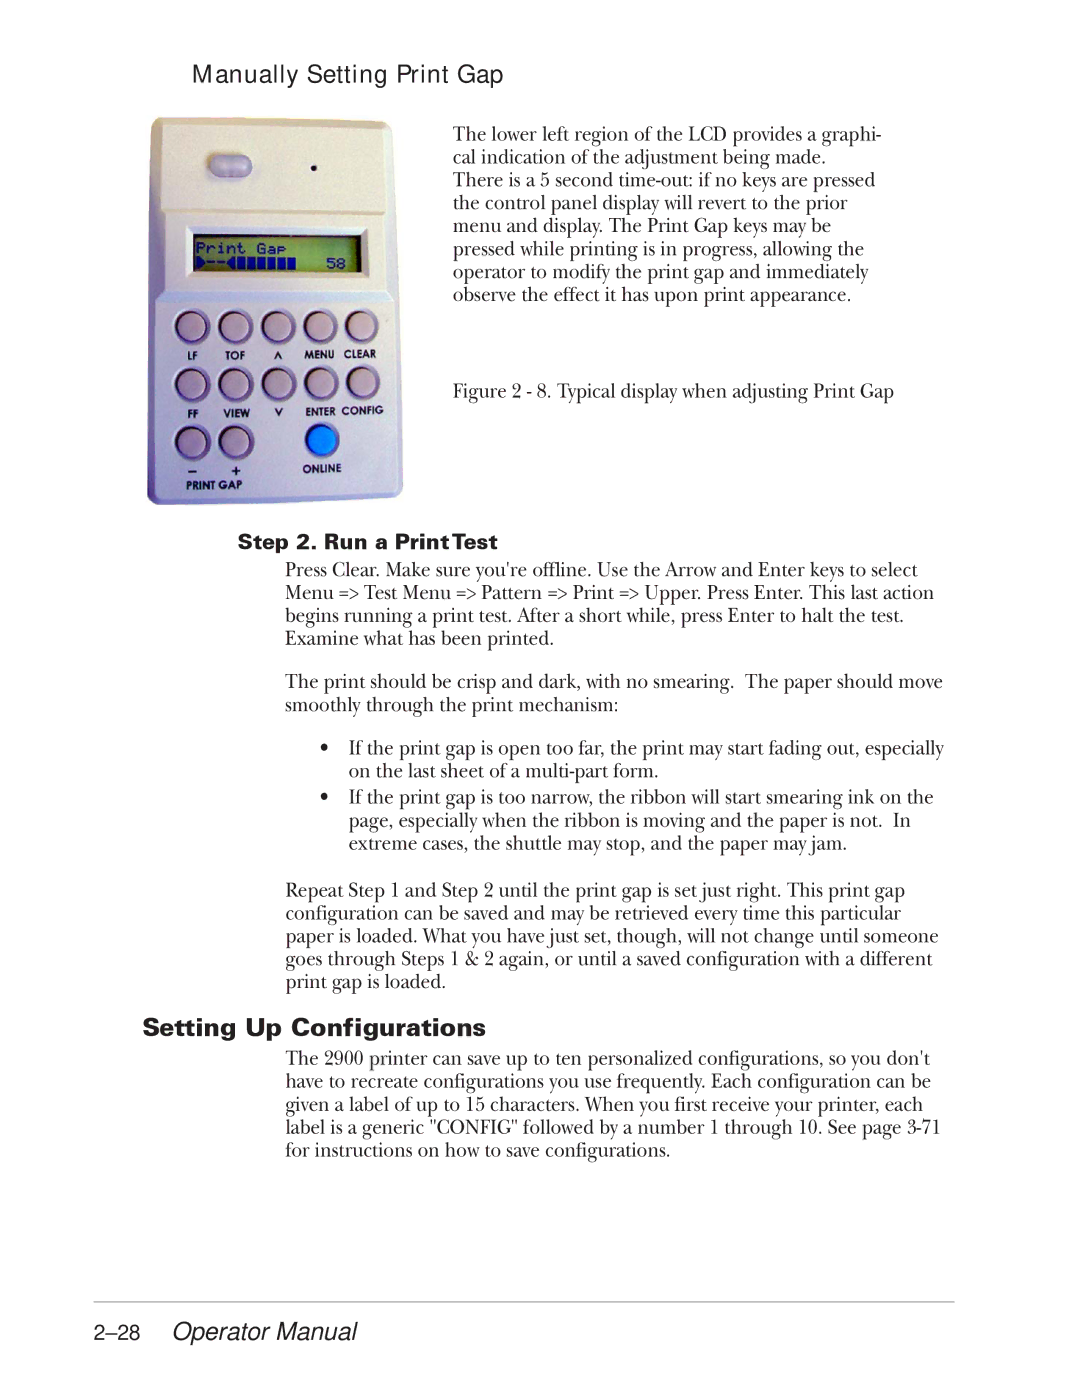
The lower left region of the LCD provides a graphi- cal indication of the adjustment being made. There is a 5 second
Figure 2 - 8. Typical display when adjusting Print Gap
Step 2. Run a Print Test
Press Clear. Make sure you're offline. Use the Arrow and Enter keys to select Menu => Test Menu => Pattern => Print => Upper. Press Enter. This last action begins running a print test. After a short while, press Enter to halt the test. Examine what has been printed.
The print should be crisp and dark, with no smearing. The paper should move smoothly through the print mechanism:
•If the print gap is open too far, the print may start fading out, especially on the last sheet of a
•If the print gap is too narrow, the ribbon will start smearing ink on the page, especially when the ribbon is moving and the paper is not. In extreme cases, the shuttle may stop, and the paper may jam.
Repeat Step 1 and Step 2 until the print gap is set just right. This print gap configuration can be saved and may be retrieved every time this particular paper is loaded. What you have just set, though, will not change until someone goes through Steps 1 & 2 again, or until a saved configuration with a different print gap is loaded.
Setting Up Configurations
The 2900 printer can save up to ten personalized configurations, so you don't have to recreate configurations you use frequently. Each configuration can be given a label of up to 15 characters. When you first receive your printer, each label is a generic "CONFIG" followed by a number 1 through 10. See page