56 | 3 Upgrading the system |
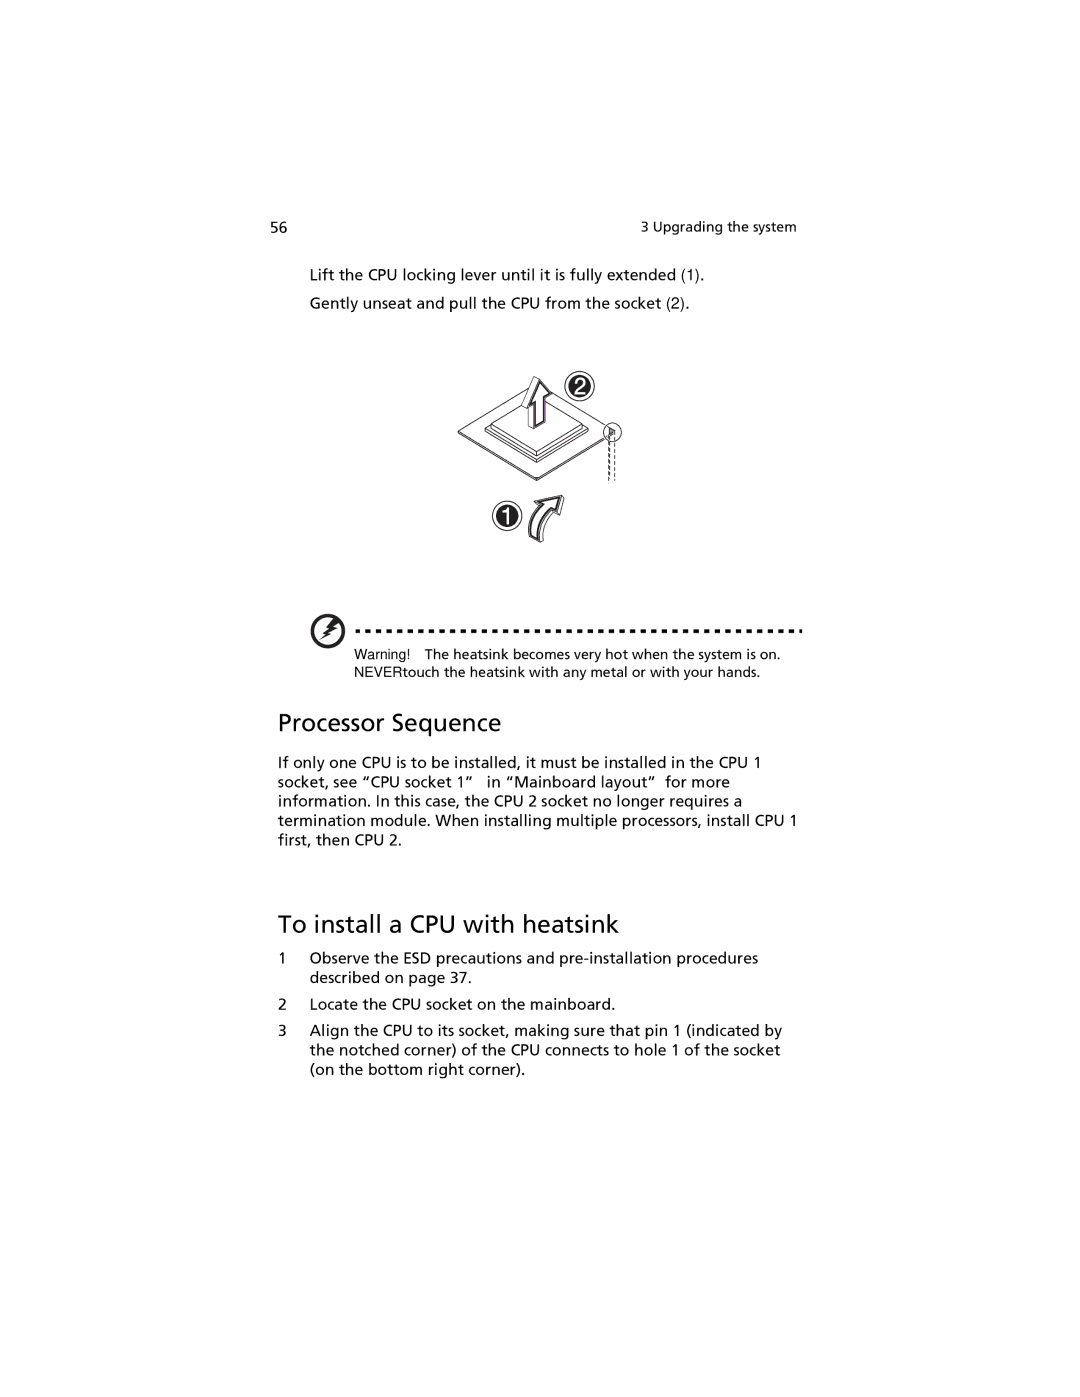
Lift the CPU locking lever until it is fully extended (1).
Gently unseat and pull the CPU from the socket (2).
Warning! The heatsink becomes very hot when the system is on. NEVER touch the heatsink with any metal or with your hands.
Processor Sequence
If only one CPU is to be installed, it must be installed in the CPU 1 socket, see “CPU socket 1” in “Mainboard layout” for more information. In this case, the CPU 2 socket no longer requires a termination module. When installing multiple processors, install CPU 1 first, then CPU 2.
To install a CPU with heatsink
1Observe the ESD precautions and
2Locate the CPU socket on the mainboard.
3Align the CPU to its socket, making sure that pin 1 (indicated by the notched corner) of the CPU connects to hole 1 of the socket (on the bottom right corner).