146 | Appendix C: Altos G520 Rack Installation Guide |
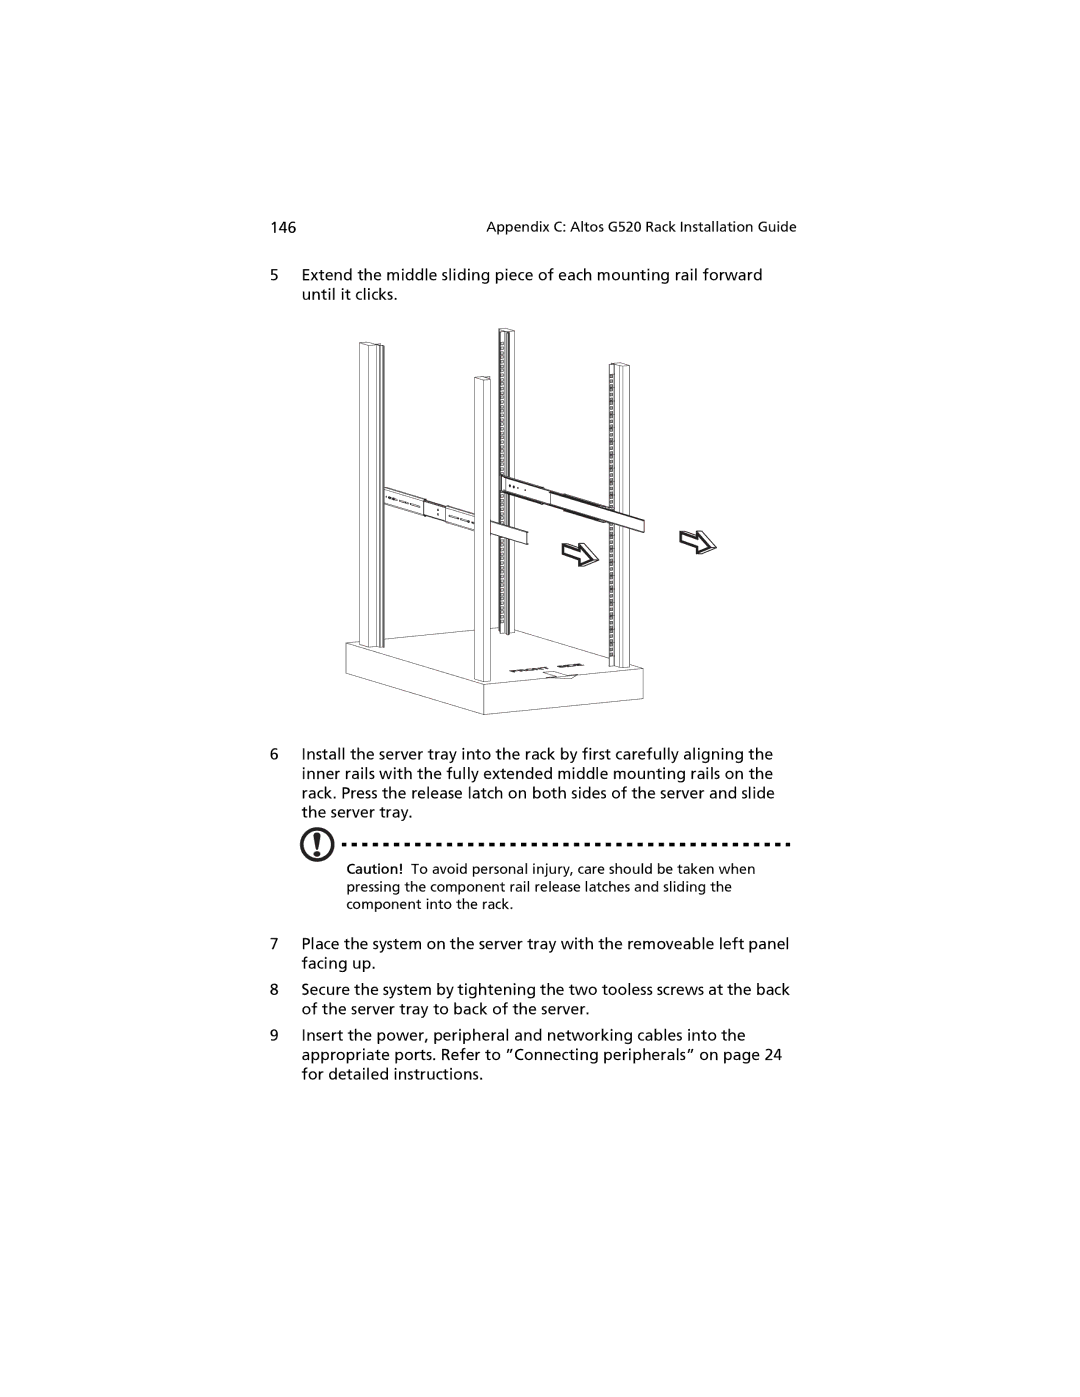
5Extend the middle sliding piece of each mounting rail forward until it clicks.
6Install the server tray into the rack by first carefully aligning the inner rails with the fully extended middle mounting rails on the rack. Press the release latch on both sides of the server and slide the server tray.
Caution! To avoid personal injury, care should be taken when pressing the component rail release latches and sliding the component into the rack.
7Place the system on the server tray with the removeable left panel facing up.
8Secure the system by tightening the two tooless screws at the back of the server tray to back of the server.
9Insert the power, peripheral and networking cables into the appropriate ports. Refer to ”Connecting peripherals” on page 24 for detailed instructions.