60 | 3 Upgrading the system |
To remove a DIMM
Before installing a new DIMM in a socket, remove first any previously installed DIMM from that socket.
Important: Before removing any DIMM from the mainboard, make sure to create a backup file of all important data.
1Observe the ESD precautions and
2Locate the DIMM slots on the mainboard.
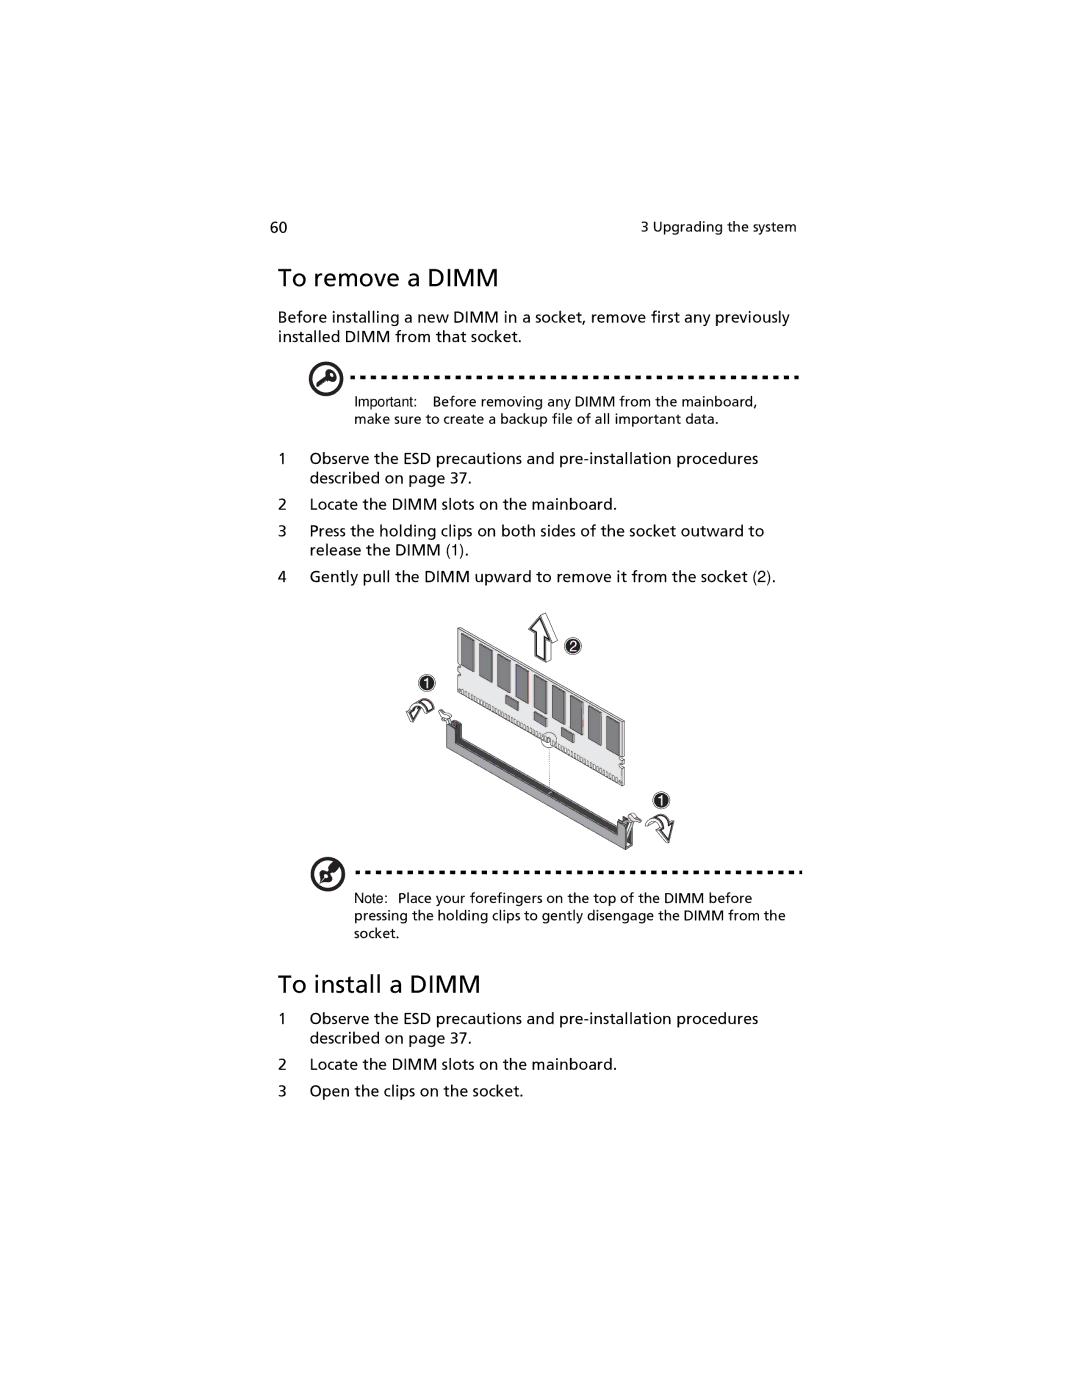
3Press the holding clips on both sides of the socket outward to release the DIMM (1).
4Gently pull the DIMM upward to remove it from the socket (2).
Note: Place your forefingers on the top of the DIMM before pressing the holding clips to gently disengage the DIMM from the socket.
To install a DIMM
1Observe the ESD precautions and
2Locate the DIMM slots on the mainboard.
3Open the clips on the socket.
