43
Configuring the Hot Plug HDD cage
This section includes instructions for removing and installing the
Hot Plug HDD cage as well as procedures on how to install a hard disk into the cage’s hard disk carrier.
Note: The Hot Plug HDD cage feature is only applicable to the Altos G520 model.
To remove the Hot Plug HDD cage
Important: Before detaching the Hot Plug HDD cage from the chassis, make sure to first remove all hard disks from their carriers. For instructions, refer to the succeeding section.
1Remove the two parts of the front bezel, the side panel and the air baffle. Refer to the previous section for detailed intructions.
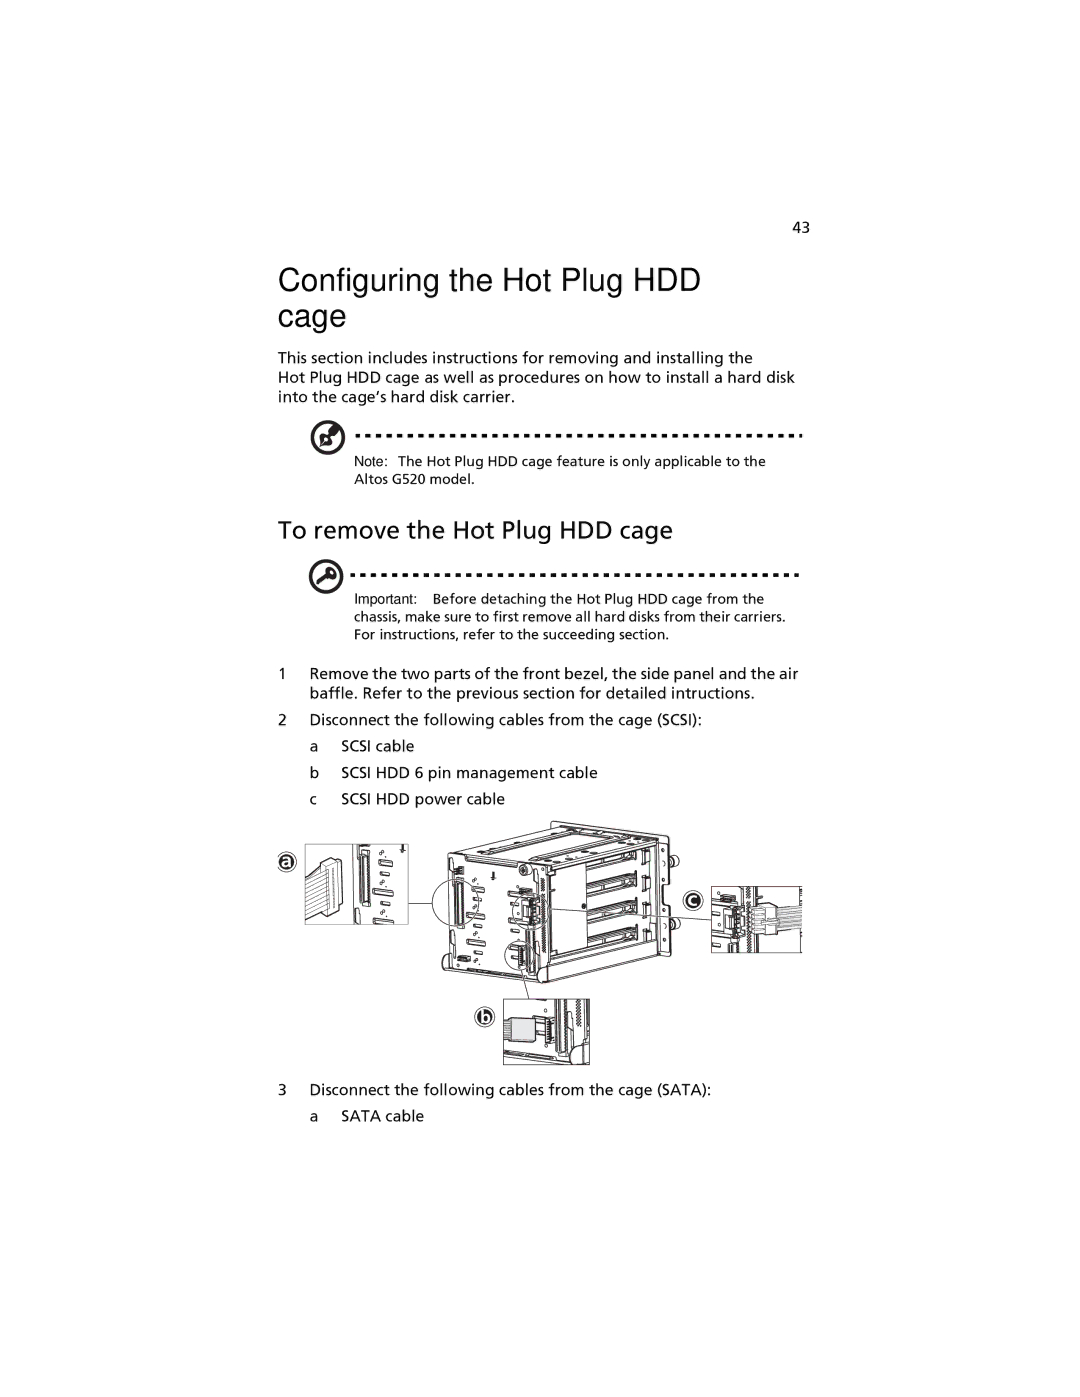
2Disconnect the following cables from the cage (SCSI): a SCSI cable
b SCSI HDD 6 pin management cable c SCSI HDD power cable
3Disconnect the following cables from the cage (SATA): a SATA cable