Connect to Power
1.Plug the female end of the power cord supplied with the printer into the power socket on the back of the printer.
2.Plug the other end of the cable into a suitable grounded power outlet or power strip.
Caution!If you are using a power strip, be sure the total amperage rating of the strip does not exceed the total amperage of the equipment plugged into it.
Check the Menu: Model 20DX Only
Check the menu to be sure that the Duplex printing feature is turned on:
1.Turn the printer ON.
INITIALIZING displays briefly in the control panel window, then
2.Press
3.Press MENU1/Menu 2.
PERSONALITY displays.
4. Press MENU1/Menu 2 twice.
DUPLEX PRINTING displays.
5.Make sure the second line of the display reads ON *. If not, press the ENTER button, then ♣/Reset, then ENTER.
ON * displays.
6.Press ON LINE to exit the menu.
Print the Demo Page
1.Turn the printer ON.
INITIALIZING displays briefly in the control panel window, then
2.Press
3.Press FORM FEED/Print Demo for 2 seconds (until the display reads
PRINT DEMO PAGE).
4.To print the Demo Page for the HP® PCL6 emulation, press ENTER/ Power Save. To print the Demo Page for the IBM® or Epson® emulation, press ♣/Reset until the emulation you want appears on the second line of the display, then press ENTER/Power Save.
The Demo page prints.
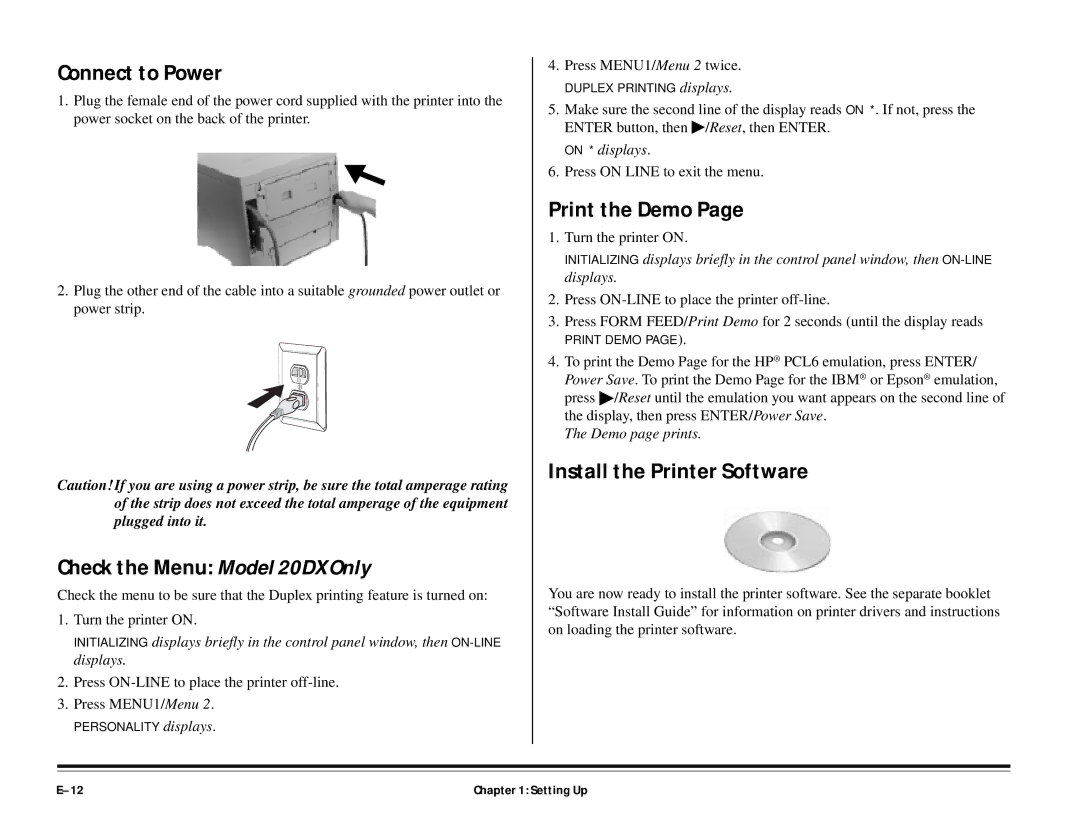
Install the Printer Software
You are now ready to install the printer software. See the separate booklet “Software Install Guide” for information on printer drivers and instructions on loading the printer software.
Chapter 1: Setting Up |