Using the Configuration Manager
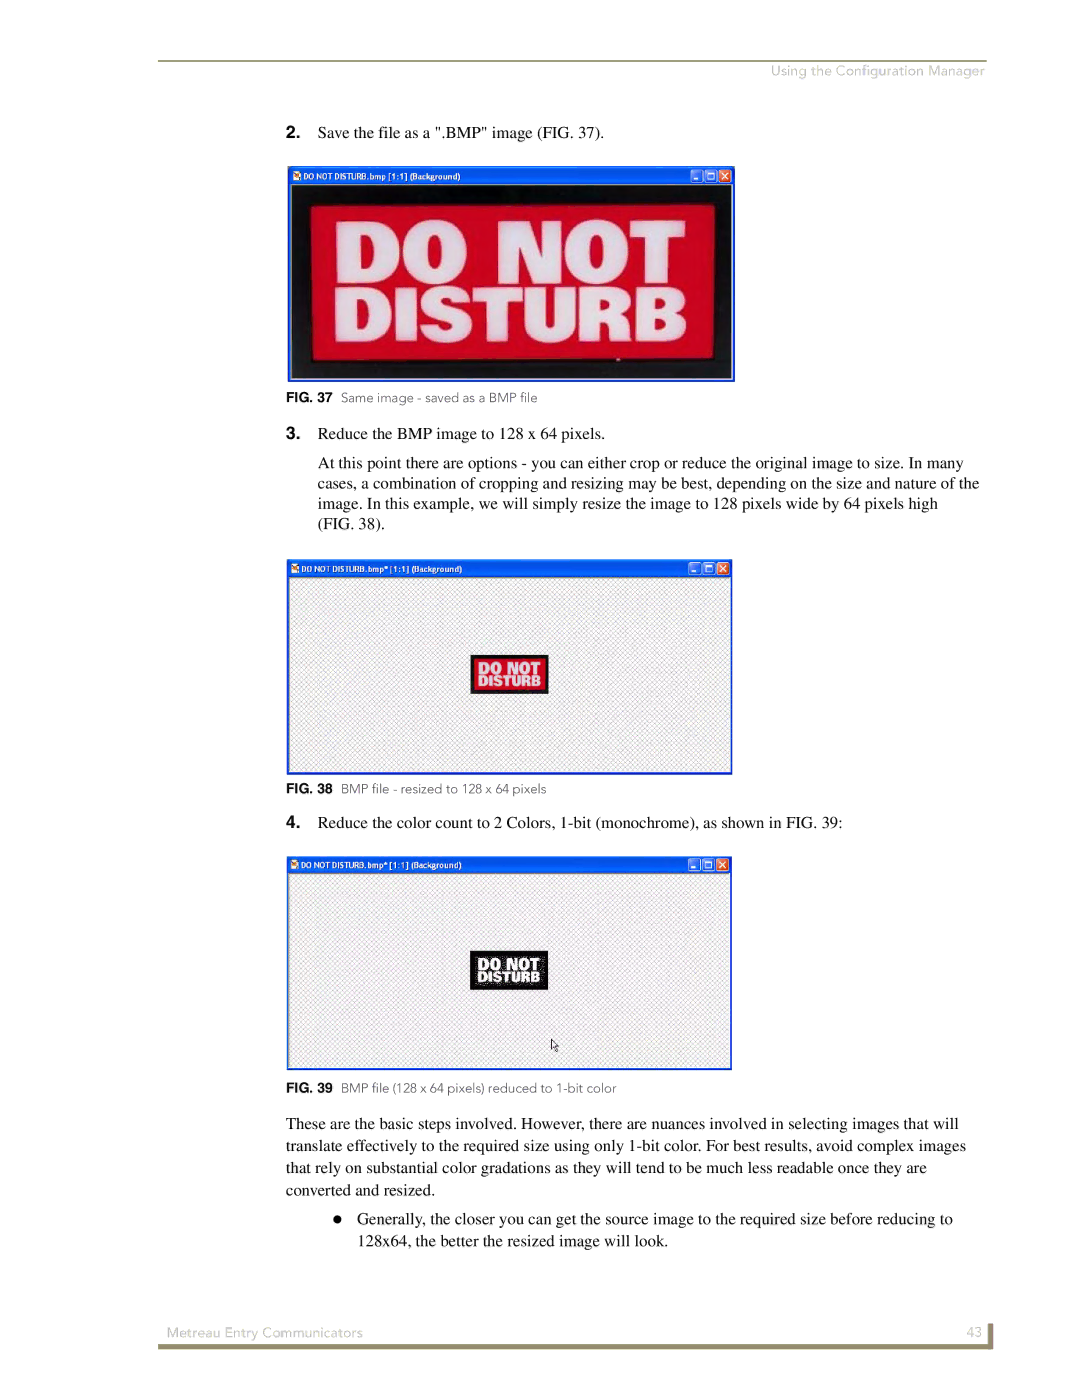
2.Save the file as a ".BMP" image (FIG. 37).
FIG. 37 Same image - saved as a BMP file
3.Reduce the BMP image to 128 x 64 pixels.
At this point there are options - you can either crop or reduce the original image to size. In many cases, a combination of cropping and resizing may be best, depending on the size and nature of the image. In this example, we will simply resize the image to 128 pixels wide by 64 pixels high (FIG. 38).
FIG. 38 BMP file - resized to 128 x 64 pixels
4.Reduce the color count to 2 Colors,
FIG. 39 BMP file (128 x 64 pixels) reduced to 1-bit color
These are the basic steps involved. However, there are nuances involved in selecting images that will translate effectively to the required size using only
Generally, the closer you can get the source image to the required size before reducing to 128x64, the better the resized image will look.
Metreau Entry Communicators | 43 |
|
|