Using the NetLinx Module
Allowing a Panel To Monitor
1.Select the Setup button on your intercom page.
2.On the intercom setup page, press Advanced Setup. This launches the password numeric keypad.
3.Enter the password and press Done. The default password is Password 4 of the panel’s firmware Password Setup.
4.Press the button beneath Allow This Panel to Monitor to toggle the option. The button indicates its current state.
If the panel you are trying to monitor does not have monitoring enabled, or the panel you are monitoring from does not have monitoring enabled, then a
5.Press Back to return to the intercom setup pages.
6.Press Exit when you are finished.
Naming a panel
1.Select the Setup button on your intercom page.
2.On the intercom setup page, press Advanced Setup. This launches the password numeric keypad.
3.Enter the password and press Done. The default password is Password 4 of the panel’s firmware Password Setup.
4.Press in the area under Panel Name. This launches a on screen keyboard.
5.Type the name of the panel and press Done. This is the name that is displayed in other panels’ intercom call directory pages.
For all panels except the 5200i, this is the G4 Web Control Name. Care should be taken when changing it.
6.Press Back to return to the intercom setup pages.
7.Press Exit when you are finished.
Answering an incoming Intercom call
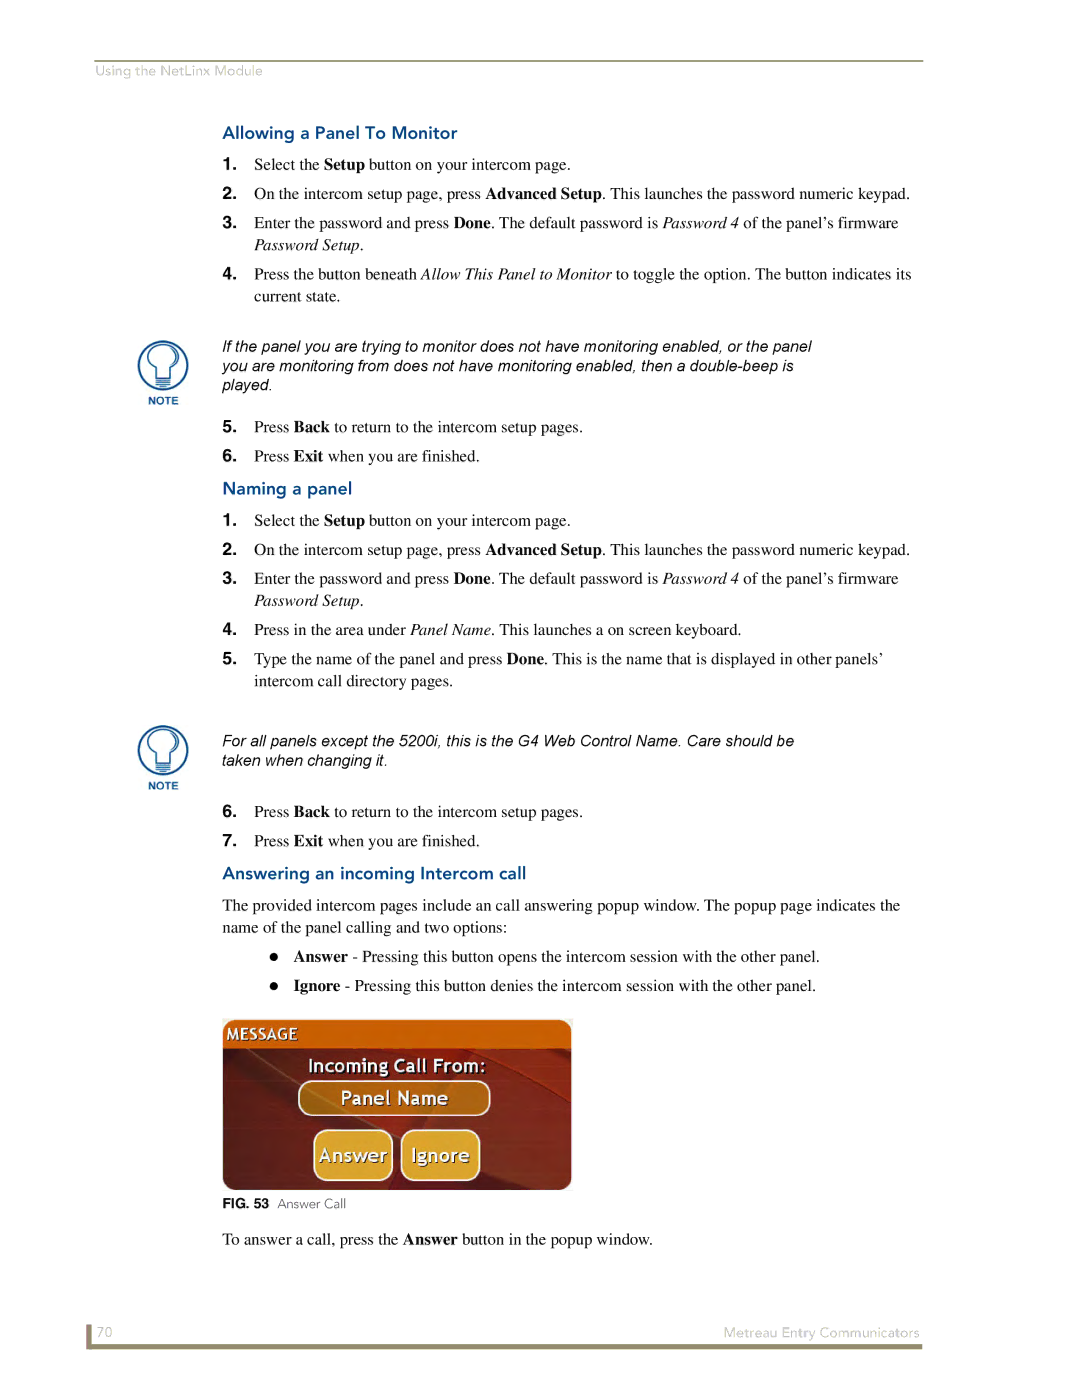
The provided intercom pages include an call answering popup window. The popup page indicates the name of the panel calling and two options:
Answer - Pressing this button opens the intercom session with the other panel.
Ignore - Pressing this button denies the intercom session with the other panel.
FIG. 53 Answer Call
To answer a call, press the Answer button in the popup window.
70 | Metreau Entry Communicators |
