Ver
Table of Contents
Table of Contents
Applying and editing stamps 228
226
230
Checking the stitching 231
Previewing the embroidery pattern 250
Changing the grid settings 273
251
Opening a Pattern File 256
298
Manually Creating Custom Font Font Creator 296
305
309
Screen configuration
How to use Support menus
Operation buttons
How to view Text areas
How to use Menu areas/ Main text areas
Menu area operations
Displays a site map for this manual
Printing the contents of explanation screens
How to use the Search function
Printing
Displaying related Web pages
What You Can Do With This Software
Automatically Create an Embroidery Pattern From an Image
Automatically Create an Embroidery Pattern From a Photo
Have Fun Creating Embroidery Patterns Manually
Easily Create Custom Font Patterns
Layout & Editing
Create Embroidery Patterns Using All Four Applications
Design Center
Font Creator
Stitch generation
New Features of Version
Editing functions and user interface
General
Basic Operation Map
Online Registration
Checking for the Latest Version of the Program
Online registration may not be available in some areas
Starting up Layout & Editing
Starting up Design Center
→ The Layout & Editing window appears
Starting up Programmable Stitch Creator
Starting up Font Creator
Exiting the Application
Starting up Design Database
Layout & Editing Window
Design Center Window
Select Character bar
Font Creator Window
Preview window
Guidelines fixed
Programmable Stitch Creator Window
Design Database Window
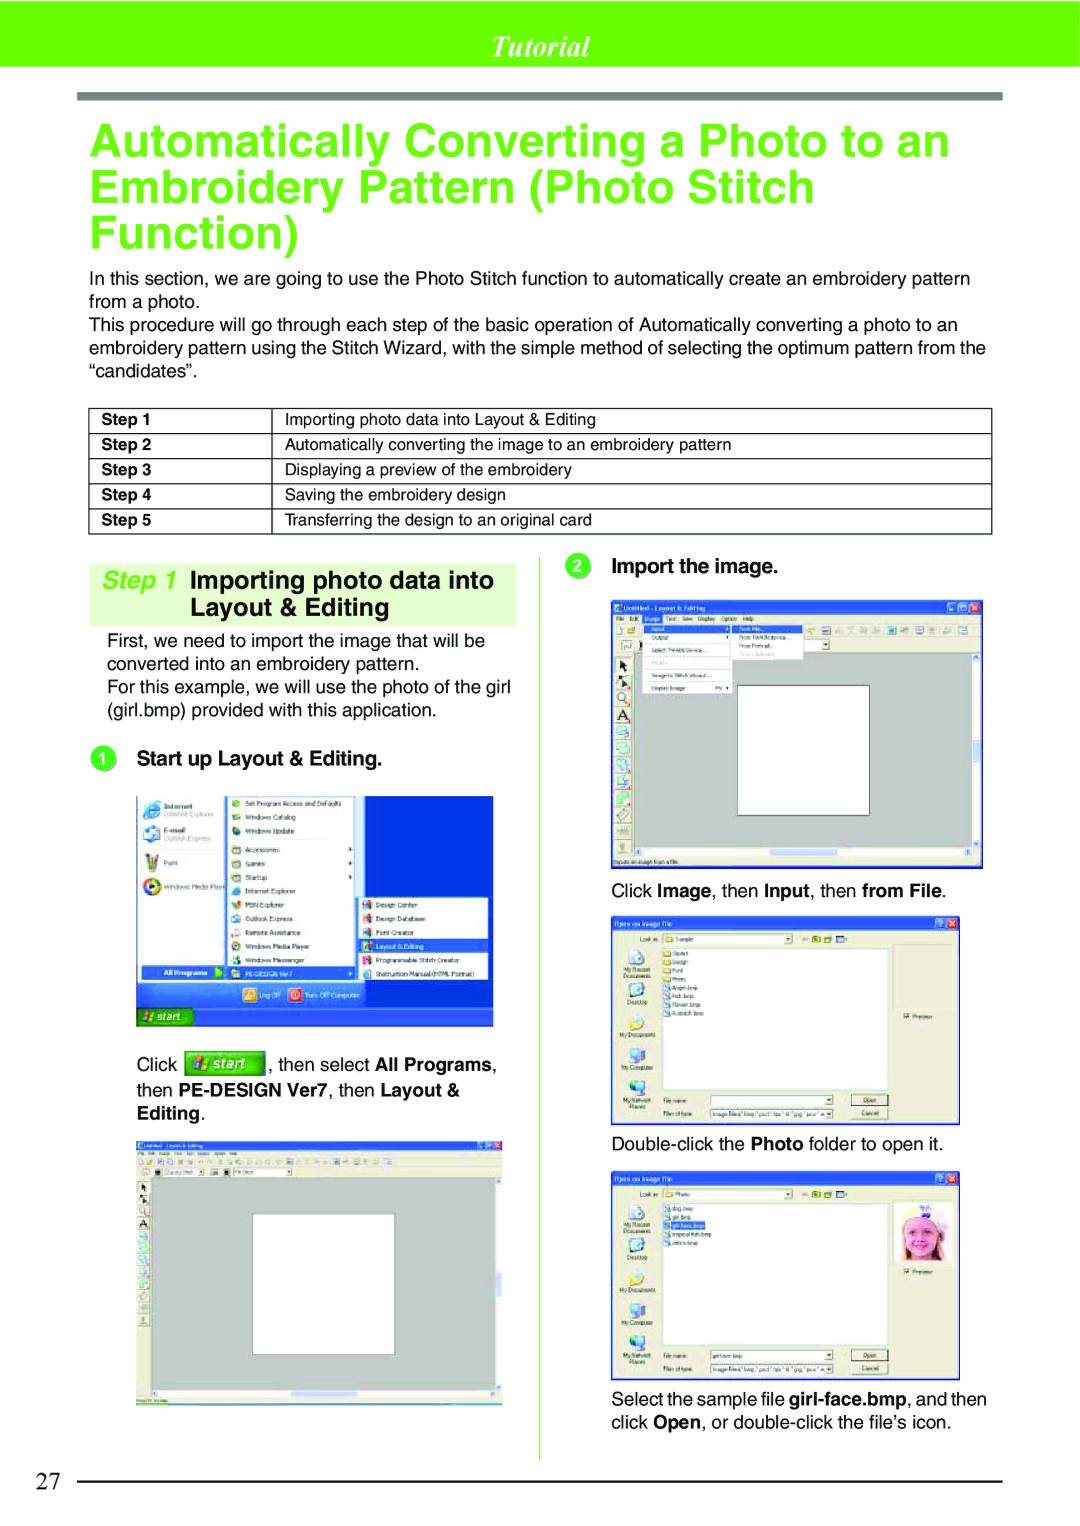
Start up Layout & Editing
Importing image data into Layout & Editing
Import the image
Then PE-DESIGN Ver7, then Layout & Editing
Automatically converting the image to an embroidery pattern
Adjust the image size and position
Select the conversion method
Click Image, then Image to Stitch Wizard
Saving the embroidery design
Displaying a preview of the embroidery
Convert the image to an embroidery pattern
Preview the finished embroidery
Insert an original card into the USB card writer module
Transferring the design to an original card
Transfer the embroidery design
Quit Layout & Editing
Import the image Start up Layout & Editing
Select Cross Stitch, and then click Next
→ The generated embroidery design is displayed
Saving the embroidery design
Transfer the embroidery design
Importing photo data into Layout & Editing
Select the shape of the mask
Click Photo Stitch 1, then Color, and then click Next
Click Select from Candidates
Drag the handles to adjust the mask to the desired size
Displaying a preview of the embroidery
Transfer the embroidery pattern
Quit Layout & Editing
Start up Design Center
Opening an image file Original Image Stage
Open the image
Then PE-DESIGN Ver7, then Design Center
Extracting the outlines by selecting colors
This draws more leaf veins
Editing the outlines Line Image Stage
→ The line image is displayed in the Design
Click the leaf for which you want to draw more veins
Click the leaf that you want to erase
To erase the leaf
Convert the figure handle image to a pattern
Undo button . You have up to 5 undos in Design Center
→ The line image is converted to a figure handle image
Click Stage, then To Sew Setting or
Specify the sewing attributes for the outline
Then Zigzag Stitch
Specify the sewing attributes for the regions
Tutorial
Check the preview of the finished embroidery
Check the preview of the stitching
Preview the stitching and finished embroidery
Click Display, then Preview
Import the embroidery pattern into Layout & Editing
Saving the embroidery pattern
Click Stage, then To Layout & Editing, or
Click → Layout & Editing is started up Click Import
Insert an original card into the USB card writer module
Display the Design Center window Click File, then Exit
Quit Design Center
Arranging Embroidery Patterns Layout & Editing
Open the embroidery pattern in Design Center
Importing an embroidery pattern from Design Center
For this example, use the default shape, Circle
Adjust the embroidery pattern size and position
Adding text
Select the shape to be drawn
To cancel line sewing outline, click
Adjust the circle size and position
To cancel region sewing inside area, click
Draw the circle
Value indicates the height of the characters
Add the text
→ The Edit Text Letters dialog box appears
Type in ROSE, and then click OK
Arrange the text
Click Text, then Fit Text to Path Setting menu
→ The text is displayed in the Design
If you want to edit the entered text, click
Drawing shapes
Draw the circle for the center of the sun
By holding down the Shift key, a perfect circle is created
Menu
Select pat07, and then click OK
Click under Programmable fill
Click Close
Use the Outline tool to draw the rays of the sun
→ The embroidery pattern appears as shown below
Adjust the shape of the suns rays
Drag the point to the new position
Click Sew, then Set Hole Sewing menu
→ The following message appears
Press the Esc key
Saving the embroidery design
Transfer the embroidery design
Checking embroidery design files
Managing Embroidery designs Design Database
Start up Design Database
Select the folder
Switch the display in the content pane and check the file
If necessary, check the sewing information
Bar or Large Thumbnails Small Thumbnails Details
Case 1 Printing a catalog of embroidery designs
When you are finished viewing the information, click Close
Be sure to select a folder that contains .pes files
Click File, then Open in Layout & Editing
Pcs, .hus, .vip, .shv, .jef, .sew, .csd or .xxx in a folder
Case 2 Searching for an embroidery design
Click Search
Creating monograms
Entering Monograms Layout & Editing
Select the monogram tool
Enter the letters
Select the monogram to be edited
Changing the font and character size
Click Select Pattern
Click . Then click the monogram
Change the character size
Changing the thread color and sew type
Select the character to be edited
Thread color and sew type for the monogram can be changed
Size and position of the decorative pattern can be adjusted
Adjust the size
Change the sewing attributes
Select the decorative pattern to be edited
Adjust the position
Transferring the design to an original card
Creating Appliqués
Creating an appliqué pattern
Draw a circle Create the appliqué
Click Sew, then Applique Wizard menu
Saving the design
Quit Layout & Editing
Importing Image Data
To quit the operation, click Cancel
Importing image/photo data
Importing image data from a scanner or digital camera
Creating a portrait image
Preview area shows the setting changes that you make
Click Image, then Select Twain device
Click Image, then Input, then from Twain device
Importing image data from the Clipboard
Click OK → The portrait image is displayed in the Design
→ The image is displayed in the Design
Changing the Image Settings
Changing the display of the background image
Changing the size and position of the image
Toolbar button
If Auto Punch is selected
Max. Number of Colors Sets the number of colors used
Colors that are crossed out are set to not be sewn
Press the Delete key
If Photo Stitch 1 Color is selected
Image Tune
Specify the settings for creating the embroidery pattern
Click Next
→ The Photo Stitch 1 Parameters dialog box appears
Color Option
Sewing Option
For details on the settings, refer to
Photo Stitch 1 Parameters dialog box, click Update Preview
If Photo Stitch 1 Mono is selected
To select several colors, hold the Shift
Gray Balance dialog box, click Next
Change
If Photo Stitch 2 Color is selected
→ The Photo Stitch 2 Parameters dialog box appears
Thread Color Setting
If Photo Stitch 2 Mono is selected
Photo Stitch 2 Parameters dialog box, click Update Preview
To see the changes made
→ The Cross Stitch Attributes dialog box appears
If Cross Stitch is selected
Scr146.bmp
If Design Center is selected
Opening/Importing Embroidery Designs
Creating a new embroidery design
Opening a Layout & Editing file
To return to the File Open dialog box, click Cancel
Importing embroidery design files
Click , or click File, then Import, then from File
Arranging Embroidery Designs Layout & Editing
Importing embroidery designs from an embroidery card
Click Import, or double-click the design to import it
Click a design to select it
Select the Design Page size
Specifying the Design Page Size and Color
Saving as a file
Saving the Image Data
Outputting to the Clipboard
Click Image, then Output, then to Clipboard
Selecting patterns
Editing Embroidery Designs
Moving patterns
Selecting patterns in the created order
Moving embroidery patterns to the center
Aligning embroidery patterns
Text on a path
Scaling patterns
Click Edit, then Numerical Setting, then Size
Scaling manually
Scaling numerically
Rotating patterns
Flipping patterns horizontally or vertically
Rotating manually
Select 100% to leave the pattern unchanged
Grouping embroidery patterns
Click Edit, then Numerical Setting, then Rotate
Rotating numerically
Editing grouped patterns individually
Selecting points
Reshaping Embroidery Patterns
Moving points
Points of some patterns cannot be selected
Drag the point to the new location
Inserting points
Deleting points
Smoothing out the path at a point
Symmetrically adjusting the control handles of a point
Transforming to a pointed path
Moving entry/exit points and the center point
Moving the entry/exit points
Moving the center point
Optimizing the entry/exit points
Click Sew, then Optimize Entry/Exit points
112
Converting objects to a stitch pattern
Editing a Stitch Pattern
Editing stitch points of stitch pattern
Click Sew, then Convert to Stitches
Inserting stitch points and feeds
Moving stitch points
Deleting stitch points
Shift key and press the Tab key
Converting a stitch pattern to blocks
Changing colors of a stitch pattern
Click , or click Sew, then Sewing Order/ Color
Move the slider to select the desired sensitivity
Without Stitch to Block With Stitch to Block
Splitting off parts of a stitch pattern
117
About circles and arcs
Drawing Shapes
Drawing a circle or an oval
Drawing an arc
Drawing a fan shape
Selecting the circle/arc type
Drawing an arc & string
Arc shape
Use this selector to select the type of arc
Specifying the radius of the rectangle corners
Drawing a rectangle
Drawing various shapes
Edge radius
Shift key while dragging the pointer
About straight lines and curves
Drawing straight lines and curves
Path shape
Selecting the attributes of line ends
125
Click in the Design Page to specify point 1 start point
Click in the Design Page where you want the text to appear
Adding Text
Entering Text
Selecting text attributes
Font
Press the Enter key to enter a new line of text
129
Editing entered text
Text Size
Use this selector to select the size of the text
Selecting characters
Click OK → The edited text is displayed in the Design
Entering Text on
Specifying text attributes
→ The Text Attribute Setting dialog box appears
Character, hold down the Ctrl key and press the ← or ↑ key
To close the dialog box, click Close
Changing the size
Vertical text will be displayed vertically on the Design
Specifying text arrangement below and Transforming text on
Changing the vertical offset
Changing the character spacing
Rotating the characters
Monogram characters can not be rotated
Click OK to apply the settings
Specifying text arrangement
Line of text can be arranged along a path
Horizontal Alignment
Canceling text arrangement on
Vertical Alignment
Text Orientation
Canceling text transformation
Canceling text arrangement
Transforming text
Specifying TrueType text attributes
Click Text, then Convert to Outline Object
Converting text to outline pattern
Entering Small Text
Entering Monograms
→ The Edit Monogram Letters dialog box appears
Type the monogram text uppercase characters
Monogram Font !!sew37.bmp
Editing monograms
Monogram Size
Monogram Font selector appears Sewing Attributes bar when
Editing the monogram text
Editing single characters
Select the monogram pattern that you want to edit
Change the text attributes and click Apply
Setting → The Text Attribute Setting dialog box appears
Stamp Attribute Setting dialog box appears
Applying and Editing Stamps
Applying a stamp
Been applied are indicated by pink dotted lines
Editing a stamp
146
Geometric attributes
Applying Sewing Attributes to Lines and Regions
Text attributes
Embroidery attributes
Clicking this button switches on/off sewing for an outline
Setting the thread color and sew type
Line sew
Region sew
Color can also be selected by double- clicking it
Color
Sew type
Special colors
Applique sews the appliqué on the backing material
Click in a sew type selector
Beginner mode Expert mode
→ The Sewing Attribute Setting dialog box appears
Specifying sewing attributes
152
Zigzag stitch
Line sewing attributes
Running stitch
Triple stitch
Stitch
Motif stitch
Motif Arrange
Stitch V Stitch
Satin stitch
Region sewing attributes
Stitch Type
Fill stitch
Programmable fill stitch
Step Pitch
Frequency
Column Offset Programmable
Row
Fill
Type
Pattern1
Motif
Pattern2
Row Offset
Concentric circle stitch, radial stitch and spiral stitch
Cross stitch
Random Walking Stitch
Piping stitch
Manual punch
Creating a new thread chart
Creating a gradation
Editing User Thread Color Lists
Editing a chart
Deleting a chart
Adding an item from a system thread chart
Adding a new item
Deleting an item
Click OK to add the new item to the user thread chart
Editing an item
Changing the order of items
Saving the settings in a list
Opening the Sewing Attribute Setting dialog box
Settings in both Beginner mode and Expert mode can be saved
→ The Load/Save Default Setting dialog box appears
Recalling a group of settings from the list
Deleting a group of settings from the list
Preventing overlapping stitching hole sewing
Click Sew, then Set Hole Sewing
Canceling hole sewing
Click Sew, then Cancel Hole Sewing
Creating appliqués Applique Wizard
Zooming
Measuring the distance between two points
Checking Embroidery Patterns
Specifying the sewing area
Click Sew, then Select Sewing Area
Selecting a pattern
Checking and editing the sewing order/color
Specifying the Design Page Size and Color on
Click to recombine all of the patterns back into one frame
Editing the sewing order
Combining patterns of the same color
Editing the color
Changing realistic preview settings
Click Display, then Realistic Preview Attribute Setting
Displaying a preview of the embroidery
Checking the stitching
Stitches, and then click
Appear only for design created on custom-sized Design Pages
Checking embroidery design information
Zooming
Viewing design in the reference window
Moving the display area frame
Redrawing the display area frame
Are for scaling the height and width
Saving
Saving and Printing
Overwriting
Saving with a new name
Insert an original card into the USB card writer module
Writing an embroidery design to an original card
Click OK to close the message
Adding comments to saved .pes files
Overwriting on page 177 and Saving with a new name on
Stitch count is the total of all stitches
Click File, then Print Setup
Specifying print settings
Size. With this split printing feature
Print option
Checking the print image
Printing
Click File, then Print Preview
Click OK to begin printing
Changing the grid settings
Changing Software Settings
Click Display, then Grid Setup
Changing the measurement units
Creating design for multi-position hoops
Information for Optional Large-Size Hoop Users
Selecting the Design Page size
Layout & Editing, click Option, then Design Page Property
Optimizing hoop changes
Creating the design
Design Page appears on the screen as shown below
Click Sew, then Optimize hoop change
Checking the pattern
→ a pattern 3 → c pattern 4 → a pattern
Click Option, then Design Property
Writing the design to an original card
Printing a Design Page for a multi- position hoop
Attaching stabilizer to the fabric
Marking the embroidering position
Templates are included in the package
Hooping the fabric
Now, we are ready to embroider the design
Embroidering
192
Basic Operation Flow Design Center
Sew Setting Stage
Original Image Stage
Line Image Stage
Importing an image using the wizard
When the From Image button is clicked
Original Image Stage
Importing image data from a Twain device
Extracting the outlines of an image
Line Image Stage
Click , or click Stage, then To Line Image
→ The Cut out to Line Image dialog box appears
Drawing a New line image freehand
Click Preview to preview the line image in the Design
Line Image Stage, the file will be saved as a .pel file
Drawing and erasing outlines
Drawing outlines
Erasing outlines
Changing settings for converting to outlines
Select a setting under Resolution
Use the Size slider to set the size
Size and position of the template image can be adjusted
Click Display, then Modify Template
→ a red line and handles appear around the template image
Specifying the Design Page size
Moving a template image
Scaling a template image
Editing outlines
Drawing a New figure handle image freehand
Selecting outlines
Moving outlines
Rotating outlines
Flipping outlines horizontally or vertically
Scaling numerically
Rotating manually
Cutting out outlines
Deleting outlines
Copying outlines
Pasting a cut or copied outline
Moving points
Reshaping outlines
Inserting points
Deleting points
Drawing a broken line
Connecting two points
Splitting a point into two
Adjacent points on the same line cannot be connected
Viewing outlines Reference Window
Displaying a different reference image
Click the Image tab
Open
Specifying the fabric color
Sew Setting Stage
Applying sewing attributes to lines and regions
Region sewing
If necessary, change the settings
Point edit mode is useful for closing regions
Checking the sewing attributes of a region
Toolbar button indicated below
Line sewing
Applying sewing attributes to the entire outline
Applying sewing attributes to a portion of the outline
212
Checking the sewing attributes of an outline
Using the Sewing Attributes bar
Clicking this button switches on/off sewing for a region
Clicking this button switches on/off sewing for a line
Color on page 215 and Sew type on
Use these selectors to set the sew type for lines or regions
Or Line sew button has been turned on
Setting dialog box when or on the Tool Box is selected
Beginner mode
Specifying sewing attributes
For line sewing
217
218
Able Half Stitch
220
221
Column Fill
Row Programmable Offset
223
224
Creating a gradation
→ The Load/Save Default Settings dialog box appears
Attribute Setting dialog box, click
Click Save as → The Save As dialog box appears
Applying effects to concentric circle and radial stitches
To quit applying hole sewing, click Cancel
Preventing overlapping stitching of regions hole sewing
Concentric Circle Stitch or Radial Stitch
Applying and editing stamps
Applying a stamp
Dialog box, select a stamp pattern
Delete key
Editing a stamp
Click , or click Sew, then Sewing Order
Checking and editing the sewing order
231
To display a realistic preview
→ a preview of the embroidery pattern appears
Bar, and then click Realistic Preview
→ a realistic preview of the embroidery
Viewing embroidery patterns in the Reference Window
Saving embroidery patterns
Pem file
Importing the embroidery pattern into Layout & Editing
Changing Software Settings
Changing the grid settings
Changing the measurement units
Creating a new font
Opening a File
Opening a font file
You can begin with a blank work area to design a new font
Opening an image in the background
Click File, then Template Open
Click Open to open the file
Design Page guidelines
240
Selecting the Character To Be Created
Creating a Font Character Pattern
Opening an image in the background on
Click on the Tool Box → Five buttons appear
243
Editing Font Character Patterns
Selecting all patterns
Aligning patterns
Cutting out patterns
Deleting patterns
Copying patterns
Duplicating patterns
Flipping patterns vertically
Flipping patterns horizontally
247
You can only select one pattern at a time
Editing the Points of a Font Character Pattern
Editing points
Previewing the embroidery pattern
Checking the Created Font Patterns
Selecting pattern
Editing the sewing order
Changing the size of the Preview window
Checking the list of created characters
Selecting characters
Changing the size of the Browse window
252
Overwriting
Saving Font Character Patterns
Saving with a new name
Correct extension is automatically selected
Changing the drawing mode
Changing the Settings
Changing the density of the background image
Scaling the background image
Moving the background image
Pas files or Motif for .pmf files
Opening a Pattern File
Click Open to open the file → The image fills the work area
Creating Custom Stitch Patterns Programmable Stitch Creator
Creating a New Pattern
Fill/Stamp mode
Motif mode
Preview window can be resized
Viewing the Stitch Pattern While Creating It
This tool can only be used in Fill/Stamp mode
Creating a Stitch Pattern for Region Sewing Fill/Stamp Mode
Button in the Tool Box other than
Editing a Stitch Pattern for Region Sewing Fill/Stamp Mode
263
You can flip the selected patterns horizontally left/ right
You can flip the selected patterns vertically up/ down
265
You can only select one broken line at a time
Reshaping a Stitch Pattern for Region Sewing Editing Points
267
Specifying Region Sewing
Creating a Motif Stitch Pattern Motif Mode
To delete a selected point, press
Delete key
Moving and deleting several points at a time
Editing a Motif Stitch Pattern Motif Mode
Flipping a pattern horizontally or vertically
Toolbar
Edit, then Mirror, then Vertical, or click Toolbar
Click Save to save the pattern
Saving Stitch Patterns
273
Organizing Embroidery Designs
Creating new folders
Click File, then Create New Folder
Moving/copying files to a different folder
Changing file names
Deleting files
Shift key before pressing the Delete key
Changing how files are displayed
Opening files with Layout & Editing
Opening Embroidery Designs
Importing files into Layout & Editing
Click File, then Import Into Layout & Editing
Previewing files
Checking Embroidery Designs
Checking file information
Preview of the embroidery design can be displayed
279
To clear the search conditions, click Clear all Click Search
Searching for an Embroidery Design
281
Click File, then Convert Format
Converting Embroidery Design Files to Different Formats
283
Writing Embroidery Design Files to an Original Card
→ The Card writing box appears
To hide the card writing box, click
To remove an embroidery design file from
286
Outputting as an Html file
Outputting a Catalog of Embroidery Designs
Click Print → Images of the selected designs are printed
Click File, then Create Html
Outputting as a CSV file
Tutorial Advanced
Handles
Tutorial Advanced
If Round mask is selected
If is selected
Delete key After editing is finished, click Next
For details the various settings, refer to Sewing Option on
Setting up the Color Option
Click Update Preview
Brightness/Contrast slider
293
294
295
Preparing a background image
Manually Creating Custom Font Font Creator
Opening a background image
Start up Font Creator
Base Line and the Capital Line
Adjust the background image size and position
Creating a font character pattern
Shape of the pointer changes to when the image can be moved
Select the character to be created
Capital Line Base Line Set Line B Set Line
Create the font character pattern using the punching tool
300
Creating other font character patterns
Create the font character pattern
303
304
Save the font character pattern
Use the created font and type in text
Created font characters can be used in Layout & Editing
306
Opening a programmable stitch pattern
Creating Custom Stitch Patterns Programmable Stitch Creator
Start up Programmable Stitch Creator
Open the programmable fill stitch pattern
Draw the straight lines
Case 1 Drawing lines to edit the stitch pattern
Draw a line around the work area
Apply the embossing/engraving effects
Click Region engrave
Click Region emboss
Switch to Motif mode
Create the pattern
Click Mode, then Motif
Saving the edited stitch pattern
Save the created pattern
Quit Programmable Stitch Creator
Specifying the Design Page size in Layout & Editing
Creating Large-Size Embroidery Designs
Specify the Design Page size
Click Option, then Design Page Property
Checking the embroidering order
Creating the embroidery design
Import the embroidery pattern
Check the embroidery design
315
316
Line sew types
Sew Types
Region sew types
Zigzag Stitch Running Stitch/Triple Stitch Motif Stitch
Tips and Techniques
Sewing Direction
Enlarging/Reducing Embroidery Patterns
Sewing Order
Sewing Wide Areas
Tips for Importing Images for Design Center
When scanning illustrations
For Photo Stitch
Creating Beautiful Photo Embroidery
When sewing small fonts
When converting TrueType fonts to embroidery patterns
Fonts Suitable for Embroidering
For more details, refer to Drawing Shapes on
324
List of Tool Box Buttons
Layout & Editing
File menu
List of Menus
Ctrl + N
Ctrl + O
Edit menu
Ctrl + J
Ctrl + H
Ctrl + Y
Ctrl + M
J2k
Image menu
Ctrl + L
Text menu
Ctrl + K
Ctrl + T
Ctrl + W
Sew menu
Display menu
Shift + F9
Ctrl + R
Option menu
Help menu
Use this function
Internet connection
Design Center
336
337
Cannot be opened
For .pcd and .fpx files containing many
Split
Numerical Setting Rotate
F11
Stage menu
This function can only be used if there is
Function is not available
About Design Center
Font Creator
Following file formats can be opened
Windows bitmap .bmp, Exif .tif, .jpg
Template Open
Mirror Tal Vertical
F10
Preview Window
Fill Mode
Browse Window
Template
Programmable Stitch Creator
Mode menu
349
Quick
Internet browser correctly installed Computer
Only .pes files can be opened
Design Database
Tajima .dst, Melco .exp, Pfaff .pcs
PSW/XXX .xxx and embroidery sewing Machine .phc
Small Thumbnails
Large Thumbnails
Details
Refresh
353
Troubleshooting
English