7
System Monitor
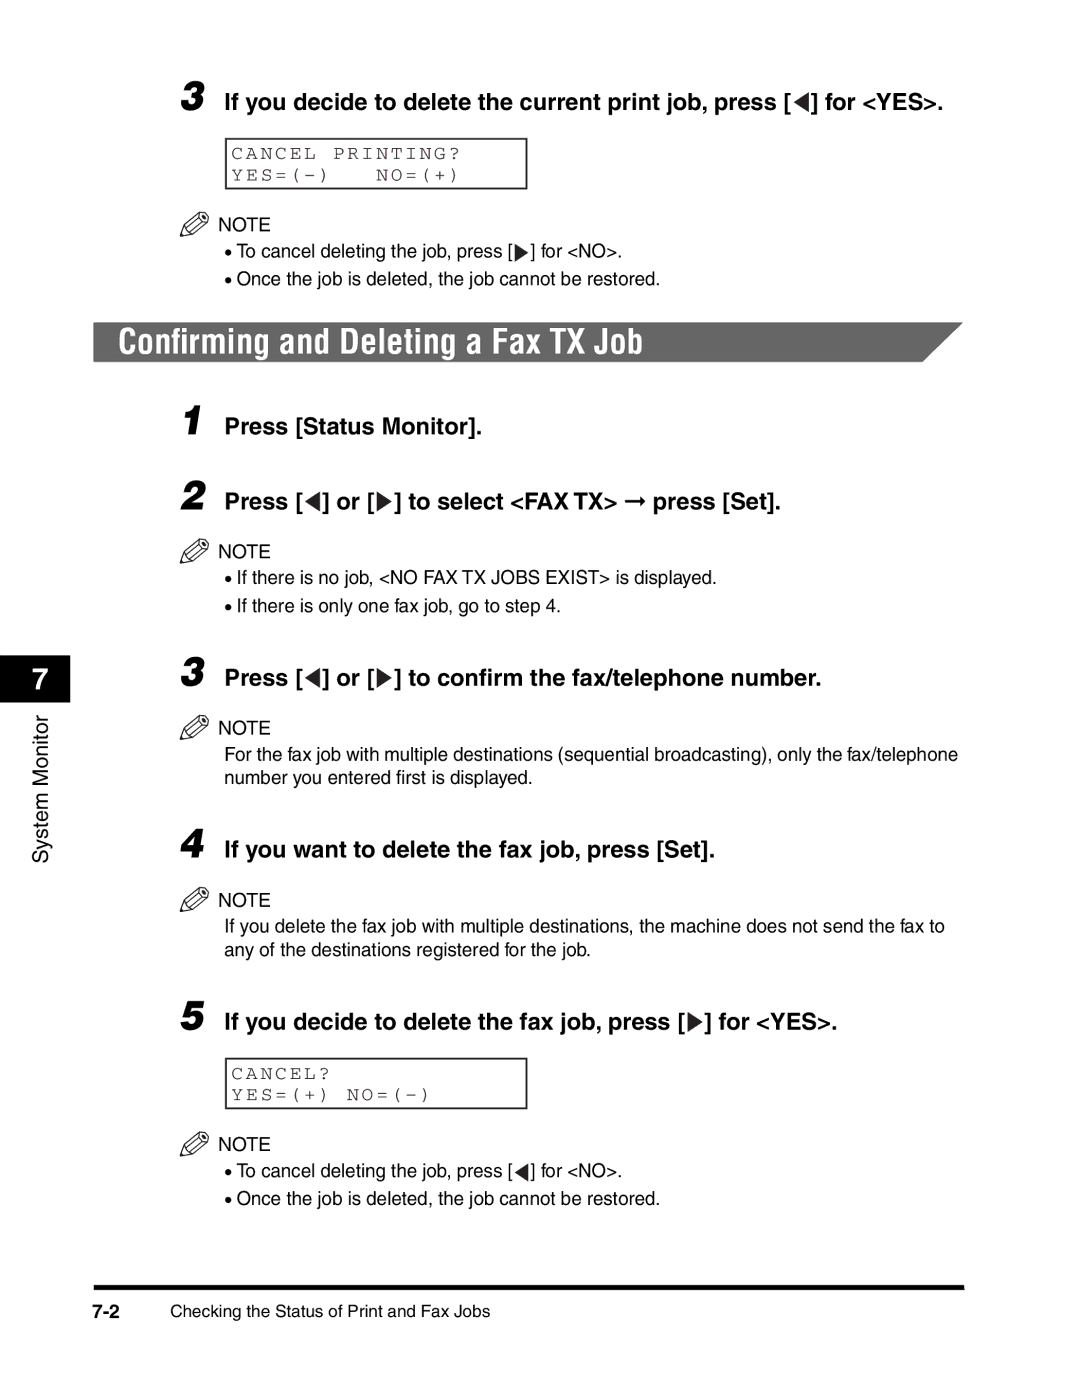
3 If you decide to delete the current print job, press [![]() ] for <YES>.
] for <YES>.
CANCEL P R I N T I N G ?
YES=( – ) N O = ( + )
![]() NOTE
NOTE
•To cancel deleting the job, press [![]() ] for <NO>.
] for <NO>.
•Once the job is deleted, the job cannot be restored.
Confirming and Deleting a Fax TX Job
1 Press [Status Monitor].
2 Press [ ] or [
 ] to select <FAX TX> ➞ press [Set].
![]() NOTE
NOTE
•If there is no job, <NO FAX TX JOBS EXIST> is displayed.
•If there is only one fax job, go to step 4.
3 Press [ ] or [
 ] to confirm the fax/telephone number.
![]() NOTE
NOTE
For the fax job with multiple destinations (sequential broadcasting), only the fax/telephone number you entered first is displayed.
4 If you want to delete the fax job, press [Set].
![]() NOTE
NOTE
If you delete the fax job with multiple destinations, the machine does not send the fax to any of the destinations registered for the job.
5 If you decide to delete the fax job, press [ ] for <YES>.
CANCEL ?
YES=(+ ) N O = ( – )
![]() NOTE
NOTE
•To cancel deleting the job, press [![]() ] for <NO>.
] for <NO>.
•Once the job is deleted, the job cannot be restored.
