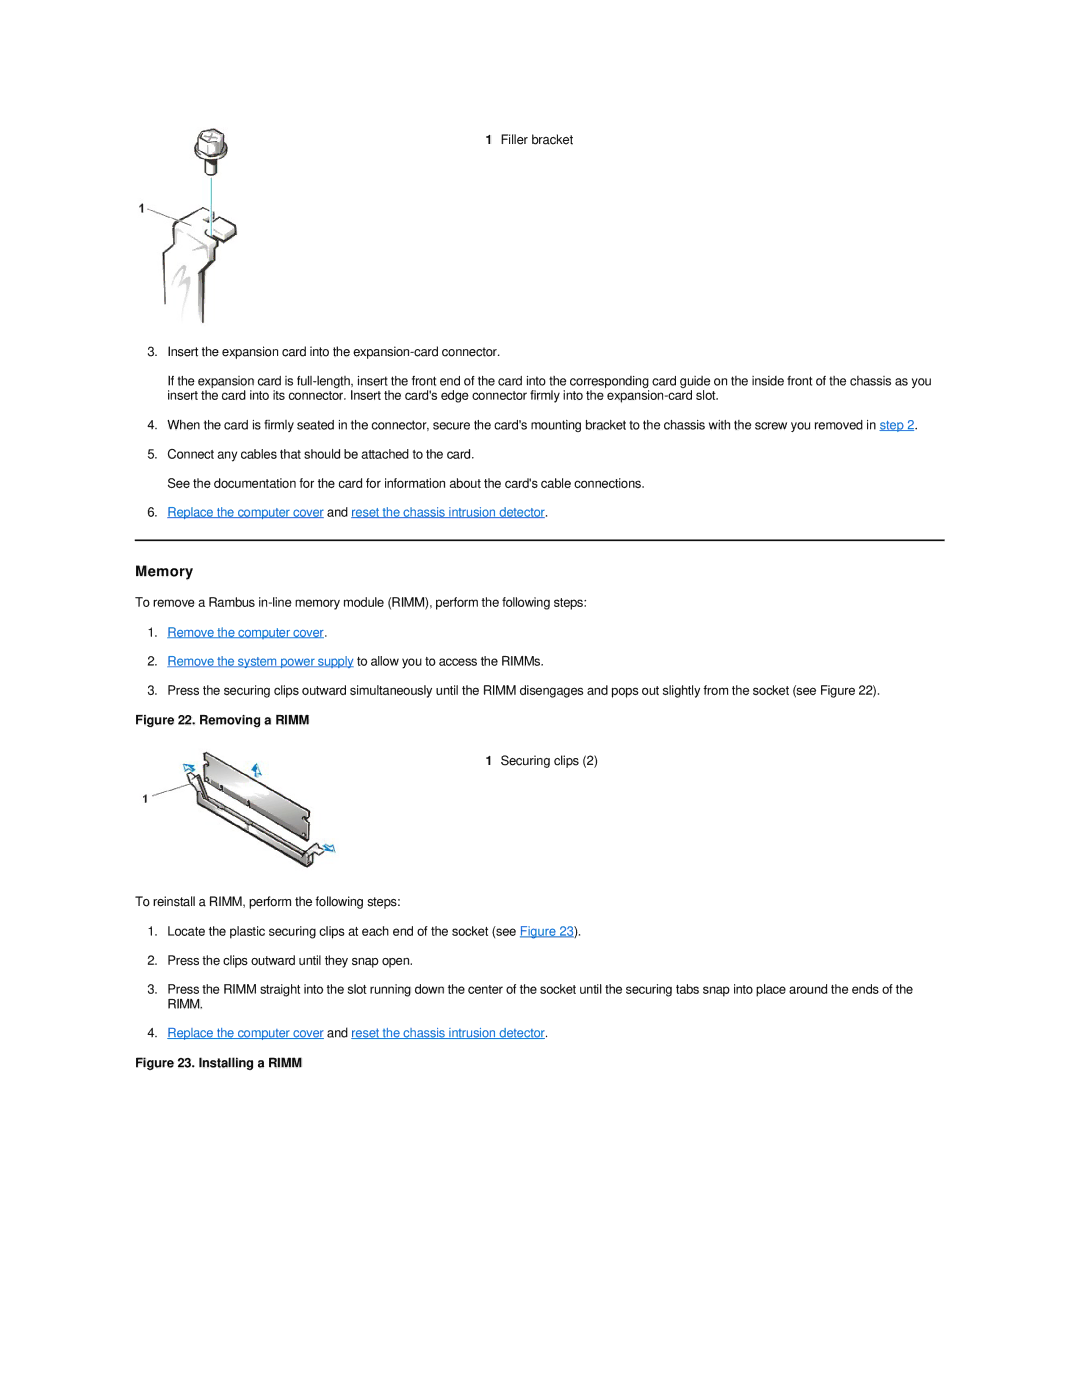
1Filler bracket
3.Insert the expansion card into the
If the expansion card is
4.When the card is firmly seated in the connector, secure the card's mounting bracket to the chassis with the screw you removed in step 2.
5.Connect any cables that should be attached to the card.
See the documentation for the card for information about the card's cable connections.
6.Replace the computer cover and reset the chassis intrusion detector.
Memory
To remove a Rambus
1.Remove the computer cover.
2.Remove the system power supply to allow you to access the RIMMs.
3.Press the securing clips outward simultaneously until the RIMM disengages and pops out slightly from the socket (see Figure 22).
Figure 22. Removing a RIMM
1Securing clips (2)
To reinstall a RIMM, perform the following steps:
1.Locate the plastic securing clips at each end of the socket (see Figure 23).
2.Press the clips outward until they snap open.
3.Press the RIMM straight into the slot running down the center of the socket until the securing tabs snap into place around the ends of the RIMM.
4.Replace the computer cover and reset the chassis intrusion detector.