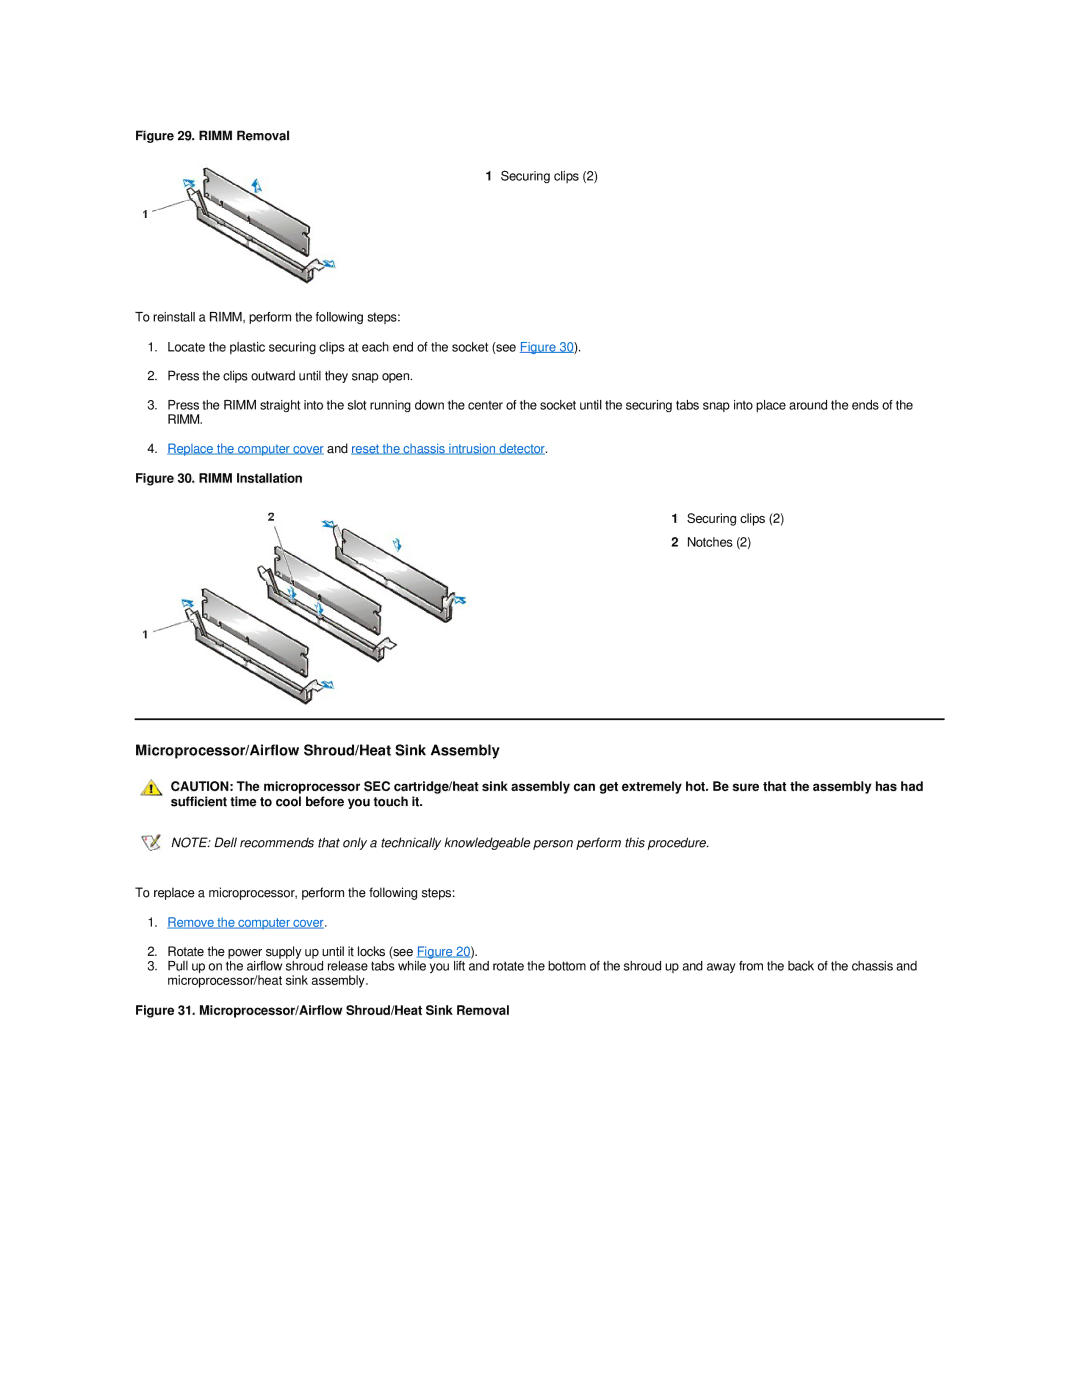
Figure 29. RIMM Removal
1Securing clips (2)
To reinstall a RIMM, perform the following steps:
1.Locate the plastic securing clips at each end of the socket (see Figure 30).
2.Press the clips outward until they snap open.
3.Press the RIMM straight into the slot running down the center of the socket until the securing tabs snap into place around the ends of the RIMM.
4.Replace the computer cover and reset the chassis intrusion detector.
Figure 30. RIMM Installation
1 Securing clips (2)
2 Notches (2)
Microprocessor/Airflow Shroud/Heat Sink Assembly
CAUTION: The microprocessor SEC cartridge/heat sink assembly can get extremely hot. Be sure that the assembly has had sufficient time to cool before you touch it.
NOTE: Dell recommends that only a technically knowledgeable person perform this procedure.
To replace a microprocessor, perform the following steps:
1.Remove the computer cover.
2.Rotate the power supply up until it locks (see Figure 20).
3.Pull up on the airflow shroud release tabs while you lift and rotate the bottom of the shroud up and away from the back of the chassis and microprocessor/heat sink assembly.