1Securing clips (2)
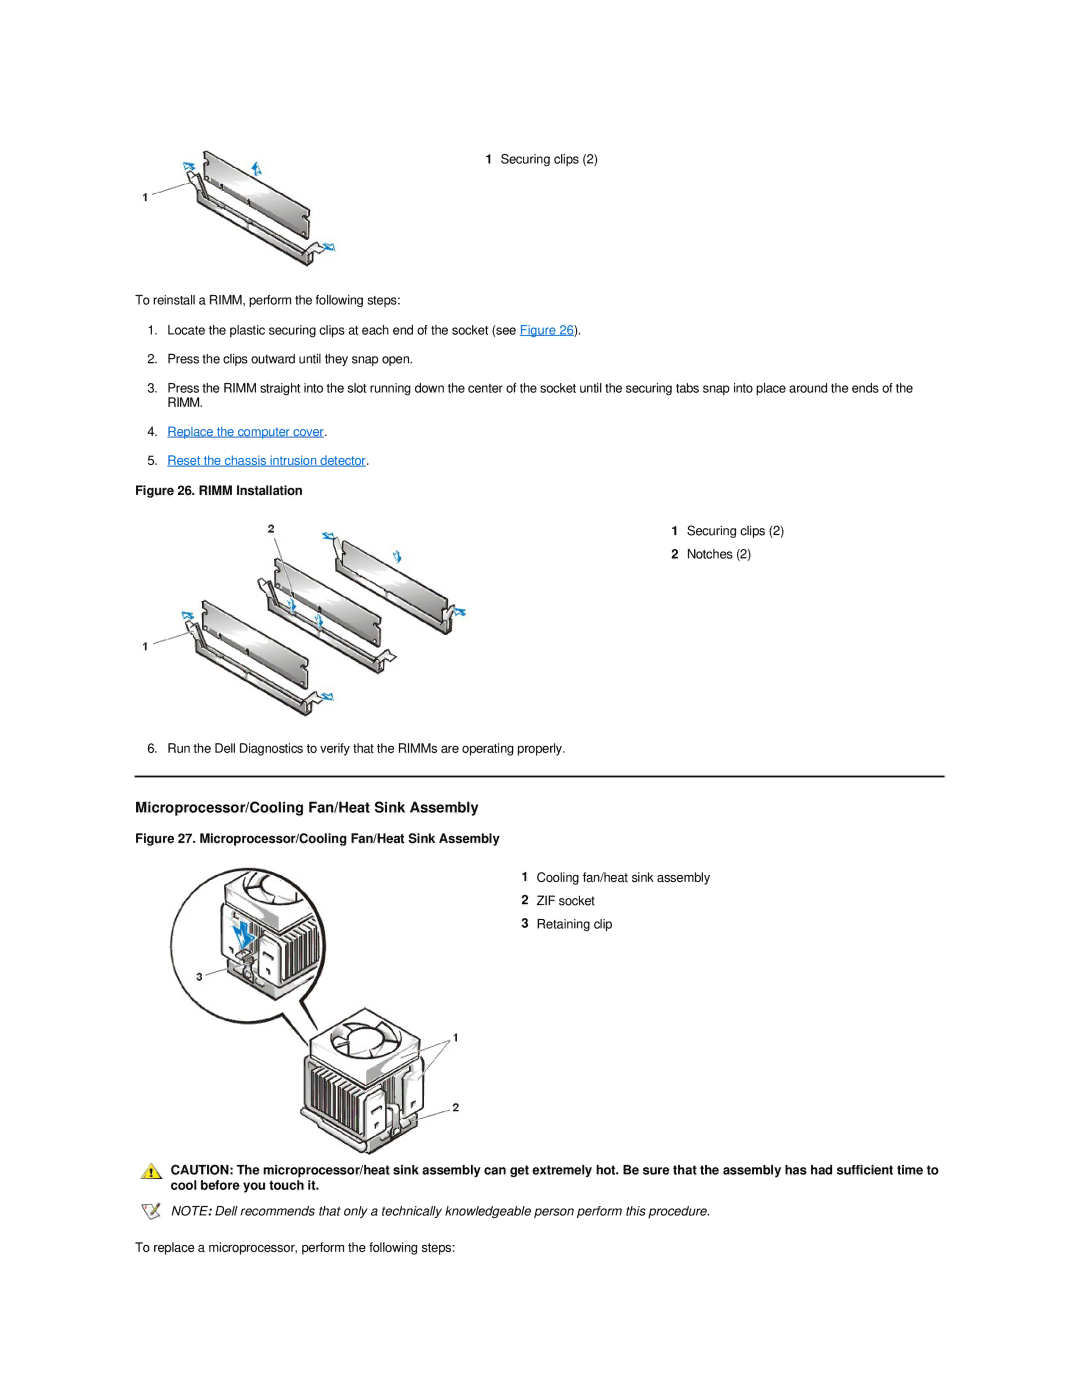
To reinstall a RIMM, perform the following steps:
1.Locate the plastic securing clips at each end of the socket (see Figure 26).
2.Press the clips outward until they snap open.
3.Press the RIMM straight into the slot running down the center of the socket until the securing tabs snap into place around the ends of the RIMM.
4.Replace the computer cover.
5.Reset the chassis intrusion detector.
Figure 26. RIMM Installation
1 Securing clips (2)
2 Notches (2)
6. Run the Dell Diagnostics to verify that the RIMMs are operating properly.
Microprocessor/Cooling Fan/Heat Sink Assembly
Figure 27. Microprocessor/Cooling Fan/Heat Sink Assembly
1Cooling fan/heat sink assembly
2ZIF socket
3Retaining clip
CAUTION: The microprocessor/heat sink assembly can get extremely hot. Be sure that the assembly has had sufficient time to cool before you touch it.
NOTE: Dell recommends that only a technically knowledgeable person perform this procedure.
To replace a microprocessor, perform the following steps: