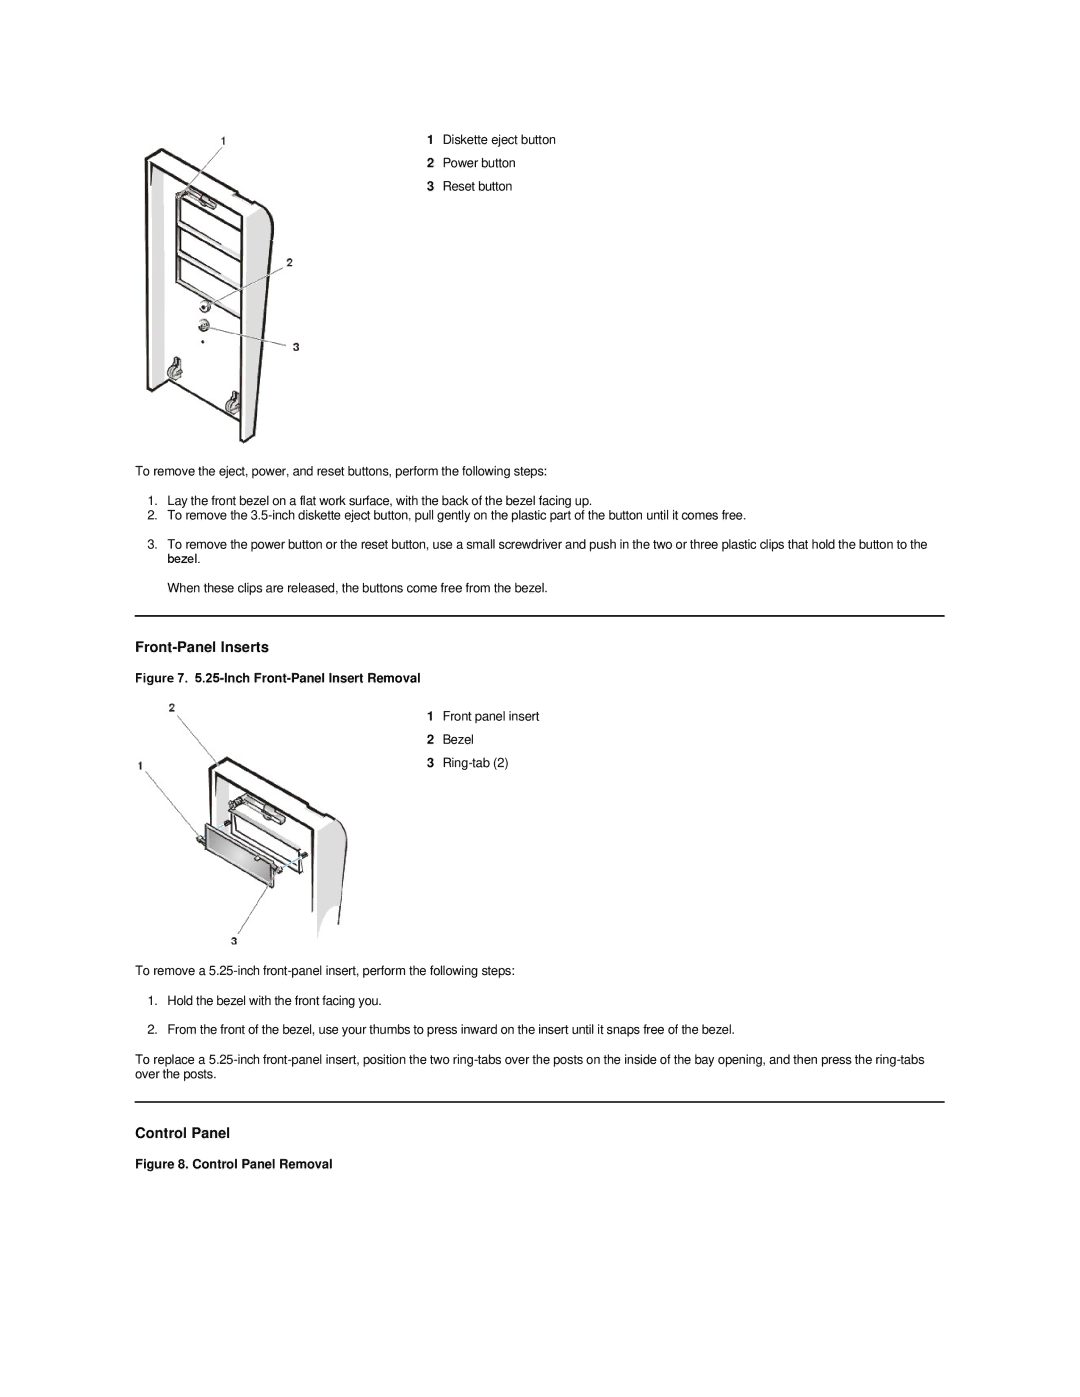
1Diskette eject button
2Power button
3Reset button
To remove the eject, power, and reset buttons, perform the following steps:
1.Lay the front bezel on a flat work surface, with the back of the bezel facing up.
2.To remove the
3.To remove the power button or the reset button, use a small screwdriver and push in the two or three plastic clips that hold the button to the bezel.
When these clips are released, the buttons come free from the bezel.
Front-Panel Inserts
Figure 7. 5.25-Inch Front-Panel Insert Removal
1Front panel insert
2Bezel
3
To remove a
1.Hold the bezel with the front facing you.
2.From the front of the bezel, use your thumbs to press inward on the insert until it snaps free of the bezel.
To replace a