C h a p t e r 6 | M e s s a g e s a n d S e t u p | |
|
|
|
then reporting through a cell phone or
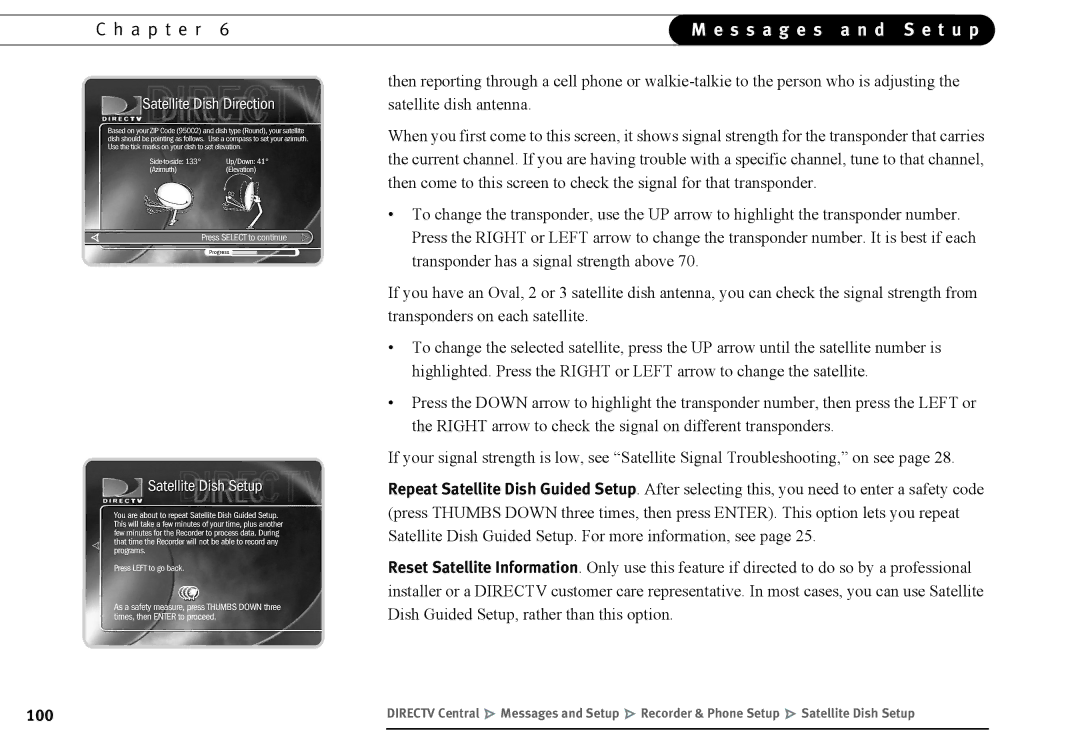
When you first come to this screen, it shows signal strength for the transponder that carries the current channel. If you are having trouble with a specific channel, tune to that channel, then come to this screen to check the signal for that transponder.
•To change the transponder, use the UP arrow to highlight the transponder number. Press the RIGHT or LEFT arrow to change the transponder number. It is best if each transponder has a signal strength above 70.
If you have an Oval, 2 or 3 satellite dish antenna, you can check the signal strength from transponders on each satellite.
•To change the selected satellite, press the UP arrow until the satellite number is highlighted. Press the RIGHT or LEFT arrow to change the satellite.
•Press the DOWN arrow to highlight the transponder number, then press the LEFT or the RIGHT arrow to check the signal on different transponders.
If your signal strength is low, see “Satellite Signal Troubleshooting,” on see page 28.
Repeat Satellite Dish Guided Setup. After selecting this, you need to enter a safety code (press THUMBS DOWN three times, then press ENTER). This option lets you repeat Satellite Dish Guided Setup. For more information, see page 25.
Reset Satellite Information. Only use this feature if directed to do so by a professional installer or a DIRECTV customer care representative. In most cases, you can use Satellite Dish Guided Setup, rather than this option.
100 | DIRECTV Central Messages and Setup Recorder & Phone Setup Satellite Dish Setup |
