C h a p t e r 6

M e s s a g e s a n d S e t u p


Phone Dialing Options

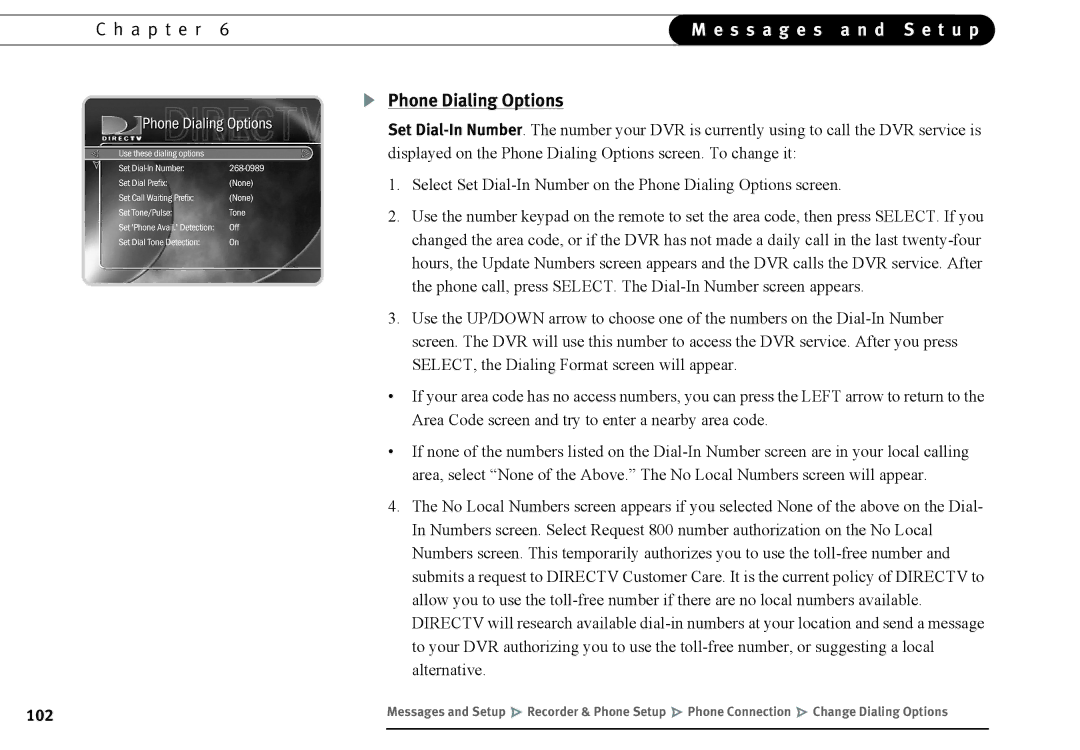
Set Dial-In Number. The number your DVR is currently using to call the DVR service is displayed on the Phone Dialing Options screen. To change it:

1.Select Set Dial-In Number on the Phone Dialing Options screen.

2.Use the number keypad on the remote to set the area code, then press SELECT. If you changed the area code, or if the DVR has not made a daily call in the last twenty-four hours, the Update Numbers screen appears and the DVR calls the DVR service. After the phone call, press SELECT. The Dial-In Number screen appears.

3.Use the UP/DOWN arrow to choose one of the numbers on the Dial-In Number screen. The DVR will use this number to access the DVR service. After you press SELECT, the Dialing Format screen will appear.

If your area code has no access numbers, you can press the LEFT arrow to return to the Area Code screen and try to enter a nearby area code.

If none of the numbers listed on the Dial-In Number screen are in your local calling area, select “None of the Above.” The No Local Numbers screen will appear.

4.The No Local Numbers screen appears if you selected None of the above on the Dial- In Numbers screen. Select Request 800 number authorization on the No Local Numbers screen. This temporarily authorizes you to use the toll-free number and submits a request to DIRECTV Customer Care. It is the current policy of DIRECTV to allow you to use the toll-free number if there are no local numbers available. DIRECTV will research available dial-in numbers at your location and send a message to your DVR authorizing you to use the toll-free number, or suggesting a local alternative.

102

Messages and Setup Recorder & Phone Setup Phone Connection Change Dialing Options


Page 112
Image 112
DirecTV DVR40, DVR120 manual Phone Dialing Options