Liebert FS DC Energy Storage System
DIS Product
Table of Contents
System Overview
Operation
Maintenance
Troubleshooting
Appendix A.0 UPS Interconnection Kits
Appendix B.0 Data Collection Module
Appendix D.0 Installation Drawings
Appendix E.0 Specifications
Appendix F.0 Auxiliary Backup AC Power Supply
Appendix C.0 Versatile Interface Board
Figures
Vii
Versatile Interface Board mounted in the Liebert FS 110
Tables
Product
Important Safety Instructions
Safety Precautions
Safety Considerations
General Information
Requesting Assistance from Liebert
System information
General System Description
Liebert FS
DC Bus Loads
Liebert FS Unit
Liebert FS Unit N
Battery N
General Specifications
Liebert
FS Unit N
Features and Benefits
Key Technological Features
Key Customer Benefits
Applicable Standards and Certification
Output Power vs. Ride-Through Time Vbus=540V, Vreg=520V
KW-sec delivered GTX model, 520 VDC, with filter
Utility Static Switch
Bypass
Rectifier
System Location
Environmental Considerations
Flooring Requirements
Electrical Considerations
AC Power Connections
Status/Control Connections
Grounding Connections
Remote Monitoring Connections-Optional
Inspection Before Removal From the Truck
Unloading
14623
Handling
Unpacking
Lifting the Liebert FS cabinet
Removing the metal support plates
Storing the Liebert FS for Delayed Installation
Positioning the Liebert FS
Moving the Liebert FS
Manuals Serial Number Model Number Plates
Top
Bottom
Front Right Side 12-100120-09
Internal layout
Front Right Side Door open Panel removed
Cabinet Floor Mounting
Floor Mounting Bracket
Mounting Tools
Concrete, Masonry or Stone Floor Mounting Instructions
Checking hole depth
Bolt securing bracket to cabinet
12.7mm Floor to Flange
Mounting front bolts-front side of cabinet
Bubble level
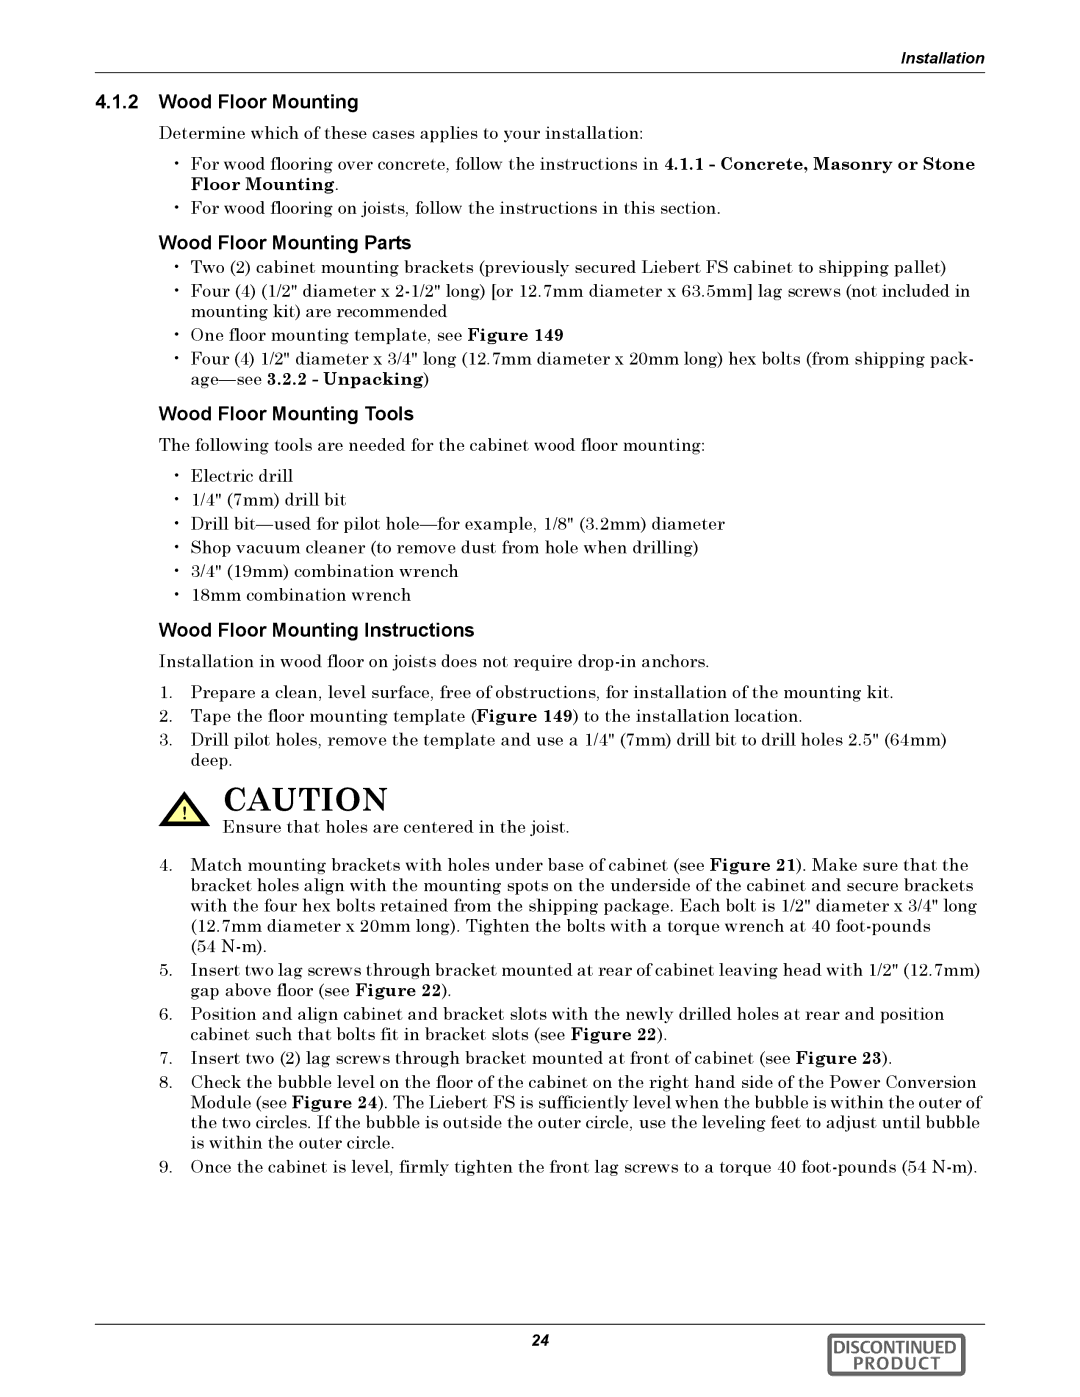
Wood Floor Mounting
Wood Floor Mounting Parts
Wood Floor Mounting Tools
Wood Floor Mounting Instructions
Raised Floor Mounting Raised Floor Mounting Kit
Raised Floor Mounting Tools
Raised Floor Mounting Instructions
Wiring Connections
General Wiring Considerations
Front
Rear
Control Communication Access Panel DC and Ground Connections
Circuit Breaker Mounting Plate
Ground Wire Gauge Tightening Torque Approximate metric Inch
Ground Connections
Tightening torque for ground connection
Pounds
AC Auxiliary Control Power Supply Connections
Service panel location
Fused disconnect
Terminal Neutral Ground Terminal 2 Line
Startup Considerations
Remote monitoring DCM connections inside cabinet front door
Detailed System Description
Liebert FS front view
Power Conversion Module
System Module Description
Control Panel
UPS Interconnection Kit
Power System
Electrical system schematic
Battery Input
Magnetic Levitation
User interfaces Control Panel
Data Collection Module DCM
Versatile Interface Board VIB
Igbt Power Conversion Module PCM
Magnetic Levitation Module MLM
Active Magnetic Levitation Hardware
Axial Electromagnet
Upper Radial
Rotor/Flywheel-Rotating Group
Motor Generator
Vacuum System
Vacuum system operation
Temperature
Flywheel Sensors Speed
System Safety
Outer Housing Rotating Group Inner Housing Coolant
Cabinet
List of System User-Configurable Parameters
Regulation Voltage Delta During Discharge Vreg Delta
Max Charge Current Voltage Behavior Current Sink
Modes of Operation
Vreg delta help screen
OFF Mode
Standby Mode
Startup Mode
UPS DC Bus Voltage = Vcharge
Charge Mode
Ready Mode
Voltage ≥ Vcharge
Discharge Mode
Shutdown Mode
Following a Liebert FS Discharge Down to SOC = 0%
Following a User Command
Coast Mode
Fault Mode
KEY # Mode Description
Typical operation modes
Maintenance and Reliability
Access System History
Operator Controls
System Status Indicators
System Mode Indicators
Control Panel
Control panel keyboard layout refer to Figure
Main screen function descriptions
System Mode Indicators
System Status Indicators
System status indicators
Operation modes
Disabled
Uninstalled
Other Status Indicators
Operative
Security Access
Menu Tree and Navigation
Menu tree
System Setup and Parameter Access
Navigation and Operation of Control Panel
2V REG
View
Time/Date
Temperatures
Voltages
History
Fault history, Event list screen
Discharge history
Options
Vitals history view
Network-Requires DCM Option
Networks view
Electrical
Vitals
Security
Password screens
About
Tools
Initial System Startup Procedure
System Startup
Inspection before Initial System Startup
Control Parameters Setup at Initial System Startup
Control Parameter Value Default
Control parameters
Software versions
Regular Startup Procedure
Powering Up the Liebert FS
Booting Up
Inspection Before Regular Startup
Shutdown Procedure
Validation of Control Parameters Setup
Initiating Liebert FS Startup Sequence
Liebert FS Startup Sequence
Safety Precautions
Liebert Services
Routine Maintenance
Maintenance Schedule
Maintenance schedule
Frequency Service Every Item/Action Yrs
Record Log
Torque specifications unless otherwise labeled
Optional Air Filters
Torque Requirements
Detecting Trouble
Reporting a Problem
Corrective Actions
Recommended Test Equipment
Limited Life Components
General
User level menu
Ore information
Button F5
Meaning / Possible Causes Troubleshooting Label
Auxpower
Faults
Bus Power
Ore information Fault Clear Button F3 Button F5
Faults-causes and responses
BUS Current Offset
Troubleshooting Fault Label Troubleshooting Action
Appendix A.1 Wiring Connections
Appendix A.1.1 General Wiring Considerations
Key to UPS model interconnection
Liebert FS Model # Use With Liebert UPS
Rear
Top view of Liebert FS Cabinet with UPS interconnection kit
Appendix A.1.2 DC Power Connections
Circuit Breaker Torque
Liebert FS Positive Terminal Negative
Liebert Series 610/600T/600 model ratings
UPS Output Rating KVA
Yellow Blue Two rows Row for
Liebert FS Software Control Parameter settings
Liebert FS Software Control Parameter Setting
Liebert Npower model ratings
Liebert FS Npower UPS
Output
Rating
Liebert FS Software Setting Control Parameter
Liebert FS Software Control Parameters
See Table
Product
List of Liebert Series 300 models ratings
Liebert Series 300 UPS
Liebert Series 300 status/control terminal block wiring
395VDC
Appendix A.5.1 Description-HiPulse UPS Interconnection Kit
Liebert HiPulse model ratings
Appendix A.5.3 IKIT-A05 DC Power Connections
Liebert FS positive terminal Liebert FS negative terminal
Appendix A.5.5 Single Liebert FS on UPS DC Bus
UPS Output Rating kVA 120
Multiple Liebert FS Parallel Operation-Regular Configuration
Appendix B.2 DCM Installation and Configuration
Appendix B.1.2 Features
Appendix B.2.1 Installation
Appendix B.1 General Information
LAN Connection Power Connection
Appendix B.2.2 DCM Requirements
Home Done
Appendix B.2.3 Accessing the DCM
Appendix B.2.4 Configuring DCM System Parameters
Enter IP Address
Appendix B.3 DCM Operation
Appendix B.3.1 Logging into the DCM
Appendix B.3.2 Status and Detailed Status Screens
Appendix B.3.3 Datafiles Screen
Datafiles screen
Appendix B.4 DCM Troubleshooting
Appendix B.4.1 DCM Troubleshooting Principles
Appendix B.4.2 Resetting the DCM
Troubleshooting
Appendix C.1 General Information-Versatile Interface Board
Appendix C.1.1 Versatile Interface Board Overview
Appendix C.1.2 VIB Features
VIB I/O functions Interface VIB Designation Description
X20
Label
Appendix C.2 VIB Installation and Configuration
Appendix C.2.1 VIB Installation
Appendix C.2.3 VIB Input Specifications
Appendix C.2.4 VIB Output Specifications
Appendix C.3 VIB Operation
Appendix C.4 Troubleshooting the VIB
Appendix C.4.2 VIB in Disabled or Not Available State
Appendix C.4.1 UIB State Not Displayed on the Front Panel
Appendix C.4.3 Inputs Not Recognized
Storage Solution Flywheel Storage Solution
Appendix D.1 Liebert FS Flywheel Submittal Document Matrix
Submittal documents accompanying Liebert FS
No UVR, circuit breaker to terminal block wiring
Appendix D.2 Other Liebert FS Drawings
Electrical connections
Electrical system block diagram
24 UVR, circuit breaker to terminal block wiring
48 UVR, circuit breaker to terminal block wiring
Outline drawing, Liebert FS cabinet
Fused
Liebert FS
Control
FS cabinet to Liebert Series 610 UPS module
Metal Support
Elevation drawing-Liebert FS cabinet
Front
124
NEG
Weight 1300 lb .6kg
Mechanical
NEG POS GND
FS systems in parallel configuration
Line drawing, three Liebert
+ GND
Breaker
With Liebert UPS
Liebert UPS Module
+ GND
Parallel with a
With factory-integrated circuit
Liebert UPS Module
Liebert UPS Module
Wiring, multiple units
Status/control
Wiring specifications, Liebert FS and Liebert Series
Wiring specifications, Liebert FS and Liebert Npower
Wiring specifications, Liebert FS and Liebert Series
140
29-1/2 749mm
Bolts and Washers come with cabinet Drill Template Dwg
Liebert FS block diagram
Power line diagram
Liebert FS Cabinet Unit N
Liebert FS Cabinet
Unit N Input Bus
UPS cable entry-top
Unit N Input
TOP View
Appendix E.0 Specifications
Technical specifications
Appendix E.1 Ground Test Procedure
Items Required
Appendix F.2 Backup AC Power Supply Specification
Appendix F.3 Recommended Backup Power Supply Configuration
Appendix F.1 Overview
Frequency 50 to 60Hz
Battery Liebert FS Pack
Grid supply DC bus
Grid
Appendix F.3.2 Operating the Liebert FS Without Batteries
Appendix F.4 Scenarios
Liebert FS Flywheel module
154
DIS Product
Locations