R41A0K180 User’s Guide
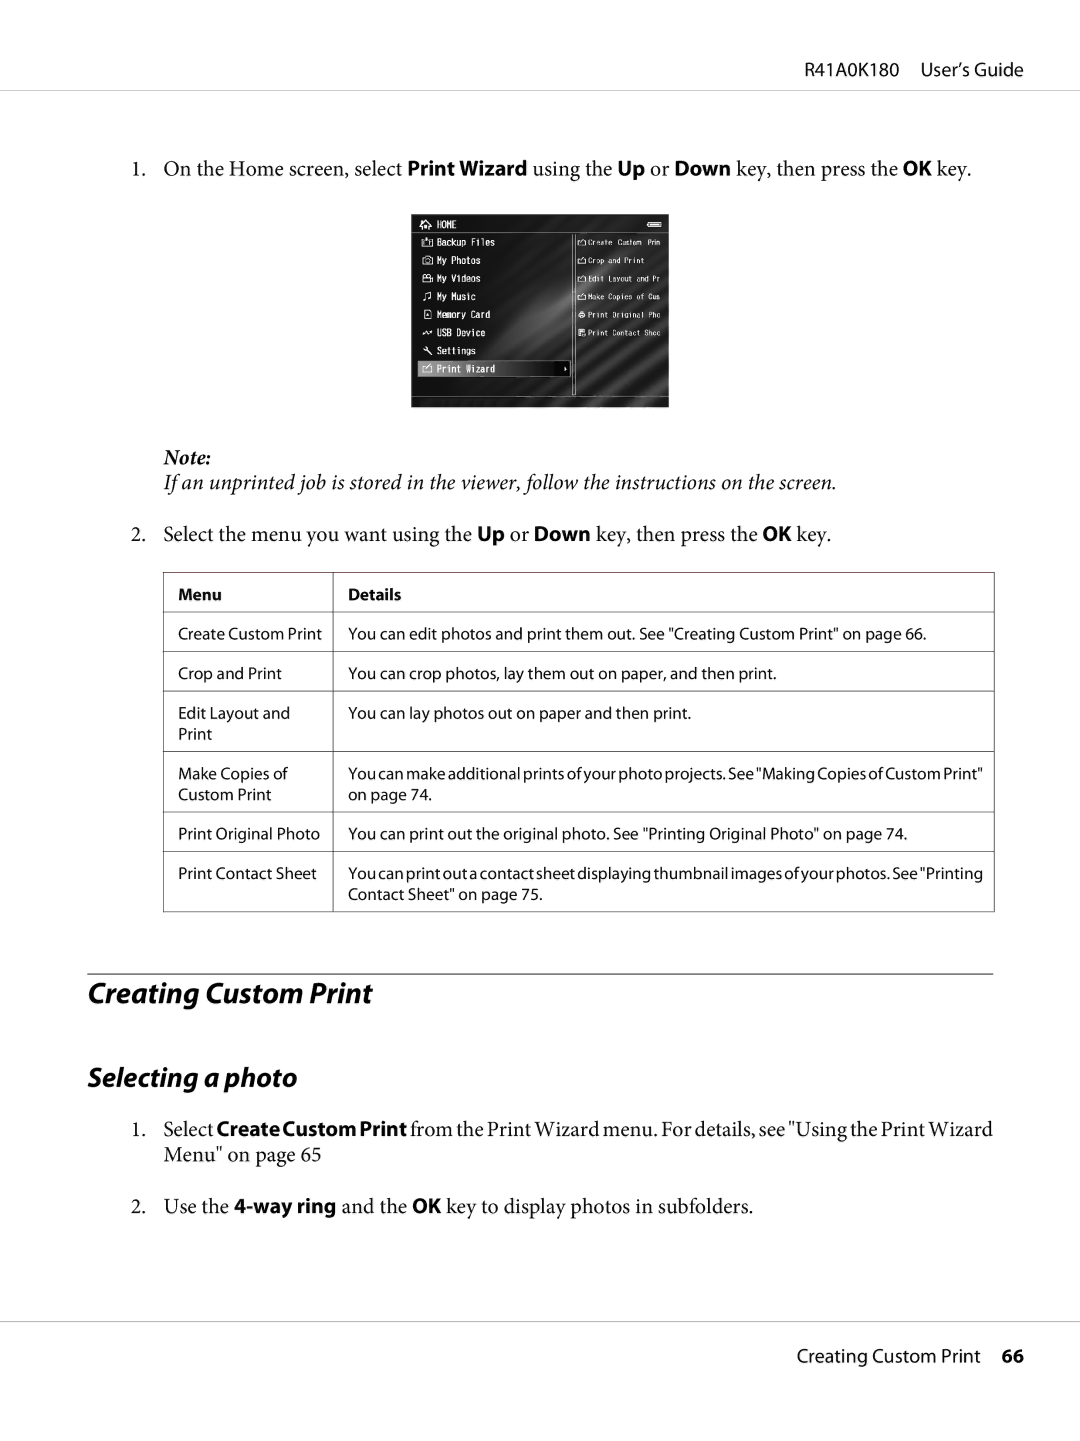
1. On the Home screen, select Print Wizard using the Up or Down key, then press the OK key.
Note:
If an unprinted job is stored in the viewer, follow the instructions on the screen.
2. Select the menu you want using the Up or Down key, then press the OK key.
Menu
Create Custom Print
Crop and Print
Edit Layout and Print
Make Copies of Custom Print
Print Original Photo
Print Contact Sheet
Details
You can edit photos and print them out. See "Creating Custom Print" on page 66.
You can crop photos, lay them out on paper, and then print.
You can lay photos out on paper and then print.
You can make additional prints of your photo projects. See "Making Copies of Custom Print" on page 74.
You can print out the original photo. See "Printing Original Photo" on page 74.
You can print out a contact sheet displaying thumbnail images of your photos. See "Printing Contact Sheet" on page 75.
Creating Custom Print
Selecting a photo
1.Select Create Custom Print from the Print Wizard menu. For details, see "Using the Print Wizard Menu" on page 65
2.Use the
Creating Custom Print 66