R41A0K180 User’s Guide
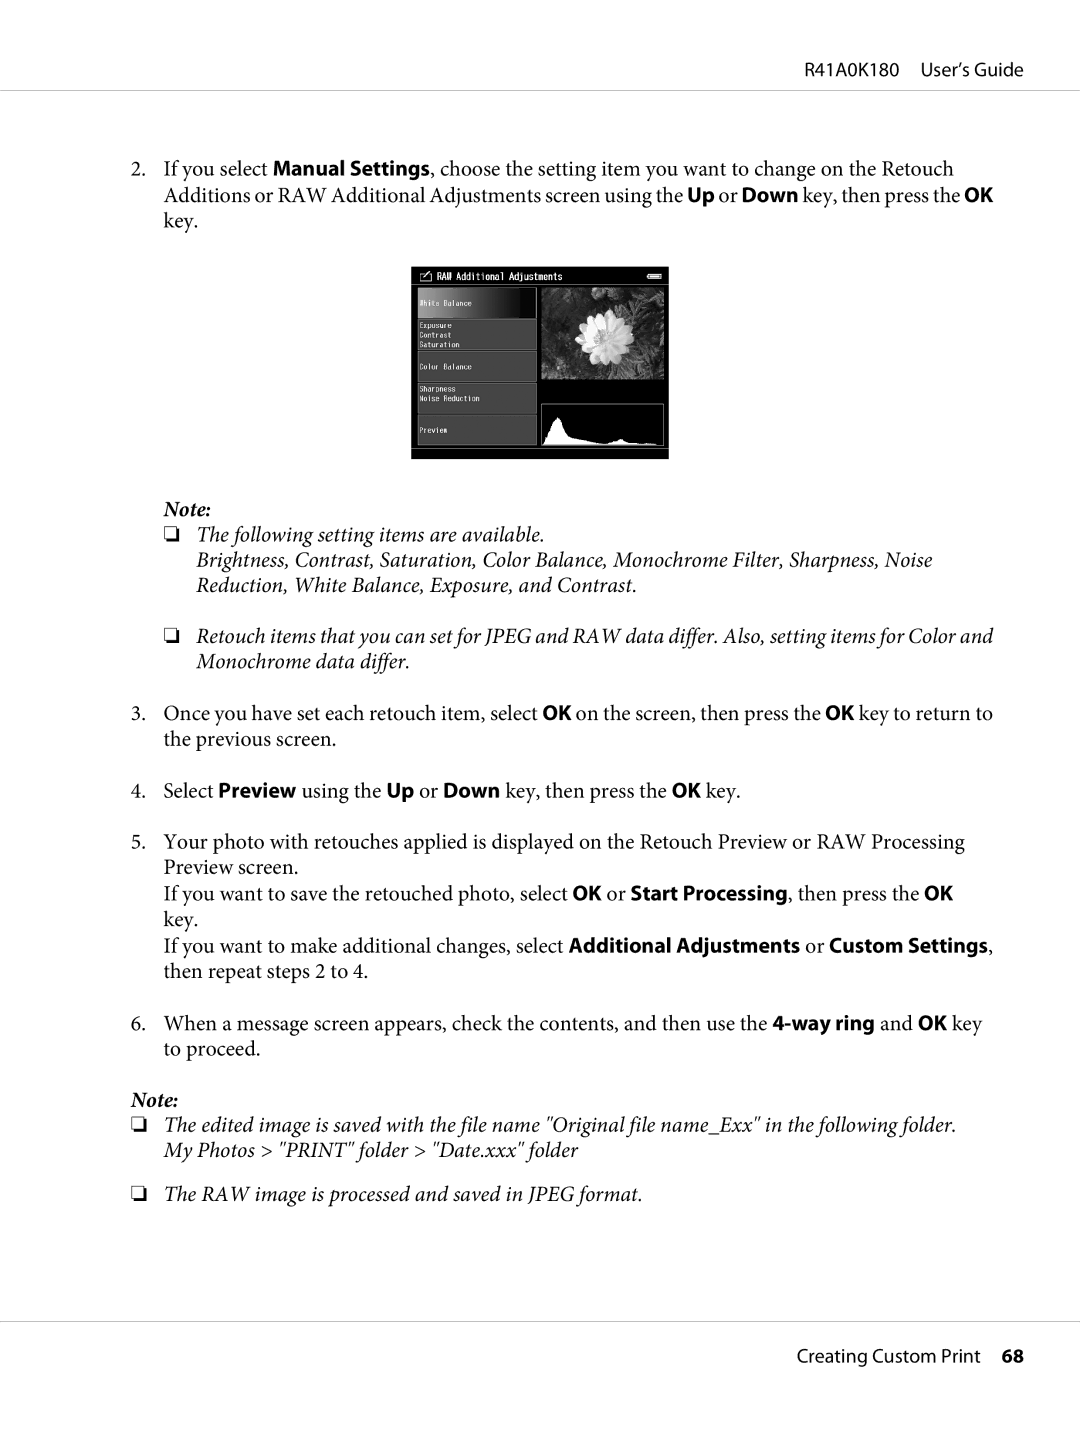
2.If you select Manual Settings, choose the setting item you want to change on the Retouch Additions or RAW Additional Adjustments screen using the Up or Down key, then press the OK key.
Note:
❏The following setting items are available.
Brightness, Contrast, Saturation, Color Balance, Monochrome Filter, Sharpness, Noise Reduction, White Balance, Exposure, and Contrast.
❏Retouch items that you can set for JPEG and RAW data differ. Also, setting items for Color and Monochrome data differ.
3.Once you have set each retouch item, select OK on the screen, then press the OK key to return to the previous screen.
4.Select Preview using the Up or Down key, then press the OK key.
5.Your photo with retouches applied is displayed on the Retouch Preview or RAW Processing Preview screen.
If you want to save the retouched photo, select OK or Start Processing, then press the OK key.
If you want to make additional changes, select Additional Adjustments or Custom Settings, then repeat steps 2 to 4.
6.When a message screen appears, check the contents, and then use the
Note:
❏The edited image is saved with the file name "Original file name_Exx" in the following folder. My Photos > "PRINT" folder > "Date.xxx" folder
❏The RAW image is processed and saved in JPEG format.
Creating Custom Print 68
