R41A0K180 User’s Guide
5.Your photo with cropping applied is displayed on the Cropping Preview screen. If you want to save the cropped photo, select OK, then press the OK key.
If you want to make additional changes, select Additional Adjustments, then repeat steps 3 to 4.
When saving the image, the Select Print Layout Size screen is displayed.
Note:
The edited image is saved with the file name "Original file name_Exx" in the following folder. My Photos > "PRINT" folder > "Date.xxx" folder.
Setting the layout
In Print Layout you can set the paper size, background color, water mark, and so on.
1.On the Select Print Layout Size screen, select the paper size using the Up or Down key, then press the OK key.
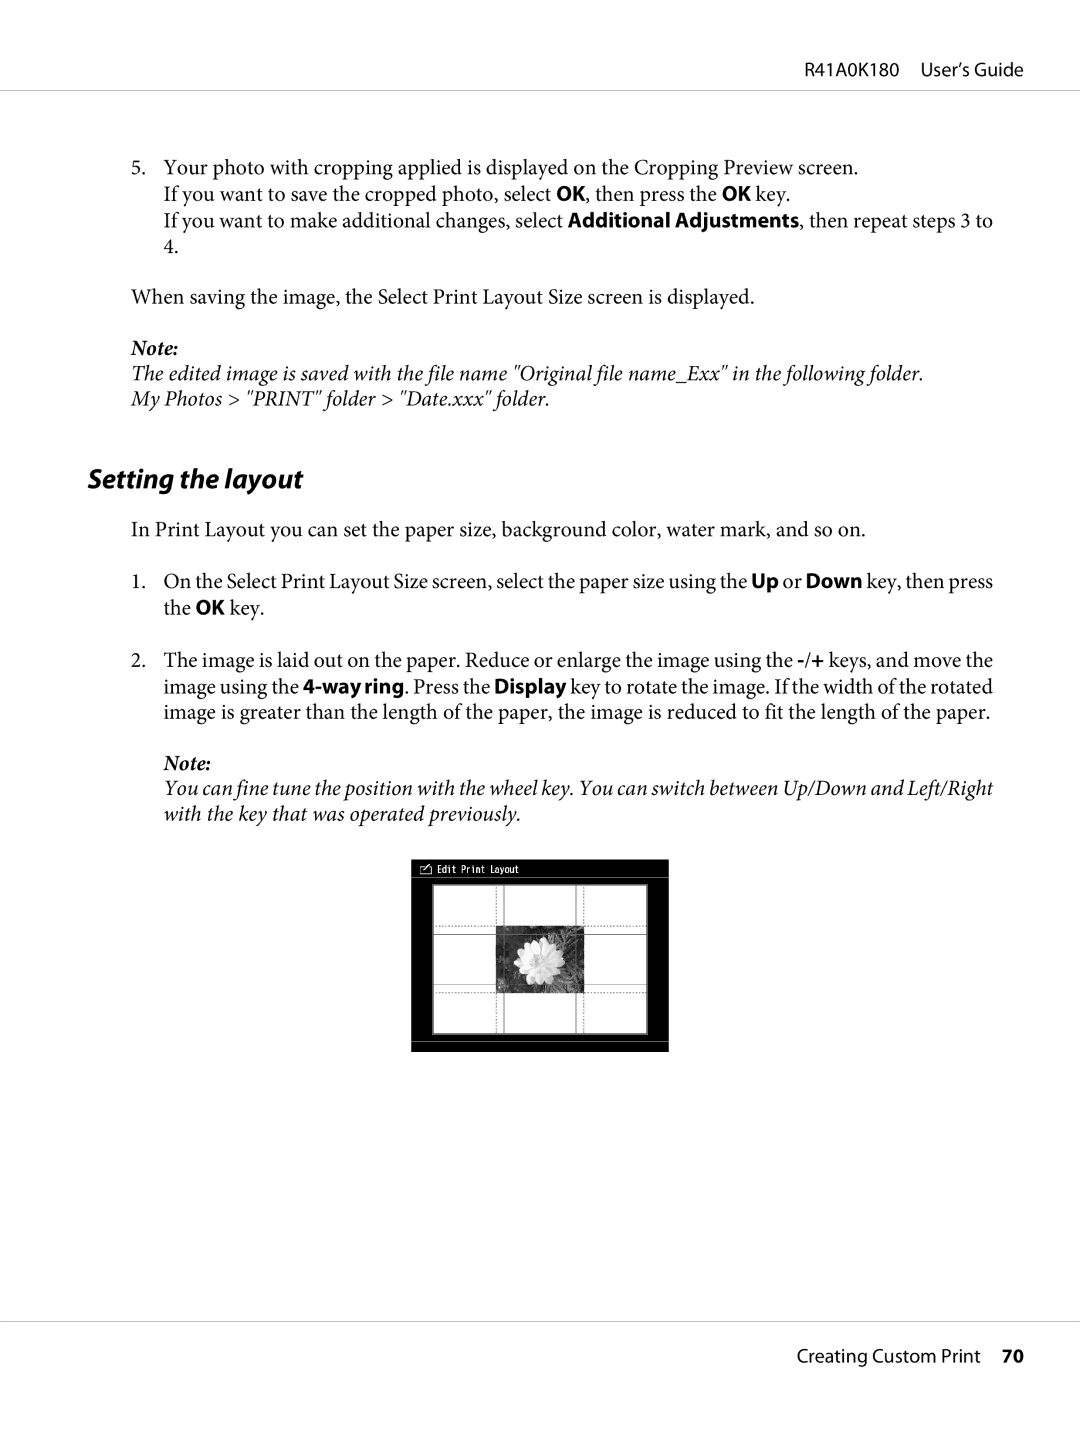
2.The image is laid out on the paper. Reduce or enlarge the image using the
Note:
You can fine tune the position with the wheel key. You can switch between Up/Down and Left/Right with the key that was operated previously.
Creating Custom Print 70