TM-P60 Technical Reference Guide
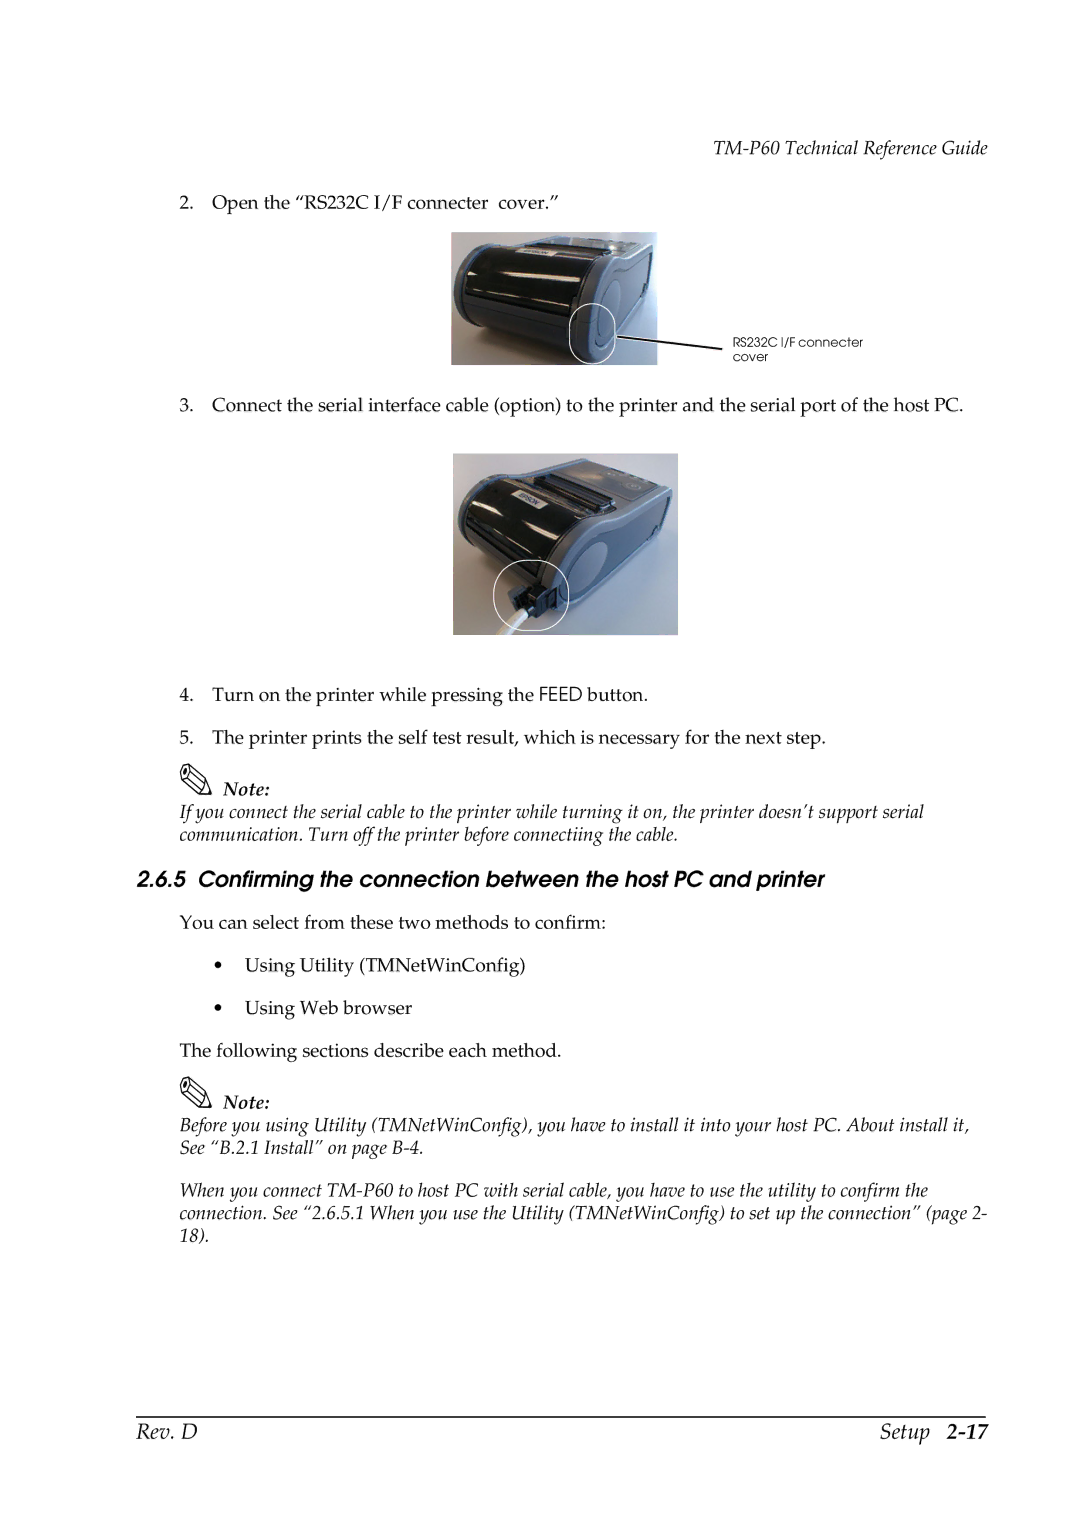
2. Open the “RS232C I/F connecter cover.”
RS232C I/F connecter cover
3. Connect the serial interface cable (option) to the printer and the serial port of the host PC.
4.Turn on the printer while pressing the FEED button.
5.The printer prints the self test result, which is necessary for the next step.
Note:
If you connect the serial cable to the printer while turning it on, the printer doesn’t support serial communication. Turn off the printer before connectiing the cable.
2.6.5 Confirming the connection between the host PC and printer
You can select from these two methods to confirm:
•Using Utility (TMNetWinConfig)
•Using Web browser
The following sections describe each method.
Note:
Before you using Utility (TMNetWinConfig), you have to install it into your host PC. About install it, See “B.2.1 Install” on page
When you connect
Rev. D | Setup |