Rack Mounting
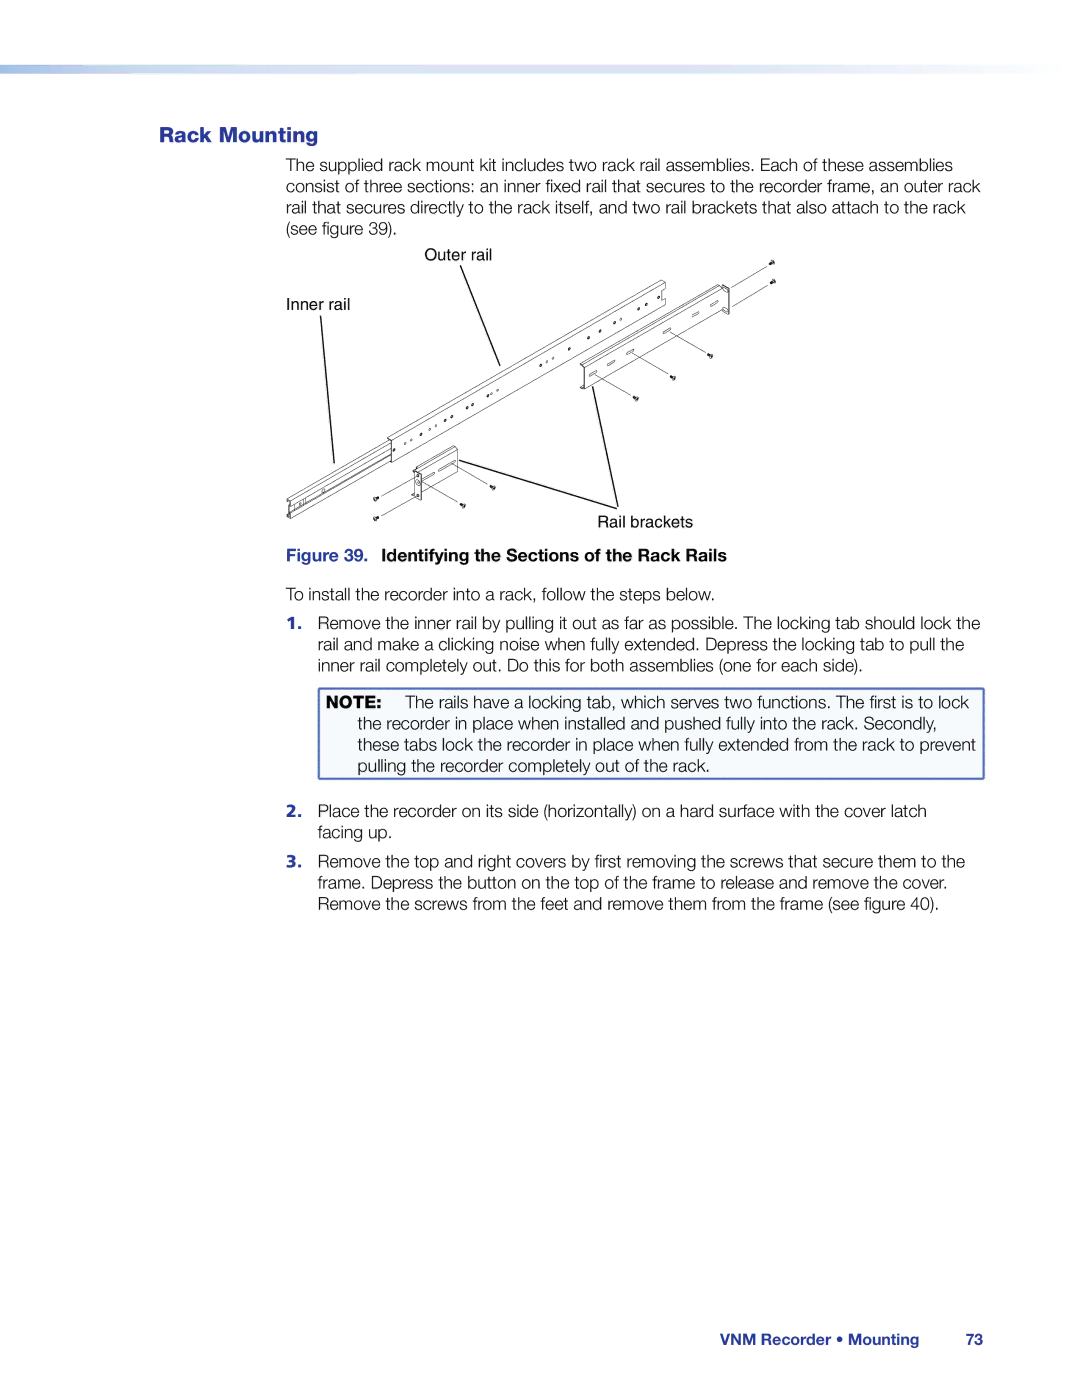
The supplied rack mount kit includes two rack rail assemblies. Each of these assemblies consist of three sections: an inner fixed rail that secures to the recorder frame, an outer rack rail that secures directly to the rack itself, and two rail brackets that also attach to the rack (see figure 39).
Outer rail
Inner rail
Rail brackets
Figure 39. Identifying the Sections of the Rack Rails
To install the recorder into a rack, follow the steps below.
1. | Remove the inner rail by pulling it out as far as possible. The locking tab should lock the | |
| rail and make a clicking noise when fully extended. Depress the locking tab to pull the | |
| inner rail completely out. Do this for both assemblies (one for each side). | |
| NOTE: | The rails have a locking tab, which serves two functions. The first is to lock |
| the recorder in place when installed and pushed fully into the rack. Secondly, | |
| these tabs lock the recorder in place when fully extended from the rack to prevent | |
| pulling the recorder completely out of the rack. | |
2. | Place the recorder on its side (horizontally) on a hard surface with the cover latch | |
| facing up. |
|
3. | Remove the top and right covers by first removing the screws that secure them to the | |
| frame. Depress the button on the top of the frame to release and remove the cover. | |
| Remove the screws from the feet and remove them from the frame (see figure 40). | |
VNM Recorder • Mounting | 73 |