English |
HP Designjet 30/90/130 Printer series – Quick Reference Guide
How Do I Clean a Printhead? (continued)
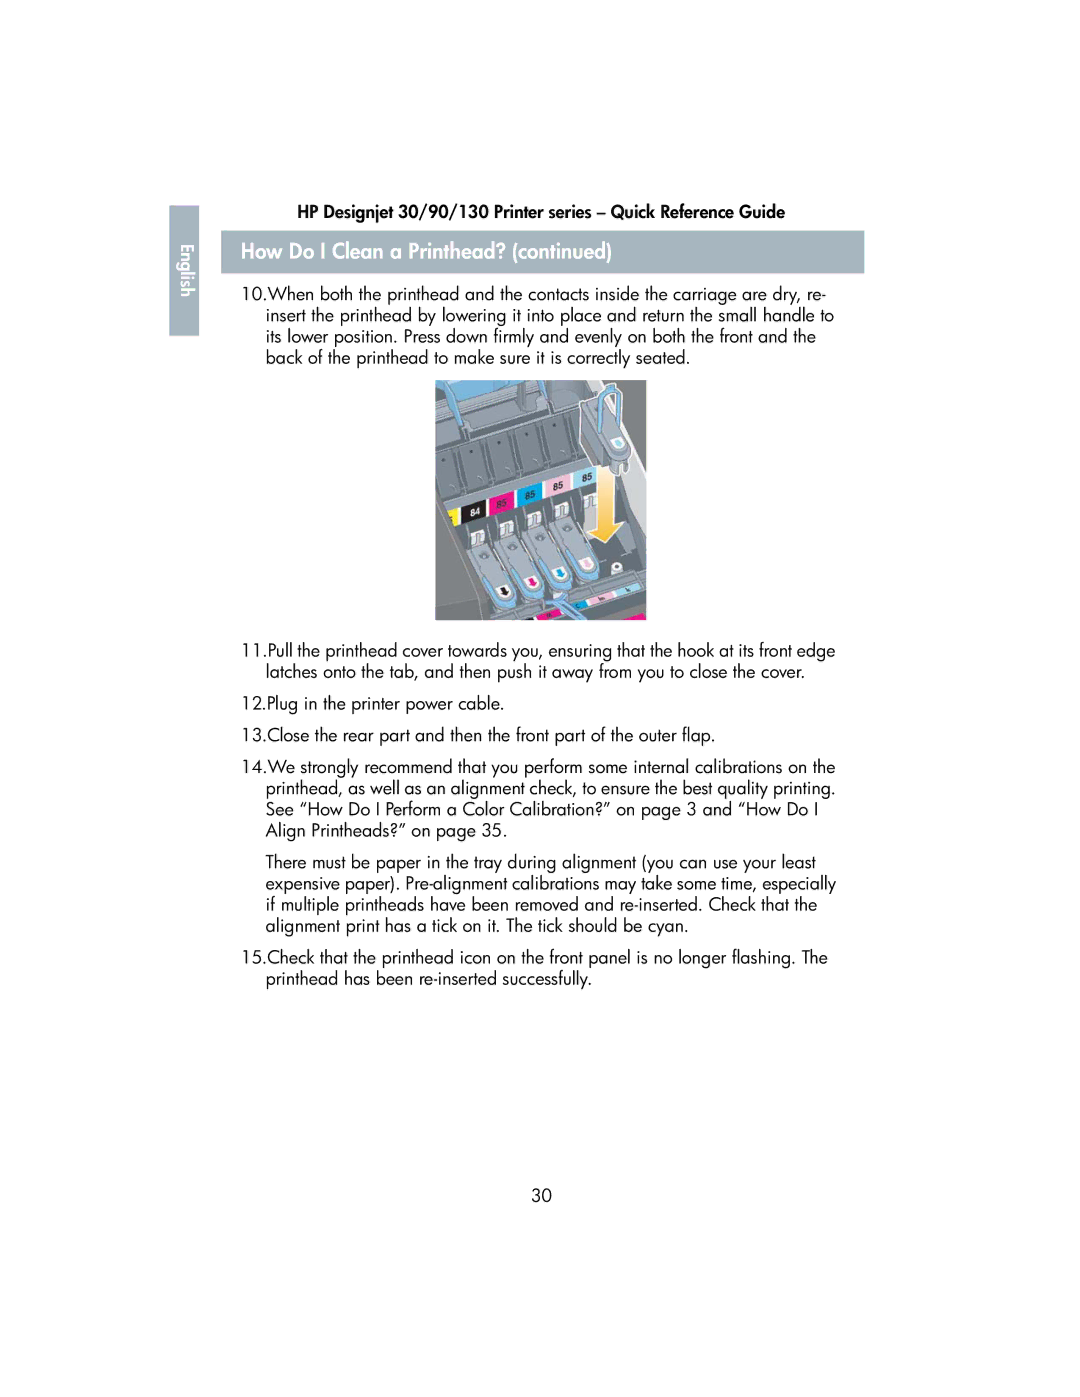
10.When both the printhead and the contacts inside the carriage are dry, re- insert the printhead by lowering it into place and return the small handle to its lower position. Press down firmly and evenly on both the front and the back of the printhead to make sure it is correctly seated.
11.Pull the printhead cover towards you, ensuring that the hook at its front edge latches onto the tab, and then push it away from you to close the cover.
12.Plug in the printer power cable.
13.Close the rear part and then the front part of the outer flap.
14.We strongly recommend that you perform some internal calibrations on the printhead, as well as an alignment check, to ensure the best quality printing. See “How Do I Perform a Color Calibration?” on page 3 and “How Do I Align Printheads?” on page 35.
There must be paper in the tray during alignment (you can use your least expensive paper).
15.Check that the printhead icon on the front panel is no longer flashing. The printhead has been
30