Chapter 6 | Replacing Parts |
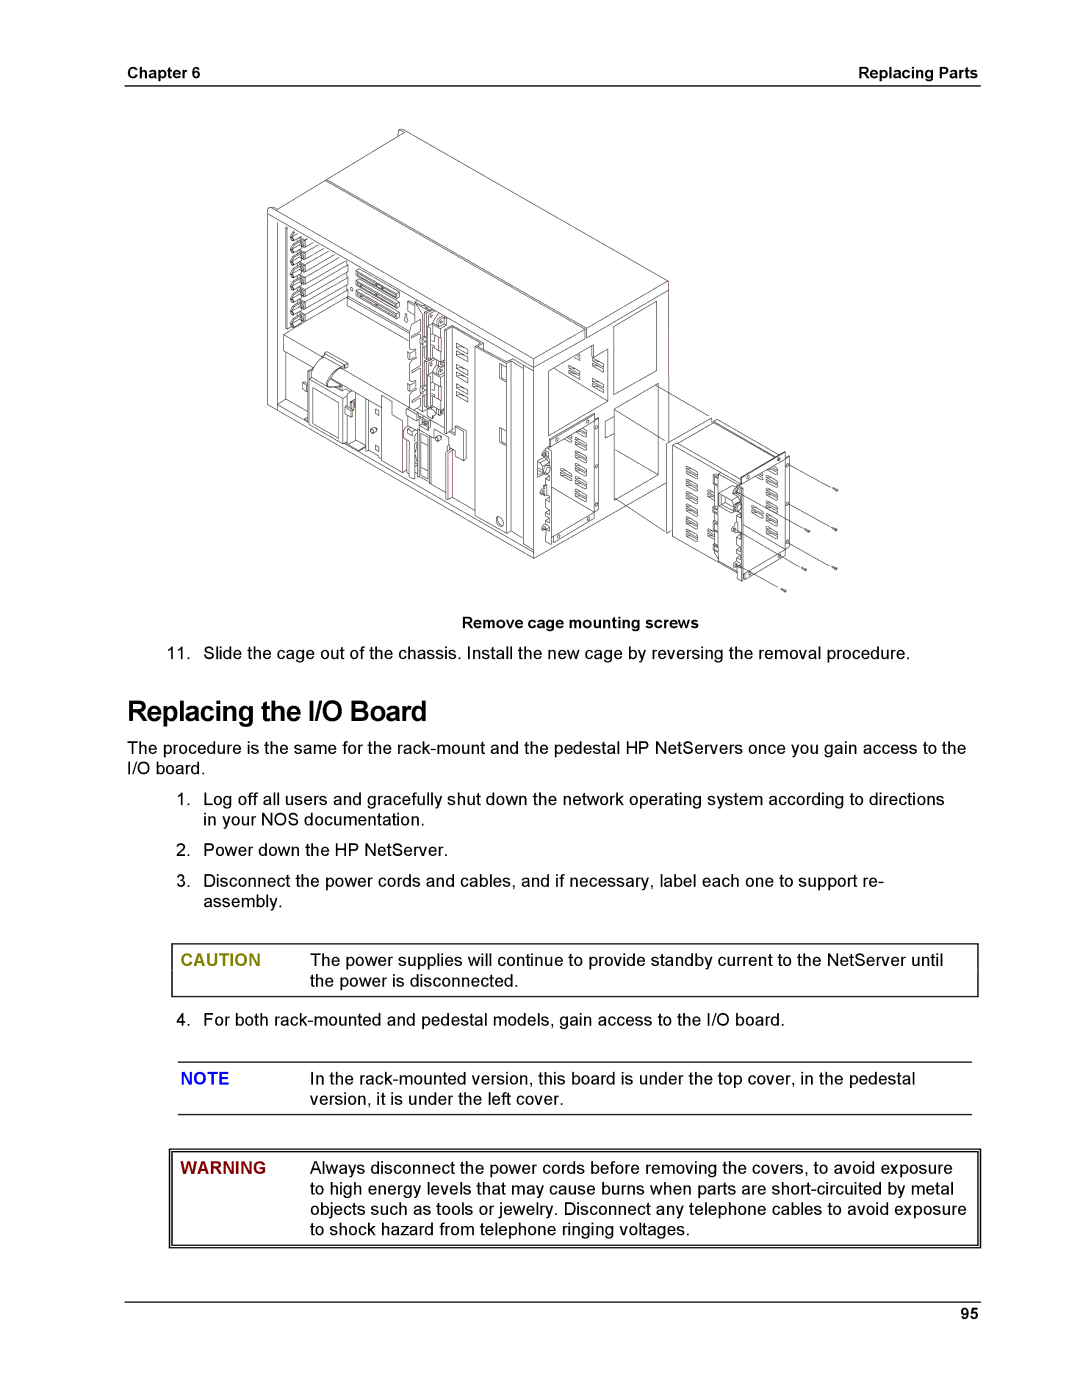
Remove cage mounting screws
11. Slide the cage out of the chassis. Install the new cage by reversing the removal procedure.
Replacing the I/O Board
The procedure is the same for the
1.Log off all users and gracefully shut down the network operating system according to directions in your NOS documentation.
2.Power down the HP NetServer.
3.Disconnect the power cords and cables, and if necessary, label each one to support re- assembly.
CAUTION The power supplies will continue to provide standby current to the NetServer until the power is disconnected.
4. For both
NOTE | In the |
| version, it is under the left cover. |
WARNING Always disconnect the power cords before removing the covers, to avoid exposure to high energy levels that may cause burns when parts are
95