Chapter 6 | Replacing Parts |
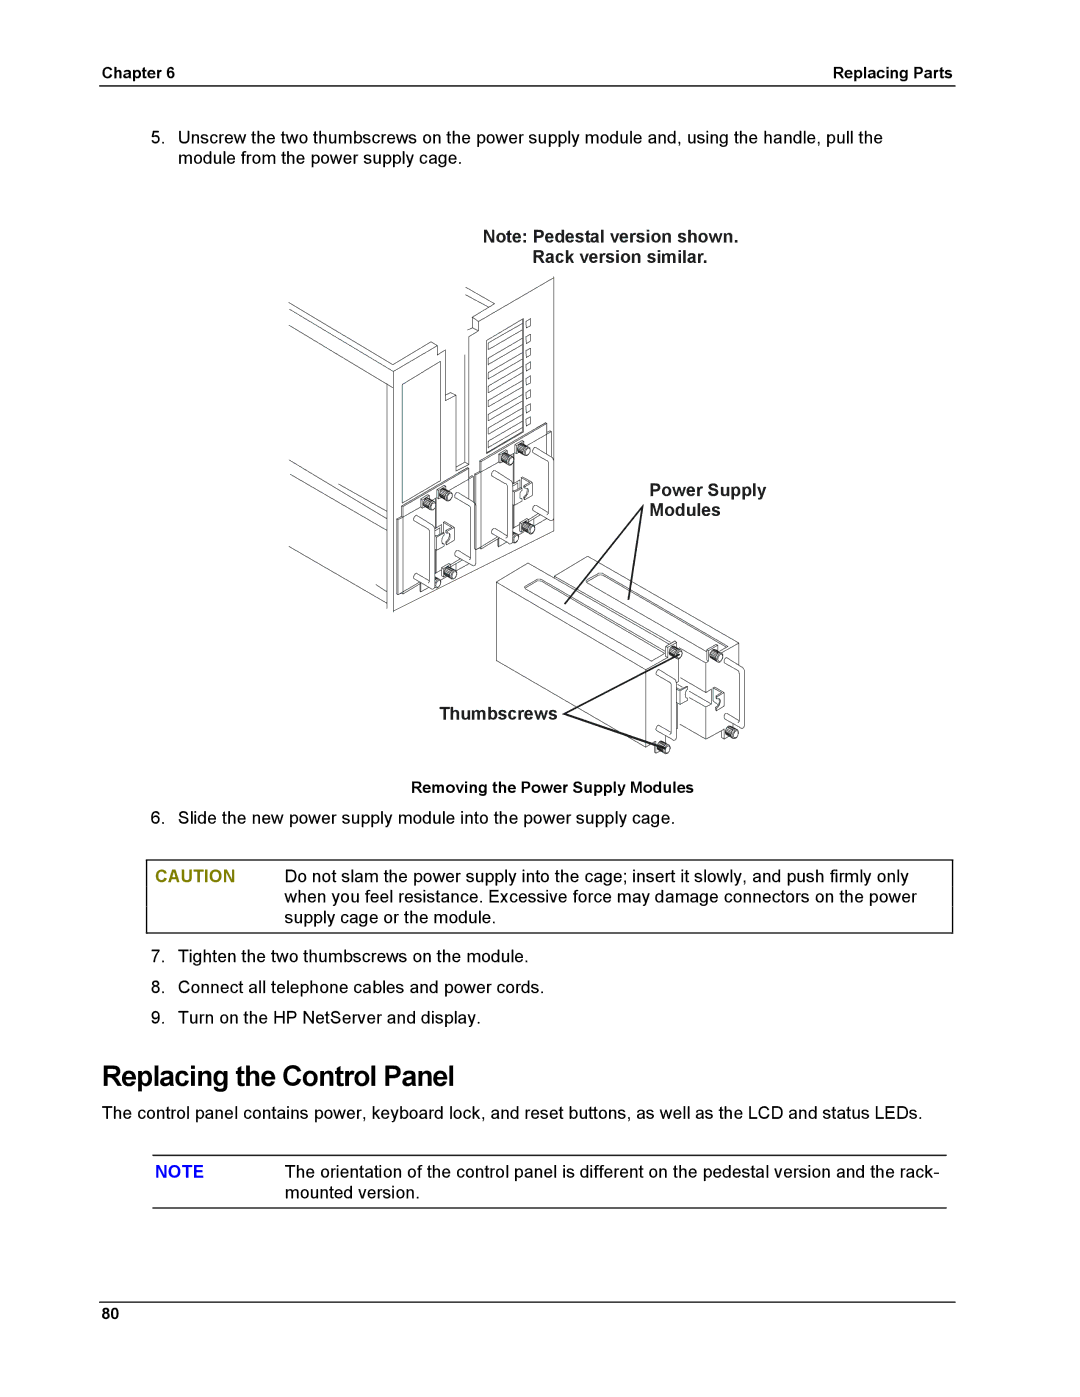
5.Unscrew the two thumbscrews on the power supply module and, using the handle, pull the module from the power supply cage.
Note: Pedestal version shown.
Rack version similar.
Power Supply
Modules
Thumbscrews
Removing the Power Supply Modules
6. Slide the new power supply module into the power supply cage.
CAUTION Do not slam the power supply into the cage; insert it slowly, and push firmly only when you feel resistance. Excessive force may damage connectors on the power supply cage or the module.
7.Tighten the two thumbscrews on the module.
8.Connect all telephone cables and power cords.
9.Turn on the HP NetServer and display.
Replacing the Control Panel
The control panel contains power, keyboard lock, and reset buttons, as well as the LCD and status LEDs.
NOTE | The orientation of the control panel is different on the pedestal version and the rack- |
| mounted version. |
80
