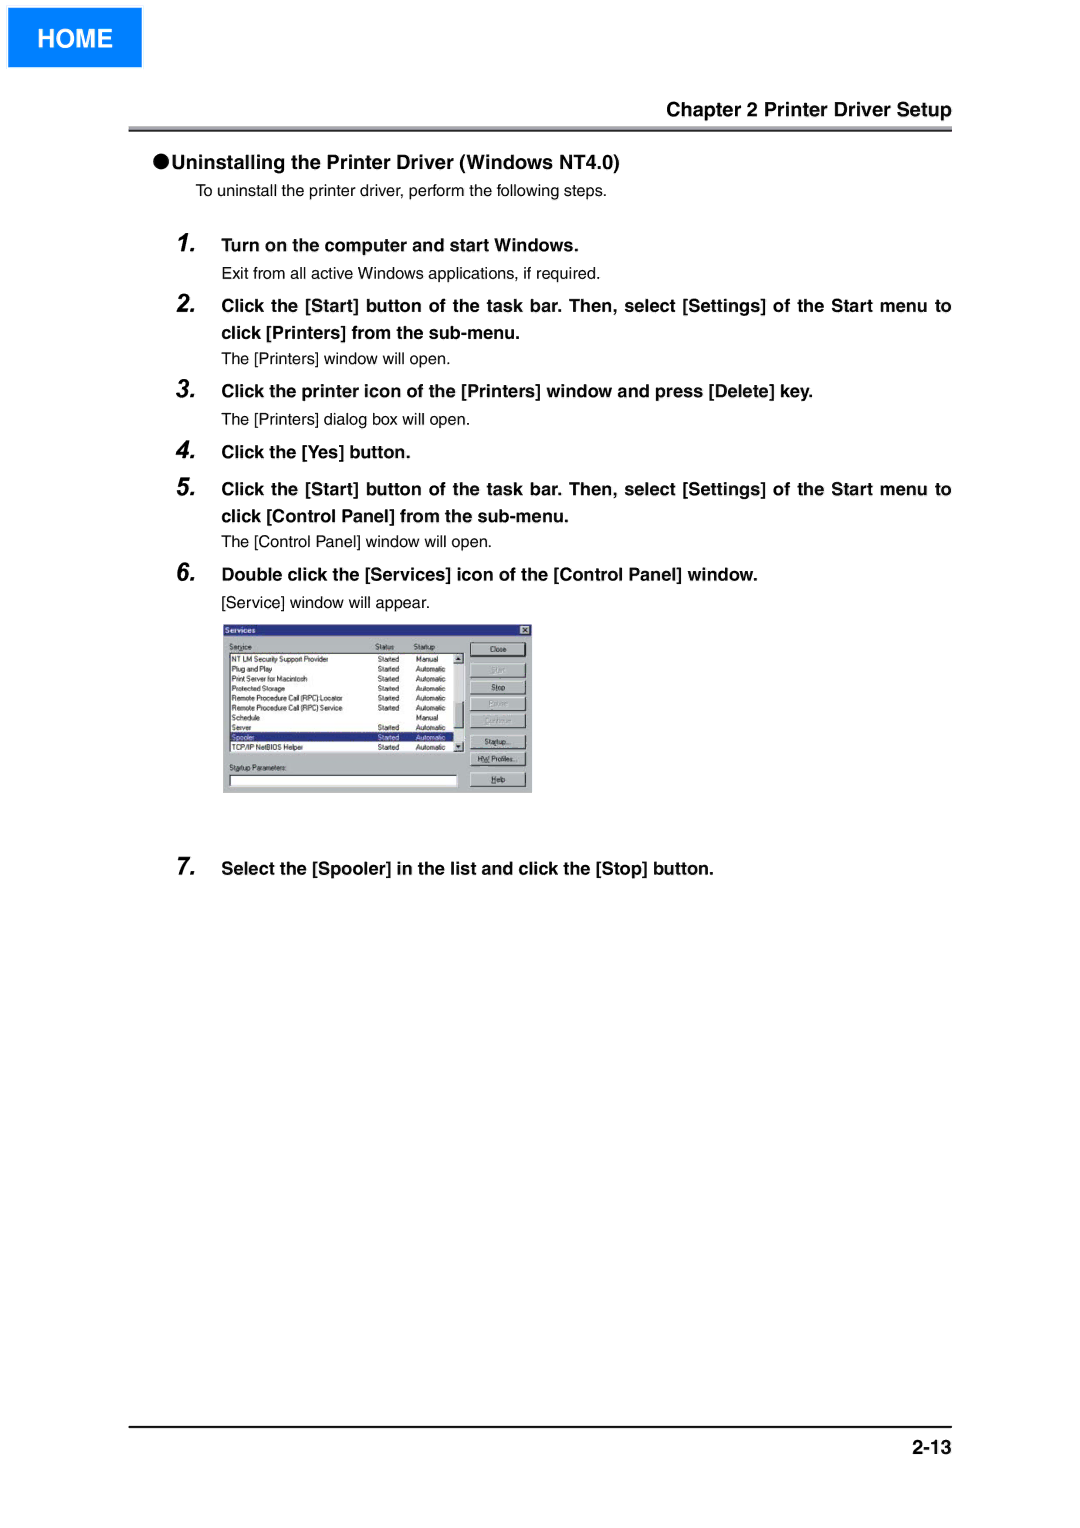
Select the [Spooler] in the list and click the [Stop] button.
7.
Double click the [Services] icon of the [Control Panel] window. [Service] window will appear.
6.
The [Printers] dialog box will open.
4. Click the [Yes] button.
5. Click the [Start] button of the task bar. Then, select [Settings] of the Start menu to click [Control Panel] from the sub-menu.
The [Control Panel] window will open.
Click the printer icon of the [Printers] window and press [Delete] key.
3.
Exit from all active Windows applications, if required.
2. Click the [Start] button of the task bar. Then, select [Settings] of the Start menu to click [Printers] from the sub-menu.
The [Printers] window will open.
Turn on the computer and start Windows.
1.
● Uninstalling the Printer Driver (Windows NT4.0) To uninstall the printer driver, perform the following steps.
Chapter 2 Printer Driver Setup
