Getting Started
3.In the Enter IP Address to assign field, enter the unit’s IP address in XXX.XXX.XXX.XXX format.
4.In the PC Network Class section, select the class (subnet mask). (Most users select Class C).
5.Click the Set IP Address button. (IP is assigned, pinged, and tested)
6.Confirm that the “Assign IP successful” message displays and click OK.
7.Click the Back button to return to the DeviceInstaller window.
2.4.3 Test the IP Address
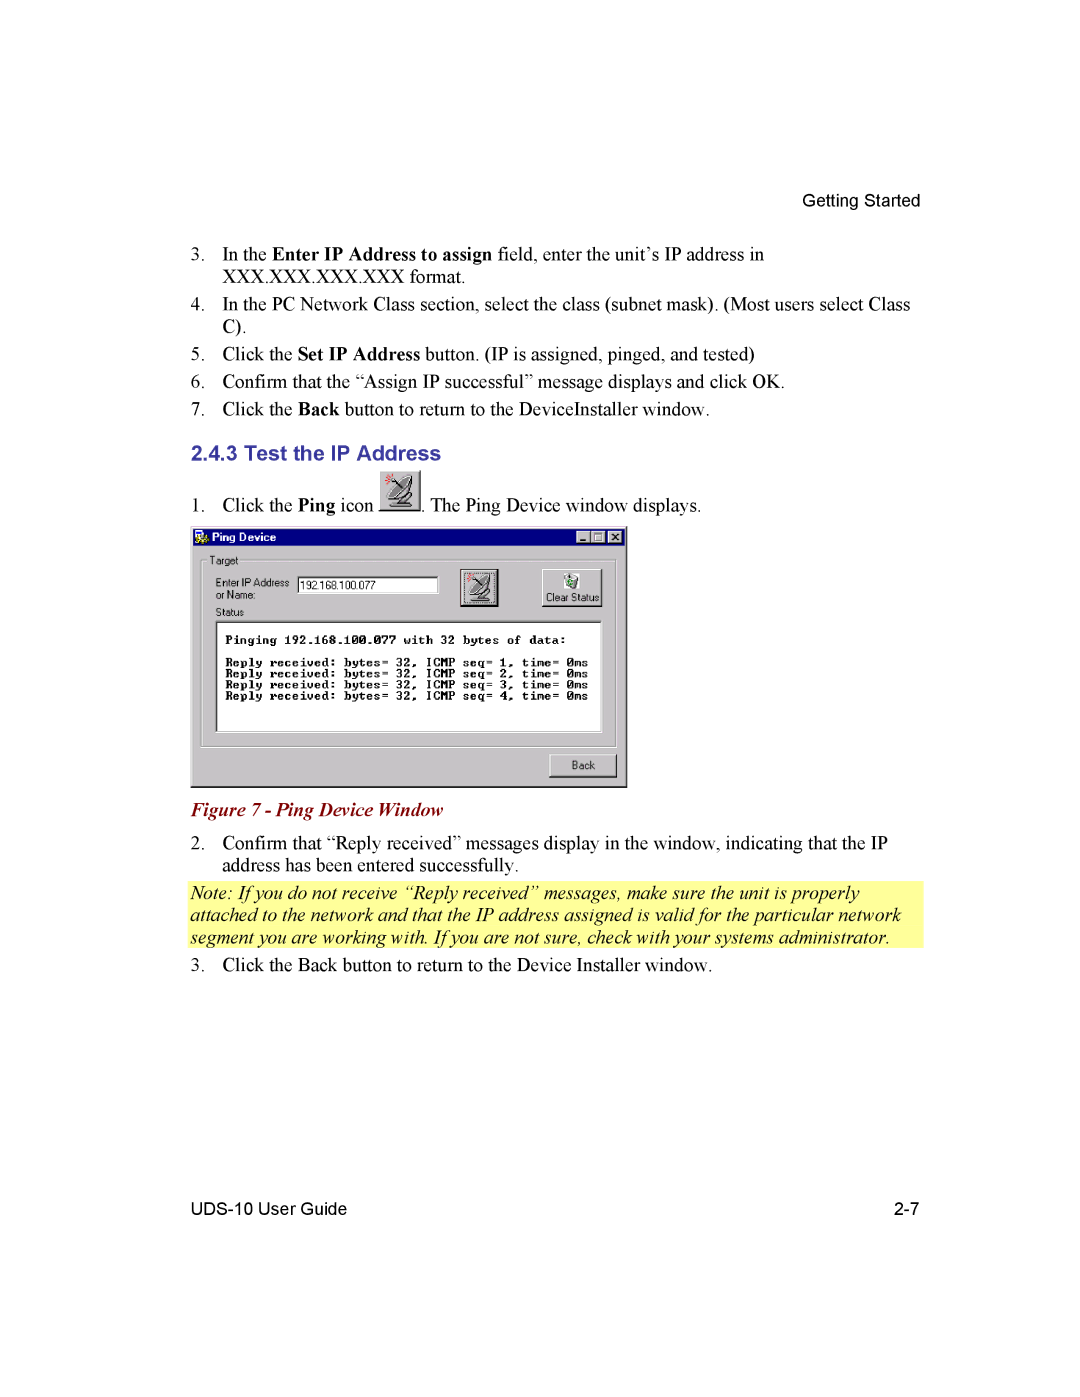
1. Click the Ping icon ![]() . The Ping Device window displays.
. The Ping Device window displays.
Figure 7 - Ping Device Window
2.Confirm that “Reply received” messages display in the window, indicating that the IP address has been entered successfully.
Note: If you do not receive “Reply received” messages, make sure the unit is properly attached to the network and that the IP address assigned is valid for the particular network segment you are working with. If you are not sure, check with your systems administrator.
3. Click the Back button to return to the Device Installer window.