Firmware
6.Enter the Port number of the target device server in the “Port:” section. Click OK when done.
****Please Note:**** Because this is a raw mode redirector:
a. On UDS and CoBox products, you cannot use ports 14000 through 14009.
b. On MSS, ETS, LRS, and SCS products DO use the 3001, 3002, 3003, etc. ports.
Note: You will be required to reboot your system when enabling COM ports. You may want to set them all up at one time and then reboot.
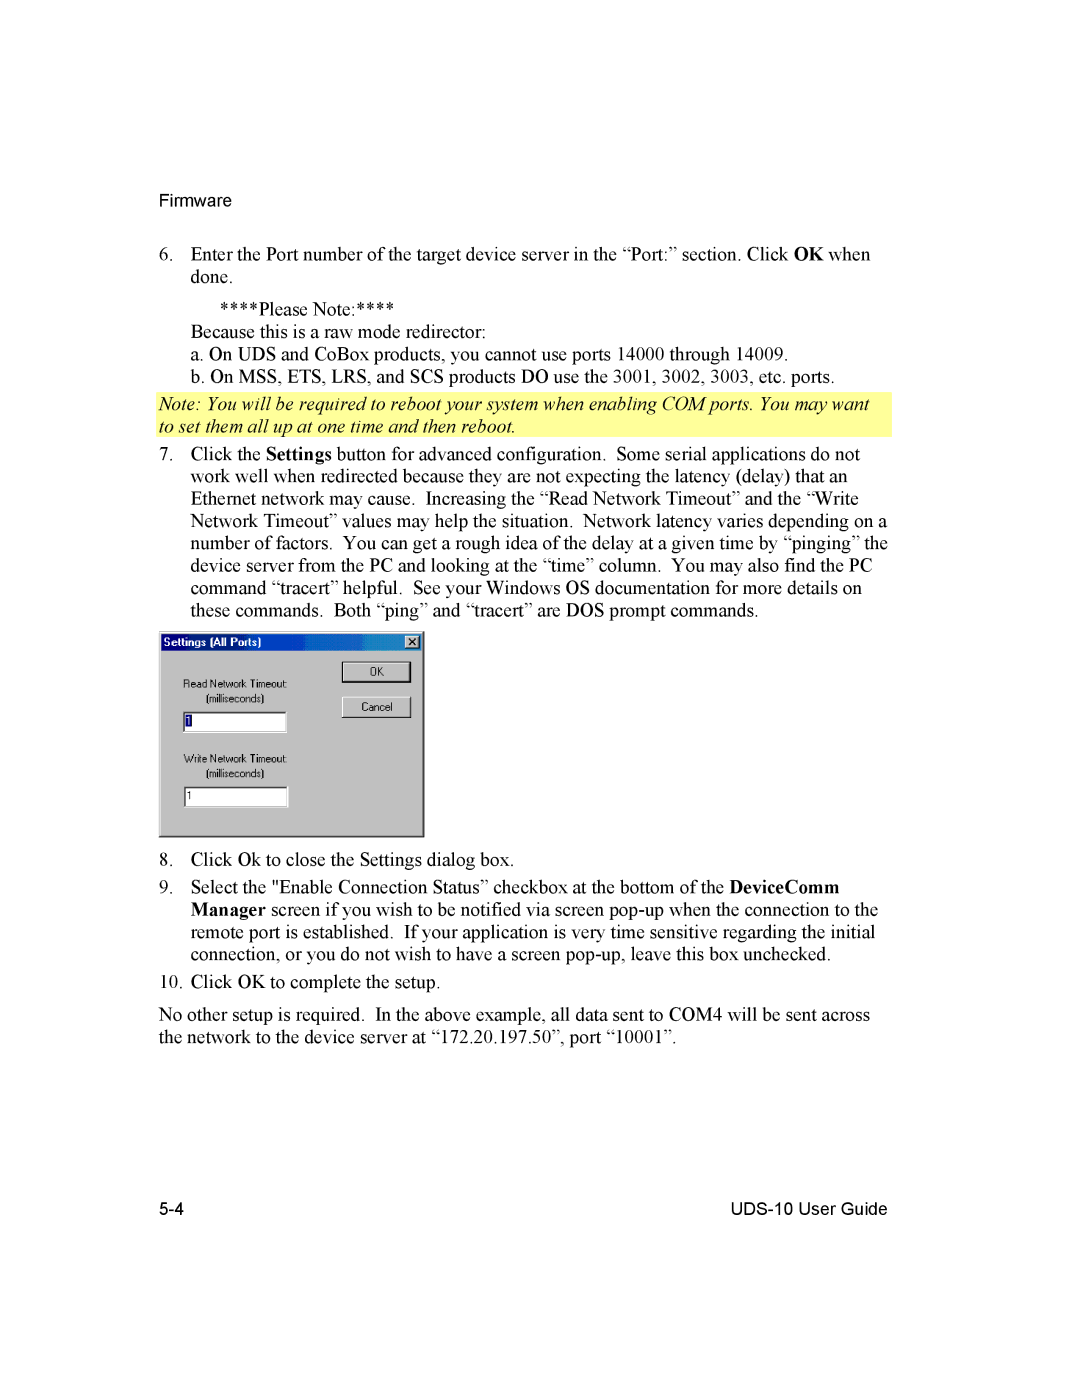
7.Click the Settings button for advanced configuration. Some serial applications do not work well when redirected because they are not expecting the latency (delay) that an Ethernet network may cause. Increasing the “Read Network Timeout” and the “Write Network Timeout” values may help the situation. Network latency varies depending on a number of factors. You can get a rough idea of the delay at a given time by “pinging” the device server from the PC and looking at the “time” column. You may also find the PC command “tracert” helpful. See your Windows OS documentation for more details on these commands. Both “ping” and “tracert” are DOS prompt commands.
8.Click Ok to close the Settings dialog box.
9.Select the "Enable Connection Status” checkbox at the bottom of the DeviceComm Manager screen if you wish to be notified via screen
10.Click OK to complete the setup.
No other setup is required. In the above example, all data sent to COM4 will be sent across the network to the device server at “172.20.197.50”, port “10001”.